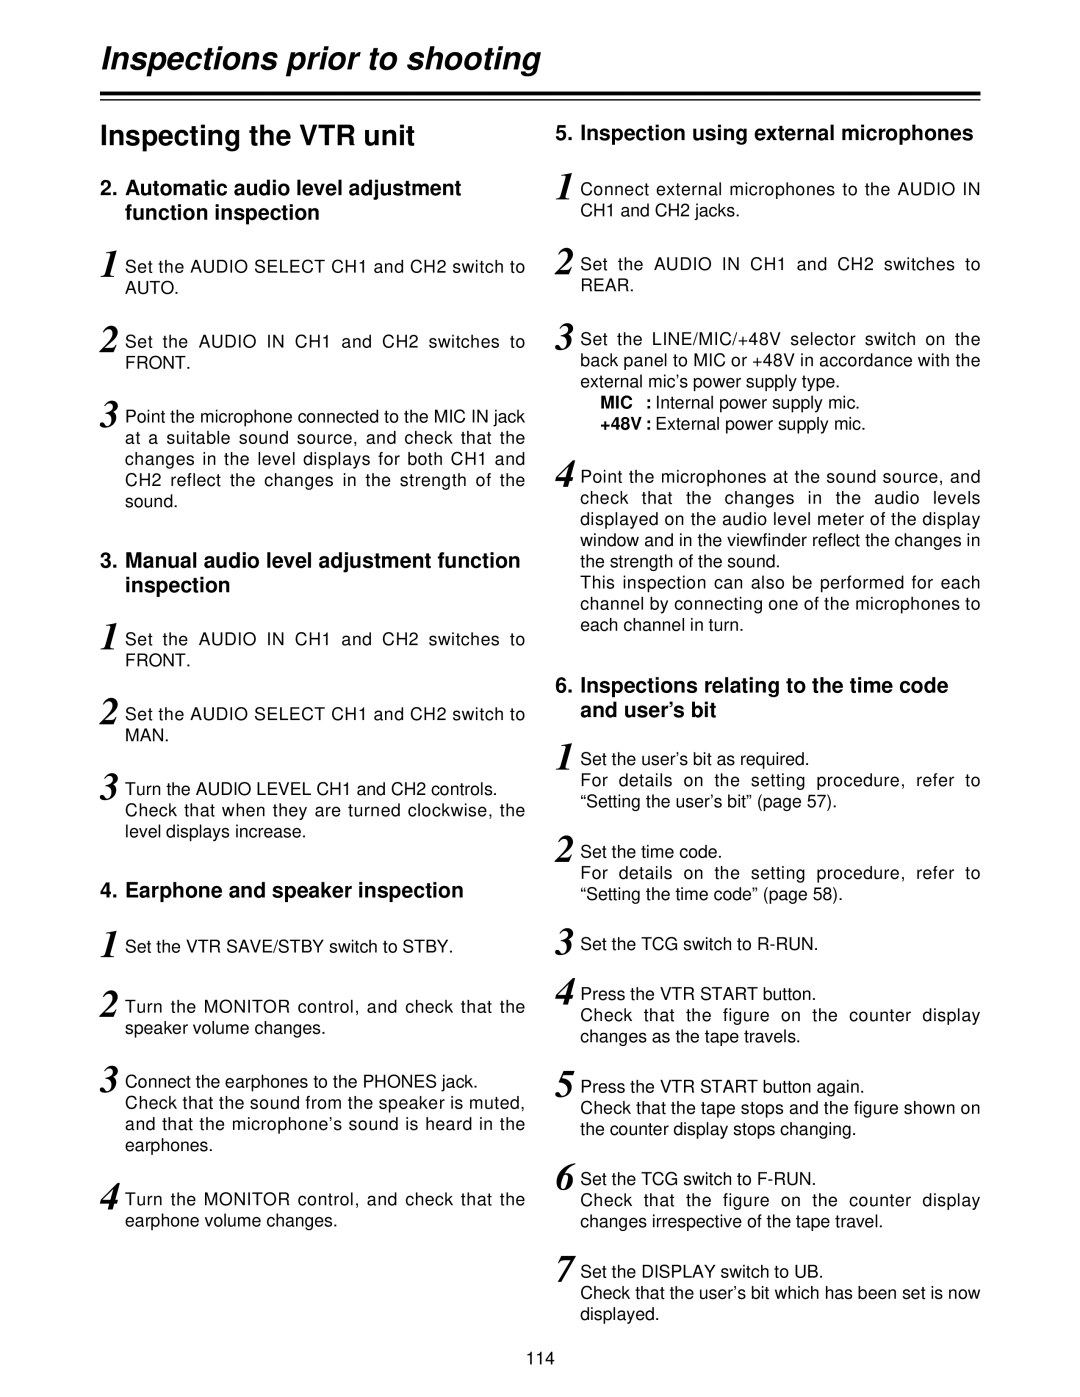
Inspections prior to shooting

Inspecting the VTR unit

2.Automatic audio level adjustment function inspection

1 Set the AUDIO SELECT CH1 and CH2 switch to AUTO.

2 Set the AUDIO IN CH1 and CH2 switches to

FRONT.

3 Point the microphone connected to the MIC IN jack

at a suitable sound source, and check that the changes in the level displays for both CH1 and CH2 reflect the changes in the strength of the sound.

3.Manual audio level adjustment function inspection

1

Set the AUDIO IN CH1 and CH2 switches to


FRONT.

2

Set the AUDIO SELECT CH1 and CH2 switch to


MAN.

3

Turn the AUDIO LEVEL CH1 and CH2 controls.


Check that when they are turned clockwise, the


level displays increase.

4. Earphone and speaker inspection

1

Set the VTR SAVE/STBY switch to STBY.

2

Turn the MONITOR control, and check that the


speaker volume changes.

3

Connect the earphones to the PHONES jack.


Check that the sound from the speaker is muted,


and that the microphone’s sound is heard in the


earphones.

4

Turn the MONITOR control, and check that the


earphone volume changes.

5. Inspection using external microphones

1 Connect external microphones to the AUDIO IN CH1 and CH2 jacks.

2 Set the AUDIO IN CH1 and CH2 switches to REAR.

3 Set the LINE/MIC/+48V selector switch on the back panel to MIC or +48V in accordance with the external mic’s power supply type.

MIC : Internal power supply mic.

+48V : External power supply mic.

4 Point the microphones at the sound source, and check that the changes in the audio levels displayed on the audio level meter of the display window and in the viewfinder reflect the changes in the strength of the sound.

This inspection can also be performed for each channel by connecting one of the microphones to each channel in turn.

6.Inspections relating to the time code and user’s bit

1

Set the user’s bit as required.


For details on the setting procedure, refer to


“Setting the user’s bit” (page 57).


2

Set the time code.


For details on the setting procedure, refer to


“Setting the time code” (page 58).


3

Set the TCG switch to R-RUN.


4

Press the VTR START button.


Check that the figure on the counter

display


changes as the tape travels.


5

Press the VTR START button again.


Check that the tape stops and the figure shown on


the counter display stops changing.


6

Set the TCG switch to F-RUN.


Check that the figure on the counter

display


changes irrespective of the tape travel.


7

Set the DISPLAY switch to UB.


Check that the user’s bit which has been set is now

displayed.

114

Page 114
Image 114
Panasonic AJ-HDC27V, AJ- P Inspection using external microphones, Manual audio level adjustment function inspection

AJ- P, AJ-HDC27V specifications

The Panasonic AJ-HDC27V and AJ-P series are advanced broadcast-quality cameras that cater to the professional video production industry. Designed with cutting-edge technologies, these cameras are ideal for documentaries, live events, and cinematic projects.

One of the standout features of the AJ-HDC27V is its high-definition capabilities. The camera supports various HD formats, including 720p and 1080i, allowing for flexible resolutions tailored to different production needs. With a 3CCD sensor configuration, the AJ-HDC27V captures stunningly vivid colors and exceptional image clarity, which are critical for professional productions. This sensor setup ensures high sensitivity and low noise, making it suitable for shooting in diverse lighting conditions.

The AJ-P series introduces the innovative P2 card technology, which significantly enhances workflow efficiency. The P2 card system offers high-speed data transfer and reliable storage options. With multiple card slots, it's possible to shoot for extended periods without interruption, as footage can be recorded simultaneously across multiple cards. This feature minimizes downtime, allowing production teams to maintain momentum during critical shooting schedules.

In terms of connectivity, both the AJ-HDC27V and AJ-P models boast a variety of professional-grade interfaces, including HDMI, SDI, and FireWire. These options provide versatile connectivity for various external devices and facilitate seamless integration into existing production systems. Additionally, the cameras support real-time HD image transmission, making them ideal for live broadcasting.

The ergonomic design of the AJ-HDC27V and AJ-P series ensures comfortable handling during extended shooting sessions. The cameras are equipped with user-friendly controls and customizable settings, allowing operators to fine-tune their shooting experience. Features such as focus assist, waveform monitor, and peaking functions empower videographers to achieve precise shots.

Moreover, both camera lines support advanced video compression formats, including AVC-Intra and DVCPRO HD. This ensures high-quality recordings with manageable file sizes, optimizing storage and editing workflows. The AJ-P series also includes built-in scene file settings, enabling quick adjustments for various shooting environments.

In summary, the Panasonic AJ-HDC27V and AJ-P series offer professionals in the video production industry state-of-the-art technology and versatile features that enhance the shooting experience. With their exceptional imaging capabilities, efficient storage solutions, and user-friendly design, these cameras are a reliable choice for delivering high-quality visual storytelling.