AJ- P, AJ-HDC27V specifications
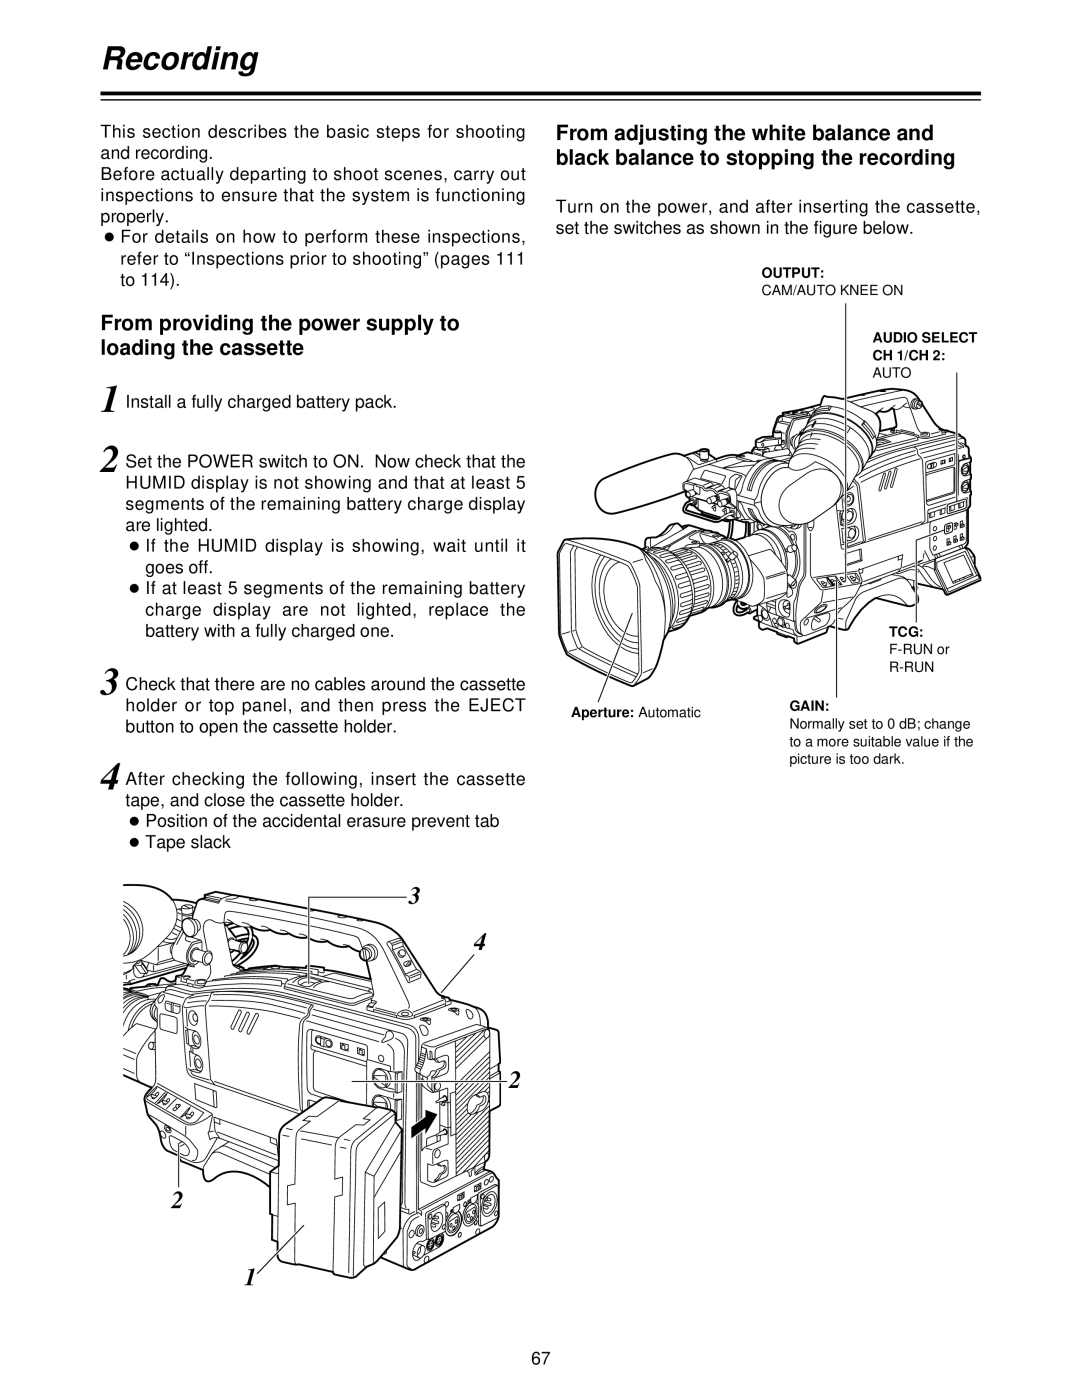
The Panasonic AJ-HDC27V and AJ-P series are advanced broadcast-quality cameras that cater to the professional video production industry. Designed with cutting-edge technologies, these cameras are ideal for documentaries, live events, and cinematic projects.One of the standout features of the AJ-HDC27V is its high-definition capabilities. The camera supports various HD formats, including 720p and 1080i, allowing for flexible resolutions tailored to different production needs. With a 3CCD sensor configuration, the AJ-HDC27V captures stunningly vivid colors and exceptional image clarity, which are critical for professional productions. This sensor setup ensures high sensitivity and low noise, making it suitable for shooting in diverse lighting conditions.
The AJ-P series introduces the innovative P2 card technology, which significantly enhances workflow efficiency. The P2 card system offers high-speed data transfer and reliable storage options. With multiple card slots, it's possible to shoot for extended periods without interruption, as footage can be recorded simultaneously across multiple cards. This feature minimizes downtime, allowing production teams to maintain momentum during critical shooting schedules.
In terms of connectivity, both the AJ-HDC27V and AJ-P models boast a variety of professional-grade interfaces, including HDMI, SDI, and FireWire. These options provide versatile connectivity for various external devices and facilitate seamless integration into existing production systems. Additionally, the cameras support real-time HD image transmission, making them ideal for live broadcasting.
The ergonomic design of the AJ-HDC27V and AJ-P series ensures comfortable handling during extended shooting sessions. The cameras are equipped with user-friendly controls and customizable settings, allowing operators to fine-tune their shooting experience. Features such as focus assist, waveform monitor, and peaking functions empower videographers to achieve precise shots.
Moreover, both camera lines support advanced video compression formats, including AVC-Intra and DVCPRO HD. This ensures high-quality recordings with manageable file sizes, optimizing storage and editing workflows. The AJ-P series also includes built-in scene file settings, enabling quick adjustments for various shooting environments.
In summary, the Panasonic AJ-HDC27V and AJ-P series offer professionals in the video production industry state-of-the-art technology and versatile features that enhance the shooting experience. With their exceptional imaging capabilities, efficient storage solutions, and user-friendly design, these cameras are a reliable choice for delivering high-quality visual storytelling.

