Manuals
/
Panasonic
/
Photography
/
Digital Camera
Panasonic
operating instructions
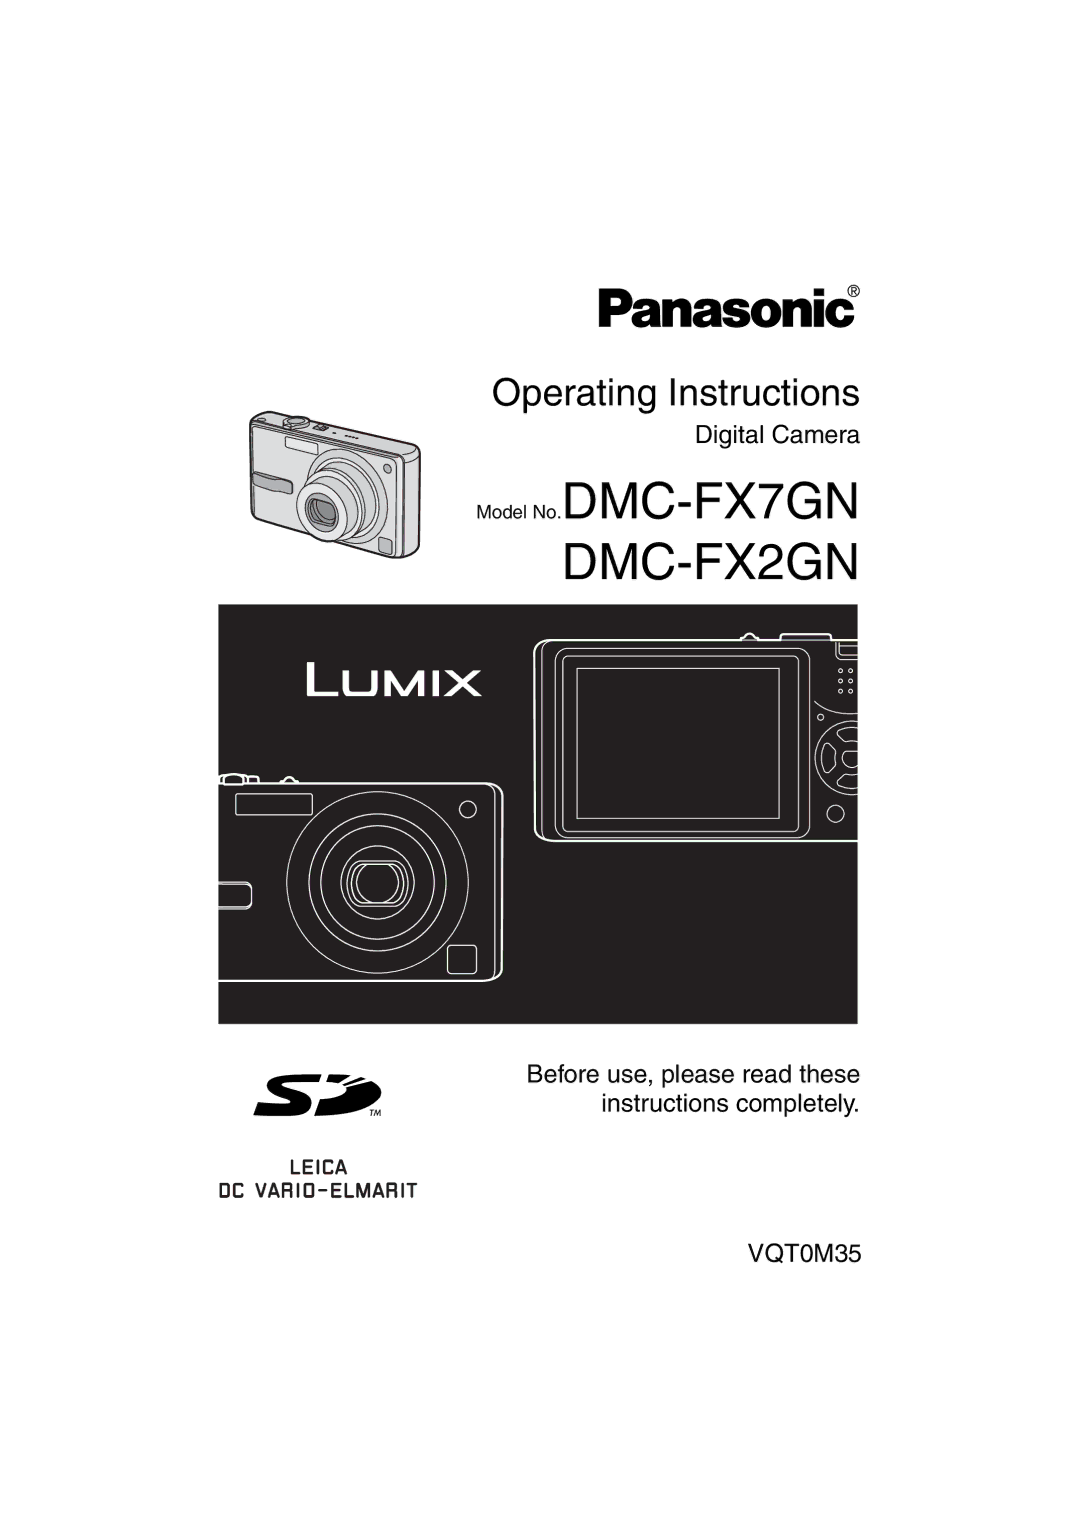
Model No.DMC-FX7GN DMC-FX2GN
Models:
DMC-FX2GN
DMC-FX7GN
1
1
104
104
Download
104 pages
33.38 Kb
1
2
3
4
5
6
7
8
Troubleshooting
Specs
Switch the self-timer setting
Connecting to a PC
Dimension
Reset
Standard Accessories
Setup Menu
Charge the battery. P11
Picture Adjustment PICT.ADJ
Page 1
Image 1
Operating Instructions
Digital Camera
Model
No.
DMC-FX7GN
DMC-FX2GN
Before use, please read these instructions completely.
VQT0M35
Page 1
Page 2
Page 1
Image 1
Page 1
Page 2
Contents
Model No.DMC-FX7GN DMC-FX2GN
Dear Customer
Information for Your Safety
About the Lens
If you will not be using the camera for Long time
About illustrations of the cursor button
About These Operating Instructions
Contents
Slide Show
Dpof Print
Trimming
Standard Accessories
3 2 Lens
Names of the Components
1011 12
Quick Guide
Charge the battery. P11
Play back the pictures
Charging the Battery with the Charger
About the Battery
Slide the card/battery door to open it
Inserting/Removing the Battery
Inserting/Removing the Card
About the Card
Access to the card
About handling a card
SD Memory Card supplied MultiMediaCard optional
DMC-FX7 DMC-FX2
Approximate number of recordable pictures and the size
Hdtv
Select Clock SET from the Setup menu. P19
Setting Date/Time Clock Set
Initial setting
Set date and time
Preparation
Setup Menu
Menu Functions
Power Save
Monitor
Auto Review
OFF
On the next recording. The folder number is updated,
No operational sound
Soft operational sound
PAL
Video OUT
Scene Menu
Language
Playback mode P44
Simple mode P31
About the LCD Monitor
Recording guide line
Example of histogram
Histogram
Taking Pictures
Mode Dial
Take a picture
Turn the camera on Set the mode dial to Normal picture mode
Taking pictures
Correct posture for taking good pictures
AF/AE Lock AF Auto focus AE Auto exposure
Jitter camera shake
Focusing
Exposure
Recording pictures basic
Settings in Simple mode PICT.MODE
Taking Pictures in Simple Mode
Select the desired item and set the desired value
Mail
Economy OFF
Other Settings in Simple mode
MODE2
Enlarge
PICT.SIZE Quality Audio REC. DMC-FX7
NO.RESET Reset USB Mode Video OUT Language Economy
Slow Shutter COL.EFFECT PICT.ADJ Flip Anim
Press
Checking the Recorded Picture Review
Enlarge and shift the picture
To make subjects appear closer use Tele
Using the Optical Zoom
To make subjects appear further away use Wide
Switching to the appropriate flash setting
Taking Pictures using the Built-in Flash
Photo flash
AUTO¢
Available flash settings by recording mode
ISO80 DMC-FX7
ISO64 DMC-FX2
When using the photo flash
Switch the self-timer setting
Taking Pictures with the Self-timer
Focus on the subject to take the picture
Under exposed
Compensating the Exposure
Properly Exposed Over exposed
Taking Pictures using Auto Bracket
MODE1
Optical Image Stabilizer Stabilizer
Number of pictures recorded in burst mode
Taking Pictures using Burst Mode
Select the picture
Playing Back Pictures
Pictures Multi Playback
Switch to multi screen
Select the pictures
To return to the normal playback
Enlarge the picture
Using the Playback Zoom
Shift the picture
To delete a picture during the playback zoom
Select the picture to be deleted
Deleting Pictures
Select Multi Delete
Select the pictures to be deleted
Select ALL Delete
Delete the pictures
Delete all of the pictures
To delete all pictures
Macro mode
Using the Mode Dial
Motion image mode
Select Motion Rate
Press the shutter button fully to start the recording
Press the shutter button halfway
Available recording time seconds
You cannot record audio on DMC-FX2
Scene mode
Self Portrait P56
Night Scenery P54 Night Portrait P54
Technique for Sports mode
Sports mode
Technique for Night portrait mode
Technique for Night scenery mode
Technique for Party mode
Technique for Fireworks mode
Technique for Self-portrait mode
Snow mode Self portrait mode
Recording pictures advanced
Slow Shutter P64
Using the REC mode menu
Auto White Balance
White Balance W.BALANCE
About the white balance fine adjustment
Setting the White Balance manually White set
About the white balance
ISO sensitivity 400
ISO Sensitivity Sensitivity Picture Size PICT.SIZE
Quality Quality
Audio Recording Audio REC
AF Mode AF Mode
AF Assist Lamp
Slow shutter Setting
Slow Shutter Slow Shutter
Digital Zoom D.ZOOM
Picture Adjustment PICT.ADJ
Select Flip Anim
Flip Animation Flip Anim
Select Image Capture
REC PICT.ADJ
Select Create Motion Image
Capture images for flip animation
Select Frame Rate and set the number of frames
Select Create Motion Image and create a flip animation
Deleting all still images used to create flip animation
To pause
Playing Back Pictures with Audio/Motion Images
Rotating the Picture Rotate
Using the Play mode menu
Select the picture to be rotated and set it
Select Rotate
Select Dpof PRINT, then select SINGLE, Multi or Cancel
Setting the Picture to be Printed and the Number
To print the date
To cancel all settings Select YES to cancel all settings
Cancel
Select PROTECT, then select SINGLE, Multi or Cancel
Preventing Accidental Erasure of the Picture Protect
SET
Select Slide SHOW, then select ALL or Dpof
Playing Back with Slide Show
Set the items of the Slide Show
ALL
By pressing the Menu button, the Slide Show stops
Select Start
SD Slide Show
DMC-FX7 only
Adding Audio to Recorded
Select the picture and start audio recording
Select Resize
Resizing the Pictures Resize
Select the size and set it
Select YES or no and set it Select the picture and set it
Select the picture to trim and set it
Trimming the Pictures
Select Trimming
Enlarge or decrease the picture
Select YES or no and set it
Shift the picture and press the shutter button fully to set
Initializing the Card Format
Select Format
Playback advanced
Turn the TV on and select external input
Playing Back Pictures on a TV Screen
Playing back pictures with the supplied cable
USB Mode
Before Connecting with USB Connection Cable
Select USB Mode
Select PC or PictBridge PTP
Message
When using Windows 98/98 SE
Connecting to a PC
PC Windows
About PictBridge PTP setting
Macintosh
PictBridge PTP Windows
PICTURE. P88
Connecting to a PictBridge-compliant Printer
PICTURE. P87
Select a picture to be printed
Set the print settings
Single picture
Select Dpof Picture
Select Print Start and then print out the picture
Dpof picture
Setting the date printing with the Dpof print in advance
Recording
Screen Display
DEC.2004 1000
Recording in simple mode
Playback
DEC.2004
Others
When you go out, bring charged spare batteries
Battery
Dispose of an unusable battery
Charger
Folder Composition
Printing pictures recorded with Hdtv mode
Export Misc PRIVATE1
Message Display
Mode Dial is not in the Proper Position
Troubleshooting
Clock setting is
Monochrome When connecting to a
Reset
Blurred
Or always lit on the LCD
Conditions Causes/Remedies Lens clicks
Monitor Noise appears on
LCD monitor
Specifications
Weight
Dimensions
Operating Temperature
Flash
Battery Pack lithium-ion
Battery Charger Panasonic DE-992A
Input
Output
Memo
VQT0M35
Top
Page
Image
Contents