Connecting to a PC or Printer
∫[PAGE LAYOUT]
(Possible layouts on the camera)
Settings on the printer are prioritised.
1 page with no frame print
1 page with frame print
2 pages print
4 pages print
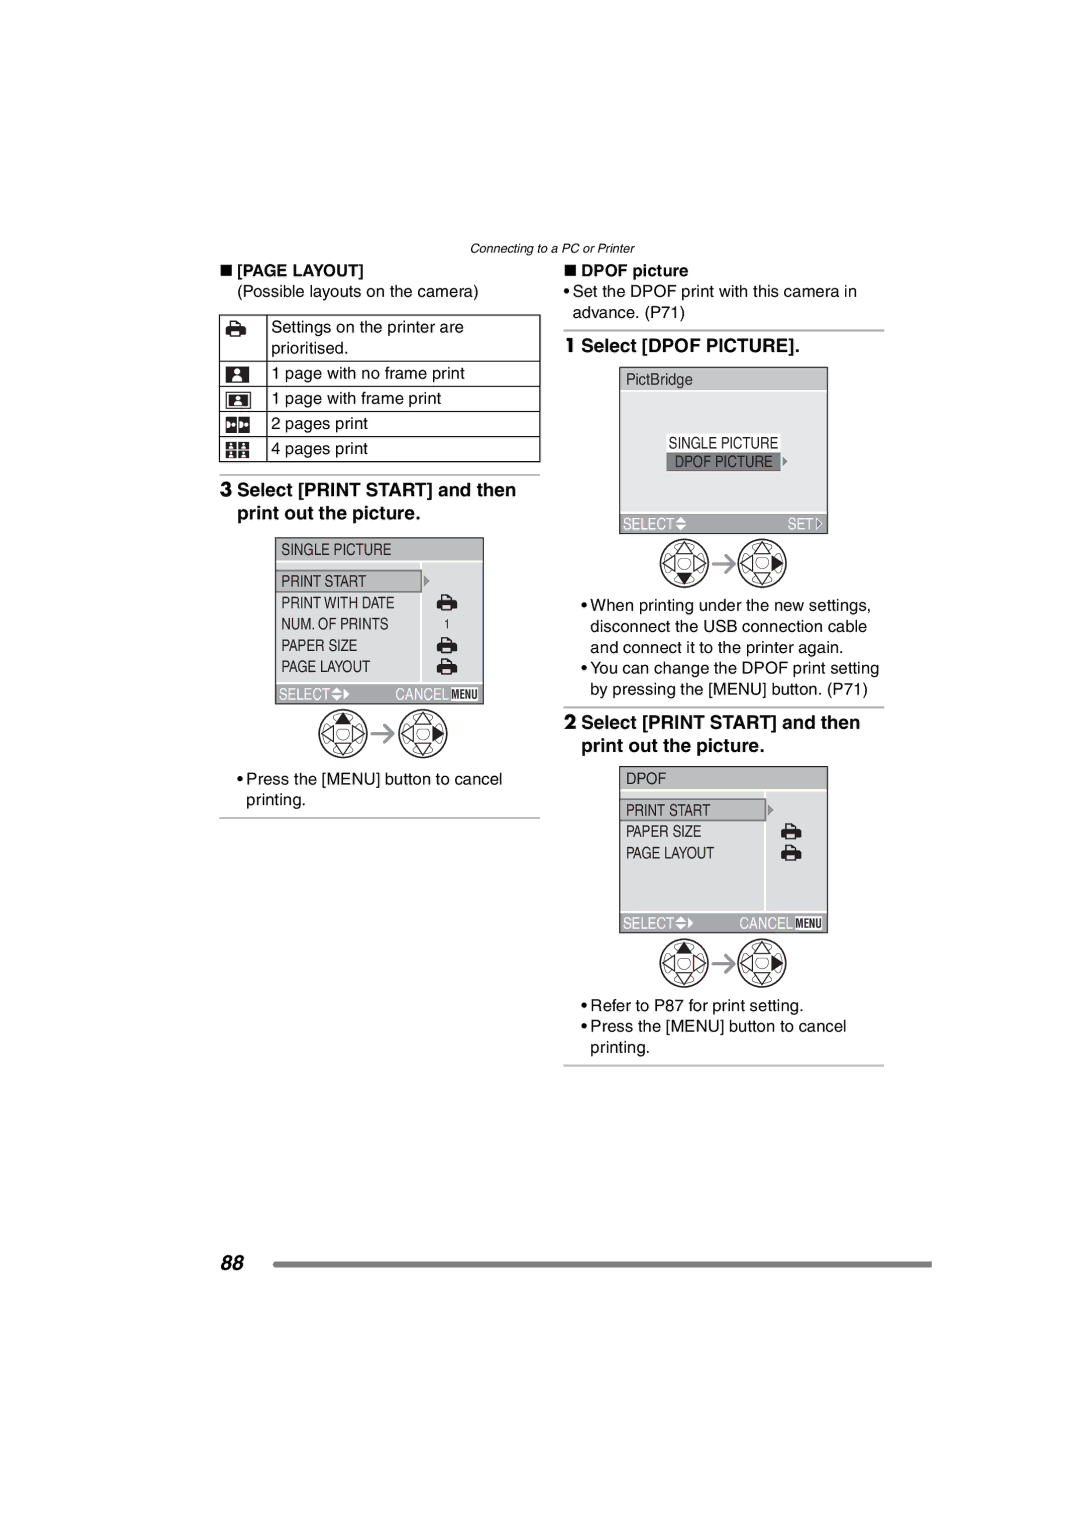
3 Select [PRINT START] and then print out the picture.
SINGLE PICTURE |
|
PRINT START |
|
PRINT WITH DATE |
|
NUM. OF PRINTS | 1 |
PAPER SIZE |
|
PAGE LAYOUT |
|
SELECT | CANCEL MENU |
∫DPOF picture
•Set the DPOF print with this camera in advance. (P71)
1 Select [DPOF PICTURE].
PictBridge
SINGLE PICTURE
DPOF PICTURE ![]()
![]()
SELECT![]() SET
SET![]()
•When printing under the new settings, disconnect the USB connection cable and connect it to the printer again.
•You can change the DPOF print setting by pressing the [MENU] button. (P71)
•Press the [MENU] button to cancel printing.
2 Select [PRINT START] and then print out the picture.
DPOF |
|
PRINT START |
|
PAPER SIZE |
|
PAGE LAYOUT |
|
SELECT | CANCEL MENU |
•Refer to P87 for print setting.
•Press the [MENU] button to cancel printing.
88