Setup | 5 | Setting date and time |
|
|
|
When the unit is turned on for the first time, a message asking you to set the date and time will appear. Select [YES] and perform steps 2 to 4 below to set the date and time.
¬Operate the mode switch to select
![]() .
.
1 Select the menu. (l 21)
[BASIC] # [CLOCK SET] # [YES]
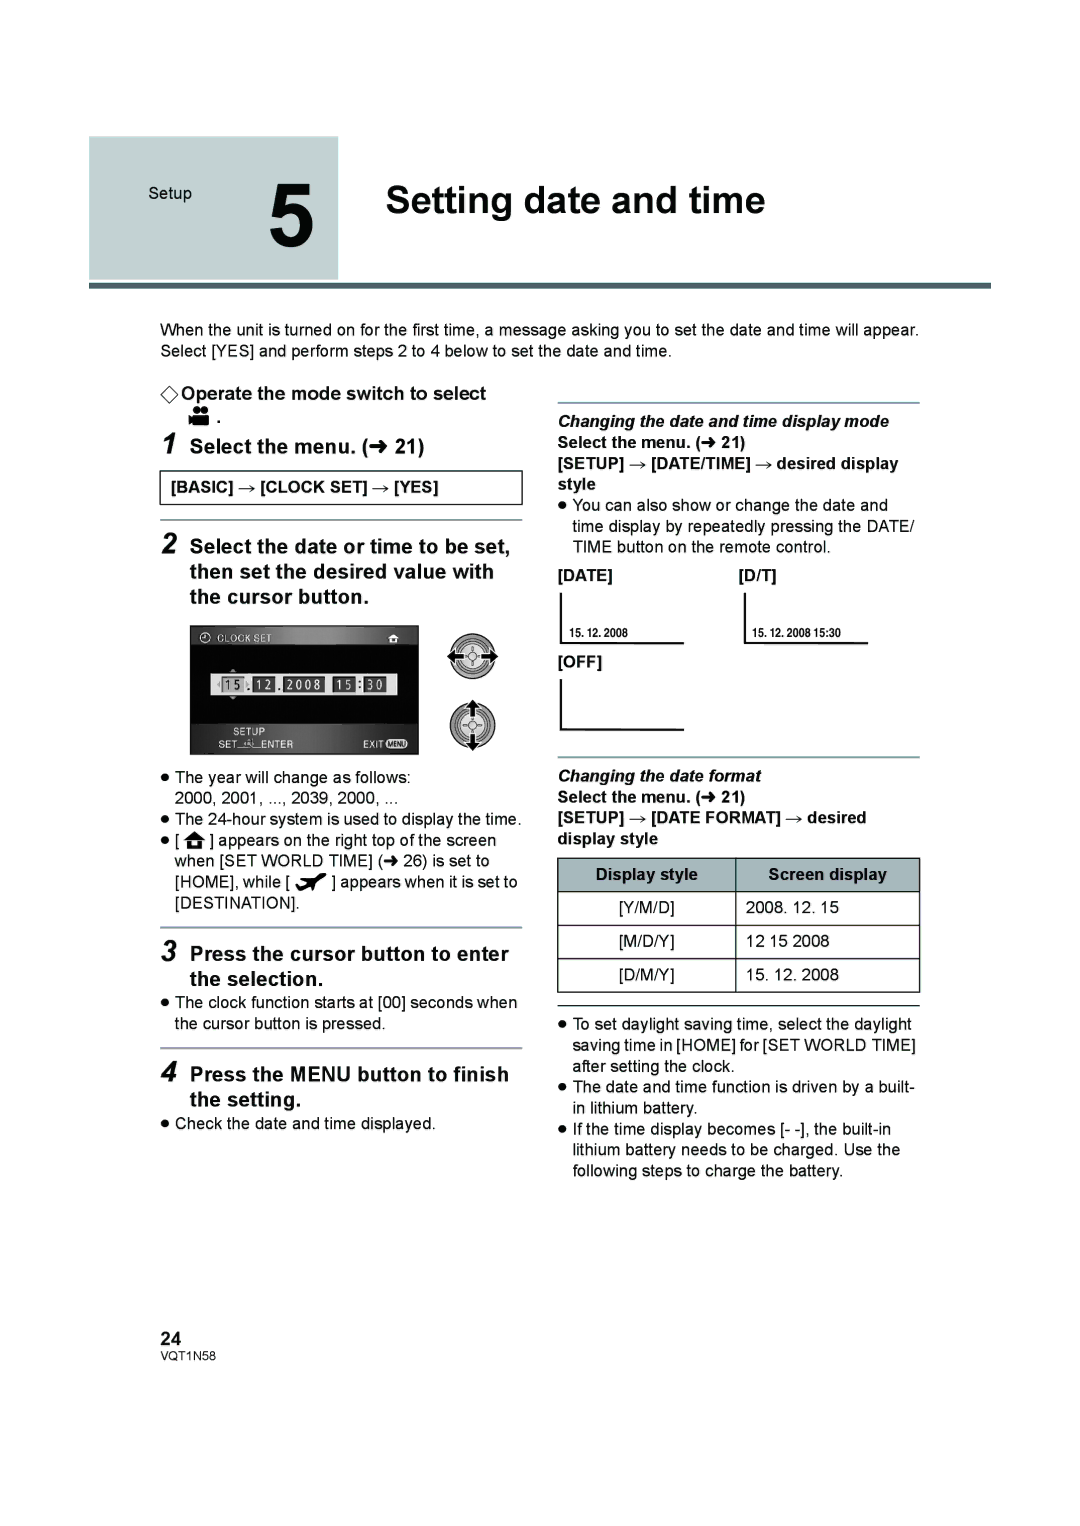
2 Select the date or time to be set, then set the desired value with the cursor button.
≥The year will change as follows: 2000, 2001, ..., 2039, 2000, ...
≥The
≥[ ![]() ] appears on the right top of the screen when [SET WORLD TIME] (l 26) is set to
] appears on the right top of the screen when [SET WORLD TIME] (l 26) is set to
[HOME], while [ ![]() ] appears when it is set to [DESTINATION].
] appears when it is set to [DESTINATION].
3 Press the cursor button to enter the selection.
≥The clock function starts at [00] seconds when the cursor button is pressed.
4 Press the MENU button to finish the setting.
≥Check the date and time displayed.
Changing the date and time display mode Select the menu. (l 21)
[SETUP] # [DATE/TIME] # desired display style
≥You can also show or change the date and time display by repeatedly pressing the DATE/ TIME button on the remote control.
[DATE][D/T]
15. 12. 2008 | 15. 12. 2008 15:30 |
[OFF]
Changing the date format
Select the menu. (l 21)
[SETUP] # [DATE FORMAT] # desired display style
Display style | Screen display | |
[Y/M/D] | 2008. | 12. 15 |
|
|
|
[M/D/Y] | 12 15 | 2008 |
|
| |
[D/M/Y] | 15. 12. 2008 | |
|
|
|
|
|
|
≥To set daylight saving time, select the daylight saving time in [HOME] for [SET WORLD TIME] after setting the clock.
≥The date and time function is driven by a built- in lithium battery.
≥If the time display becomes [-
24
VQT1N58