4 (Only when [SELECT SCENES] is selected in step 2)
Select the scene you want to copy and press the cursor button.
≥When the cursor button is pressed again, the selected scene will be cancelled.
≥Up to 99 scenes can be selected in succession.
5 (Only when [SELECT SCENES] is selected in step 2)
Select [START] and press the cursor button.
(Only when [SELECT DATE] is selected in step 2)
Press the MENU button.
MENU
(Only when [SELECT DATE] is selected in step 2)
Select the date you want to copy and press the cursor button.
≥When the cursor button is pressed again, the selected date will be cancelled.
≥Up to 99 dates can be selected in succession.
≥Move the cursor button up or down to select the playback date. Move the cursor button left to select the last date of the previous month, and move it to the right to select the last date of the following month.
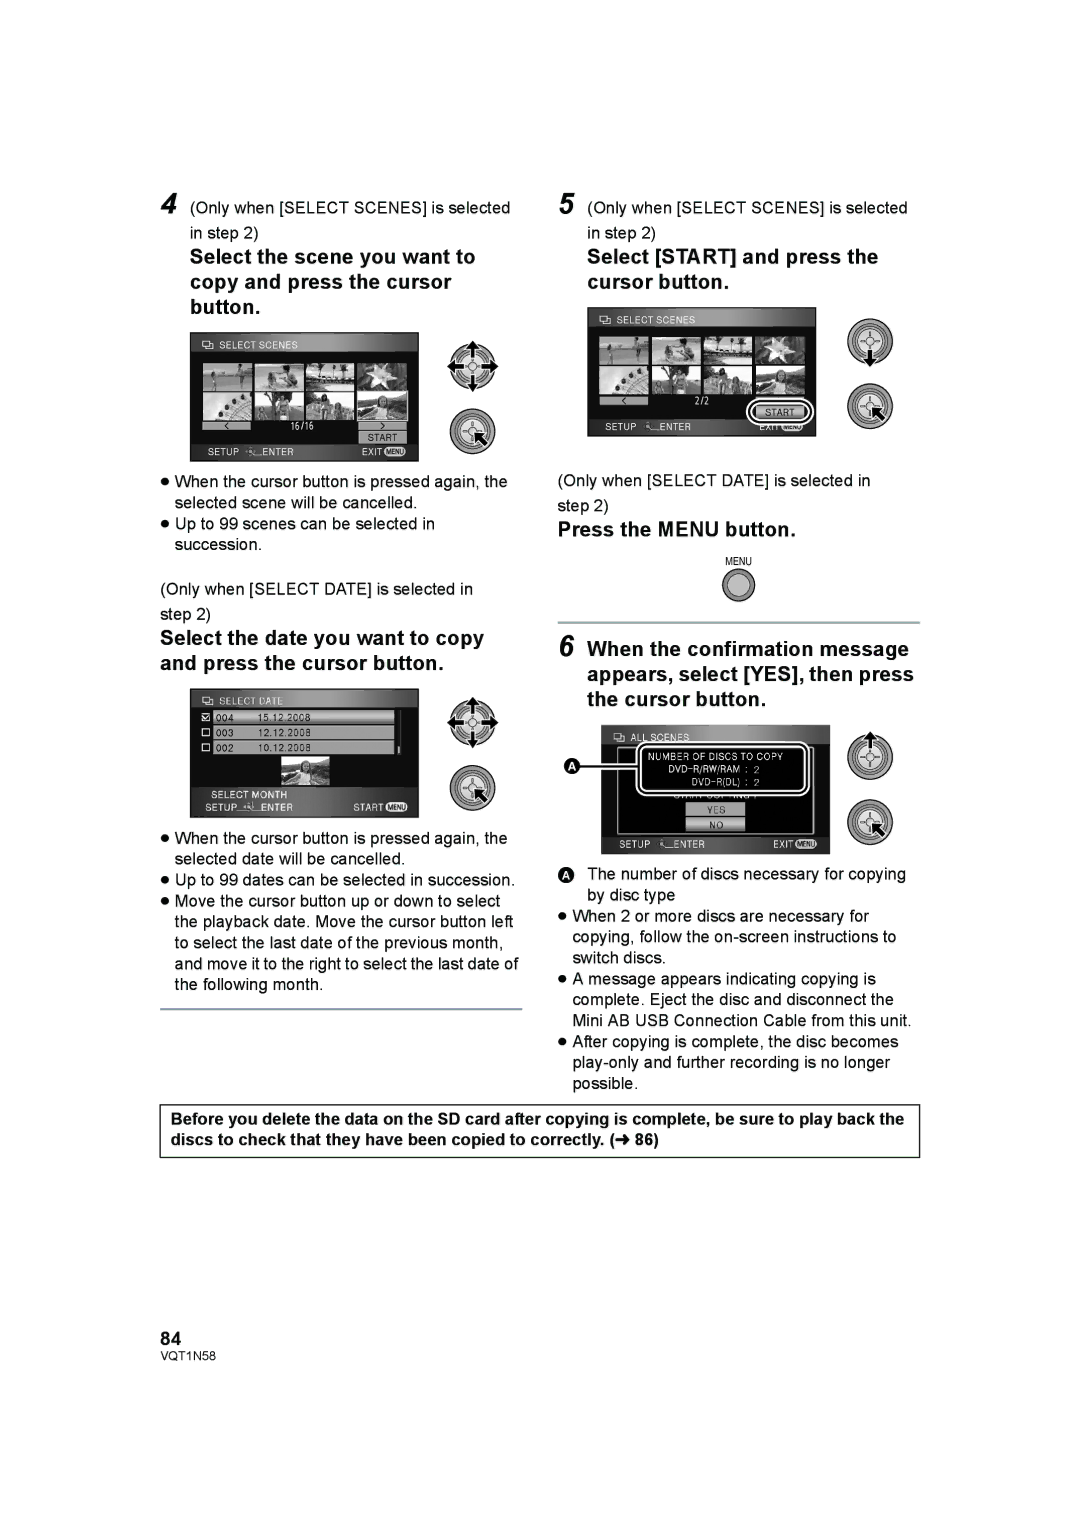
6 When the confirmation message appears, select [YES], then press the cursor button.
A
AThe number of discs necessary for copying by disc type
≥When 2 or more discs are necessary for copying, follow the
≥A message appears indicating copying is complete. Eject the disc and disconnect the Mini AB USB Connection Cable from this unit.
≥After copying is complete, the disc becomes
Before you delete the data on the SD card after copying is complete, be sure to play back the discs to check that they have been copied to correctly. (l 86)
84
VQT1N58