OPTION 1 settings
|
|
|
|
|
|
| OPTION1 |
|
|
|
| COLOR CORRECTION |
|
|
| ||||||
| CONTRAST MODE |
|
|
|
|
| ||||
| AUTO SIGNAL |
|
| OFF | ||||||
| MEMORY LOAD |
|
| DEFAULT | ||||||
| MEMORY SAVE |
|
| MEMORY1 | ||||||
| SELECT |
|
|
|
|
| ENTER |
|
| RETRN |
|
|
|
|
|
|
|
| |||
|
|
|
|
|
| |||||
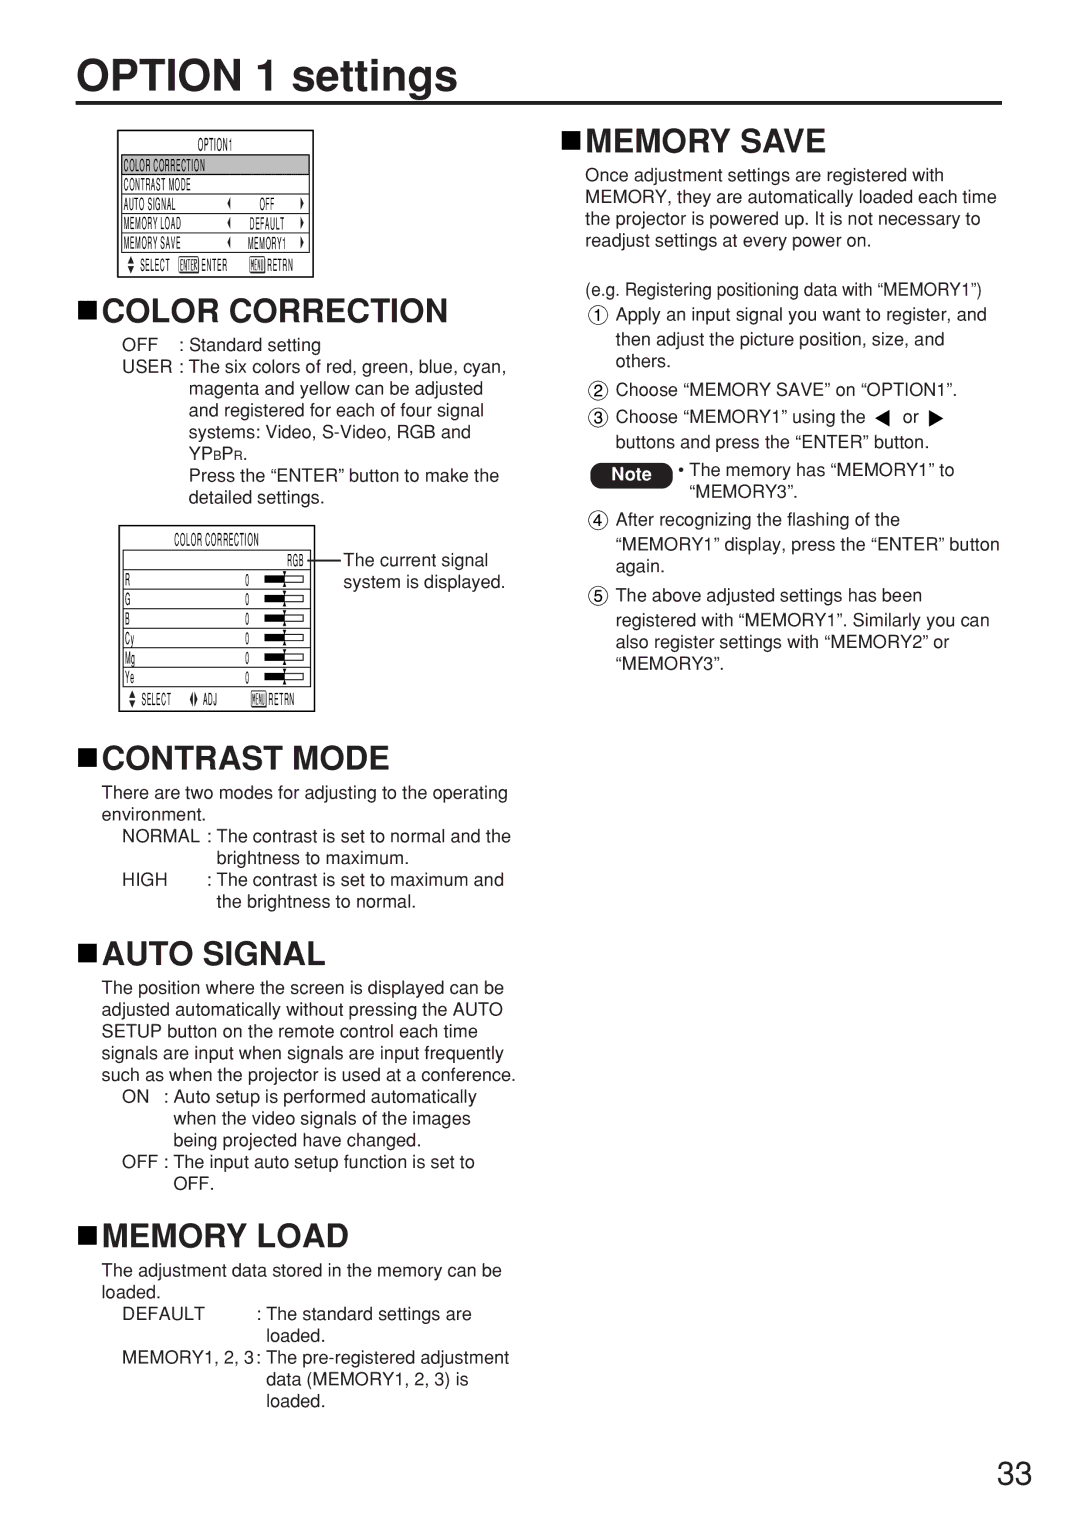
 COLOR CORRECTION
OFF : Standard setting
USER : The six colors of red, green, blue, cyan, magenta and yellow can be adjusted and registered for each of four signal systems: Video,
YPBPR.
Press the “ENTER” button to make the detailed settings.
| COLOR CORRECTION |
| The current signal |
R |
| RGB | |
0 |
| system is displayed. | |
G | 0 |
|
|
B | 0 |
|
|
Cy | 0 |
|
|
Mg | 0 |
|
|
Ye | 0 |
|
|
SELECT | ADJ | RETRN |
|
 CONTRAST MODE
There are two modes for adjusting to the operating environment.
NORMAL : The contrast is set to normal and the brightness to maximum.
HIGH : The contrast is set to maximum and the brightness to normal.
 AUTO SIGNAL
The position where the screen is displayed can be adjusted automatically without pressing the AUTO SETUP button on the remote control each time signals are input when signals are input frequently such as when the projector is used at a conference.
ON : Auto setup is performed automatically when the video signals of the images being projected have changed.
OFF : The input auto setup function is set to OFF.
 MEMORY LOAD
The adjustment data stored in the memory can be loaded.
DEFAULT : The standard settings are
loaded.
MEMORY1, 2, 3: The
 MEMORY SAVE
Once adjustment settings are registered with MEMORY, they are automatically loaded each time the projector is powered up. It is not necessary to readjust settings at every power on.
(e.g. Registering positioning data with “MEMORY1”)
![]() Apply an input signal you want to register, and then adjust the picture position, size, and others.
Apply an input signal you want to register, and then adjust the picture position, size, and others.
![]() Choose “MEMORY SAVE” on “OPTION1”.
Choose “MEMORY SAVE” on “OPTION1”.
![]() Choose “MEMORY1” using the
Choose “MEMORY1” using the ![]() or
or ![]() buttons and press the “ENTER” button.
buttons and press the “ENTER” button.
Note • The memory has “MEMORY1” to “MEMORY3”.
![]() After recognizing the flashing of the “MEMORY1” display, press the “ENTER” button again.
After recognizing the flashing of the “MEMORY1” display, press the “ENTER” button again.
![]() The above adjusted settings has been registered with “MEMORY1”. Similarly you can also register settings with “MEMORY2” or “MEMORY3”.
The above adjusted settings has been registered with “MEMORY1”. Similarly you can also register settings with “MEMORY2” or “MEMORY3”.
33
