Before using
ªOperating with remote control
The menu screen transition is the same as when the buttons on the main unit are used.
1Press the [MENU] button.
2Select a menu item.
≥Use the direction buttons (3, 2, 1, 4) and [ENTER] button in place of the joystick on the main unit.
3Press the [MENU] button to exit the menu screen.
Adjusting LCD monitor/viewfinder
ªAdjusting the brightness and color
level
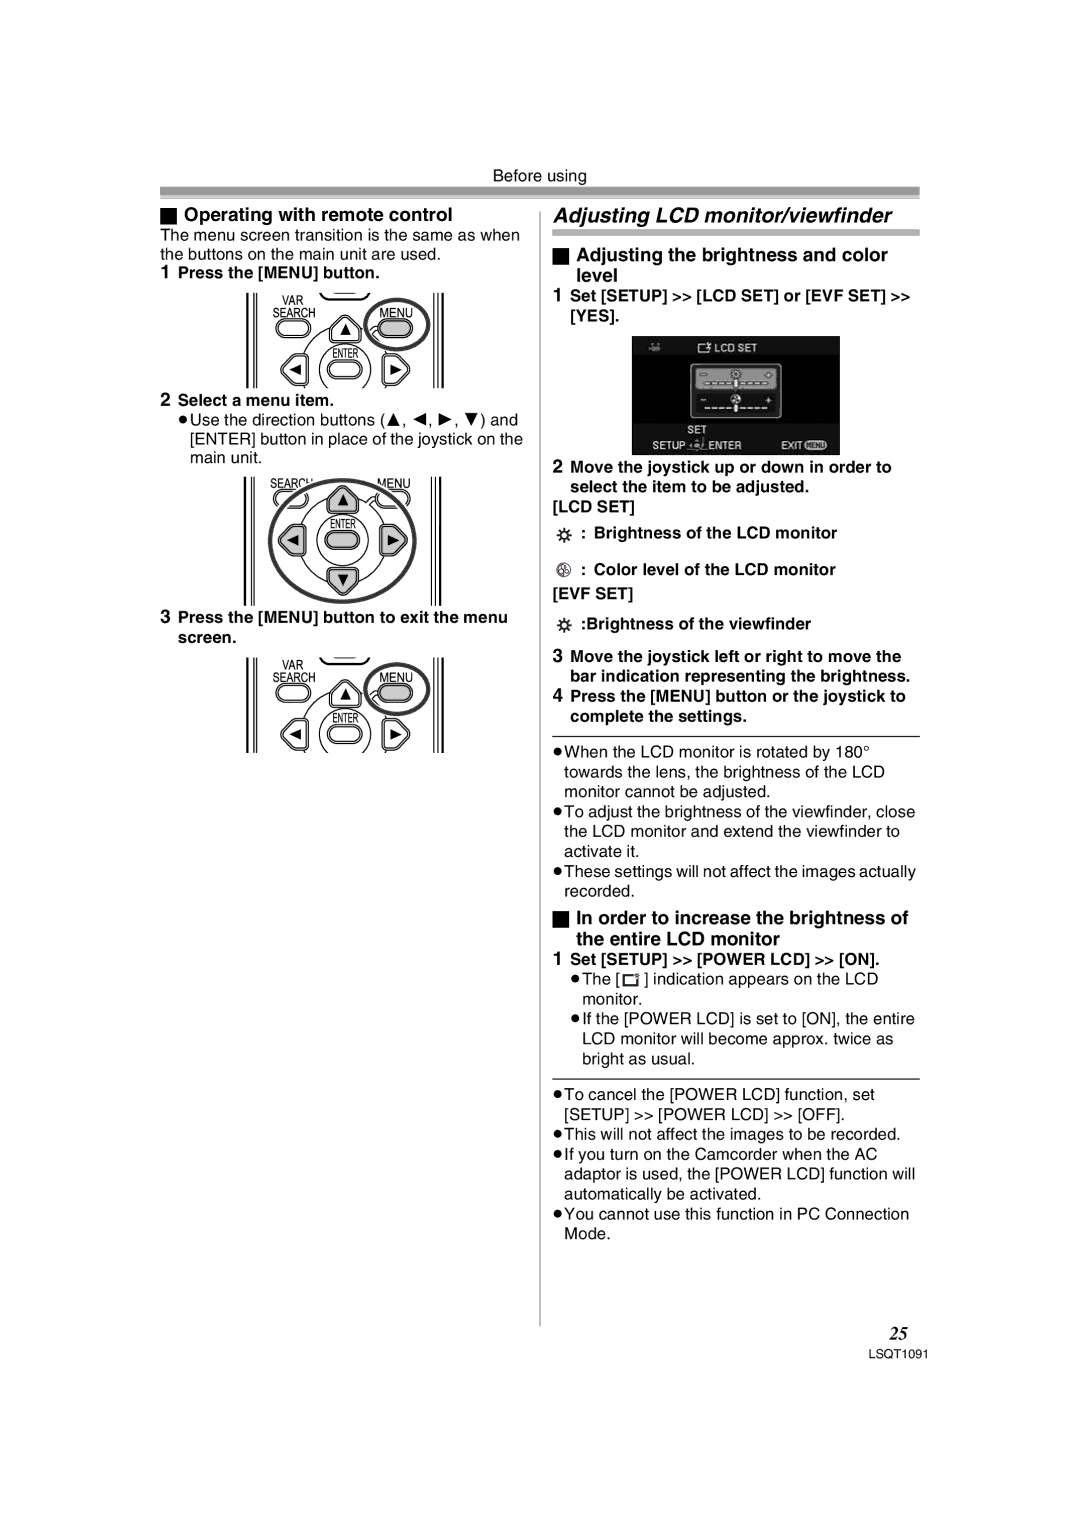
1Set [SETUP] >> [LCD SET] or [EVF SET] >> [YES].
2Move the joystick up or down in order to
select the item to be adjusted. [LCD SET]
![]() : Brightness of the LCD monitor
: Brightness of the LCD monitor
: Color level of the LCD monitor
[EVF SET]
![]() :Brightness of the viewfinder
:Brightness of the viewfinder
3Move the joystick left or right to move the bar indication representing the brightness.
4Press the [MENU] button or the joystick to complete the settings.
≥When the LCD monitor is rotated by 180° towards the lens, the brightness of the LCD monitor cannot be adjusted.
≥To adjust the brightness of the viewfinder, close the LCD monitor and extend the viewfinder to activate it.
≥These settings will not affect the images actually recorded.
ªIn order to increase the brightness of
the entire LCD monitor
1Set [SETUP] >> [POWER LCD] >> [ON].
≥The [ ![]() ] indication appears on the LCD monitor.
] indication appears on the LCD monitor.
≥If the [POWER LCD] is set to [ON], the entire LCD monitor will become approx. twice as bright as usual.
≥To cancel the [POWER LCD] function, set [SETUP] >> [POWER LCD] >> [OFF].
≥This will not affect the images to be recorded.
≥If you turn on the Camcorder when the AC adaptor is used, the [POWER LCD] function will
automatically be activated.
≥You cannot use this function in PC Connection Mode.
25
LSQT1091