With a PC
≥MotionDV STUDIO -57-:
Using the MotionDV STUDIO software allows you to capture video recorded on a tape or images viewed through the lens of a Camcorder. Connecting the Camcorder with the DV cable also allows you to output images edited on the personal computer to the tape in the Camcorder.
4Follow the instructions on the computer screen until the installation is complete.
≥Setup window will disappear when the installation is complete.
Note:
If a window does not appear automatically, click the “start” Button on your desktop and then click “Run”. When the “Run” Box is open, type in “D:\InstMenu.exe” and click “OK”. (“D” is used when the
Connecting Computer and
Camcorder
Before making these connections, turn off all devices, which are to be connected.
ªOperating environment
≥Despite having the operating environment indicated, it may not be possible to use the program with some types of personal computers.
For Windows
OS:
IBM® PC/AT compatible personal computer with
Microsoft Windows 2000 Professional
Microsoft Windows XP Home Edition/Professional
CPU:
Intel Pentium II 300 MHz or higher (including compatible CPU)
RAM:
32 MB or more (64 MB or more recommended)
Interface:
USB 1.1 or later — A type
≥The USB equipment operates with the driver installed as standard with the OS.
For Macintosh
OS:
Mac OS X v 10.3 to v 10.4
CPU:
PowerPC G3 (400 MHz or higher), G4, G5 Intel Core Duo, Intel Core Solo
RAM:
64 MB or more
≥The USB equipment operates with the driver installed as standard with the OS.
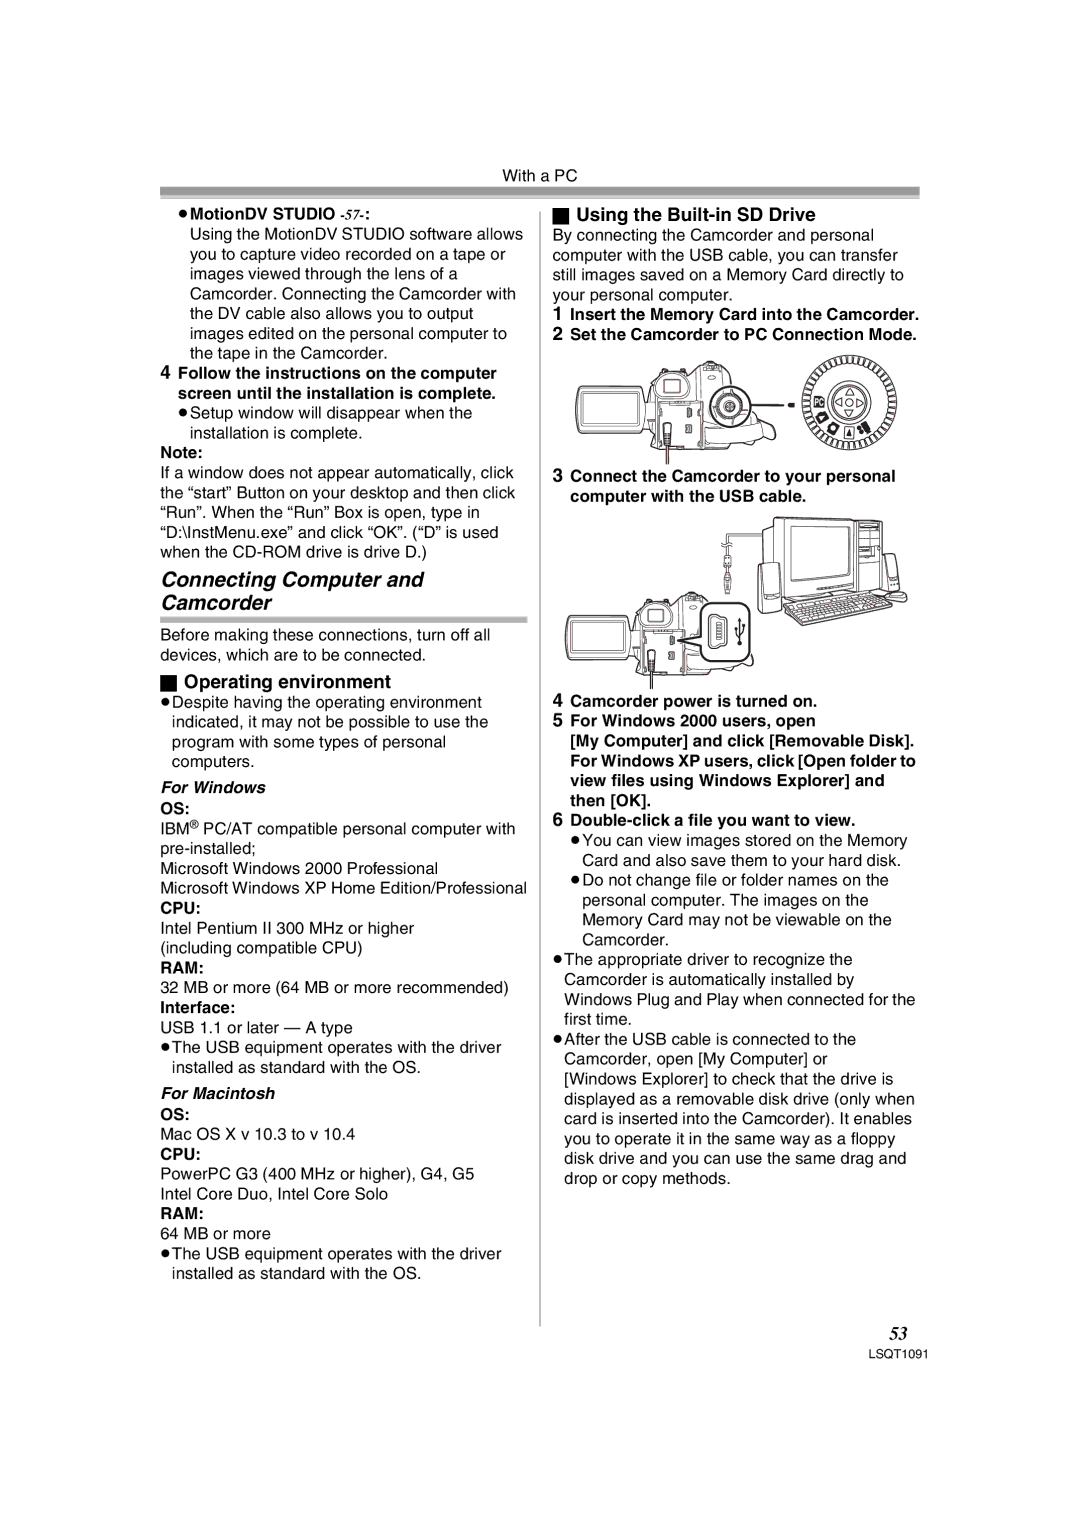
ªUsing the Built-in SD Drive
By connecting the Camcorder and personal computer with the USB cable, you can transfer still images saved on a Memory Card directly to your personal computer.
1Insert the Memory Card into the Camcorder.
2Set the Camcorder to PC Connection Mode.
3Connect the Camcorder to your personal computer with the USB cable.
4Camcorder power is turned on.
5For Windows 2000 users, open
[My Computer] and click [Removable Disk]. For Windows XP users, click [Open folder to view files using Windows Explorer] and then [OK].
6
≥You can view images stored on the Memory
Card and also save them to your hard disk. ≥Do not change file or folder names on the
personal computer. The images on the Memory Card may not be viewable on the Camcorder.
≥The appropriate driver to recognize the Camcorder is automatically installed by Windows Plug and Play when connected for the first time.
≥After the USB cable is connected to the Camcorder, open [My Computer] or [Windows Explorer] to check that the drive is displayed as a removable disk drive (only when card is inserted into the Camcorder). It enables you to operate it in the same way as a floppy disk drive and you can use the same drag and drop or copy methods.
53
LSQT1091