Manuals
/
Panasonic
/
Photography
/
Digital Camera
Panasonic
SV-AS10
operating instructions
Models:
SV-AS10
1
5
88
88
Download
88 pages
63.21 Kb
1
2
3
4
5
6
7
8
Troubleshooting
Specifications
Install
Charging error
Select on from Self timer
Connecting to PC
Warranty
Standard Accessories
About the Setup Menu
Insert the Battery
Page 5
Image 5
_
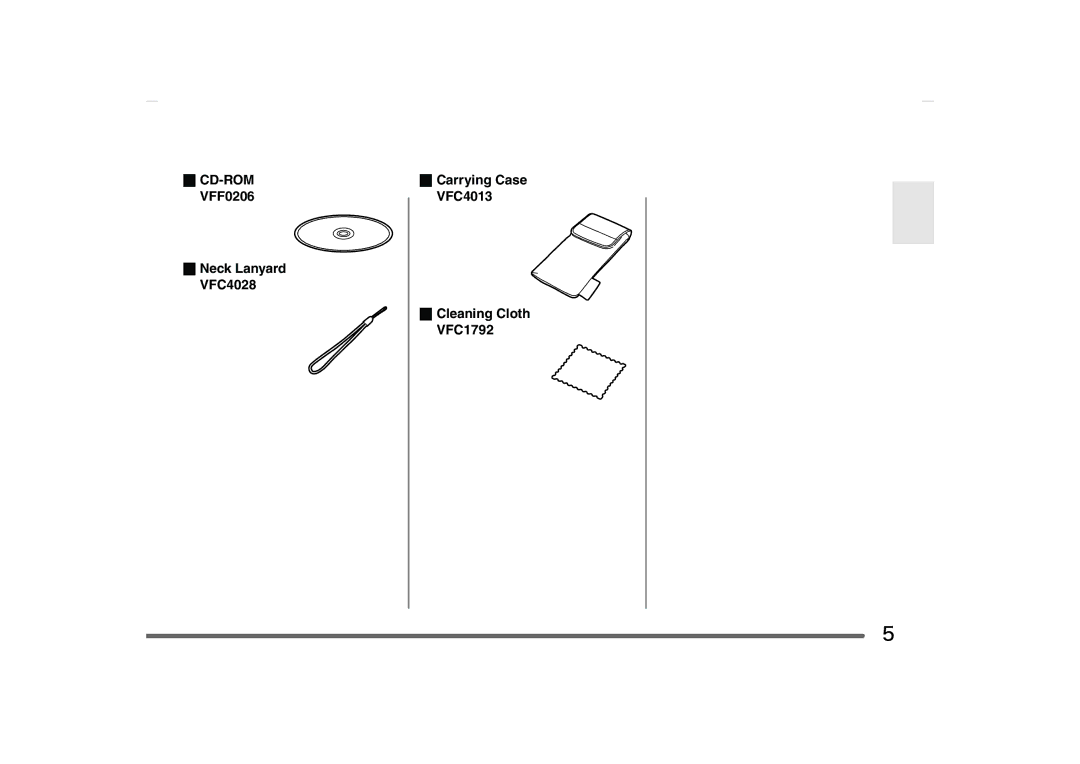
CD-ROM
VFF0206
_
Neck Lanyard VFC4028
_
Carrying Case VFC4013
_
Cleaning Cloth VFC1792
5
Page 4
Page 6
Page 5
Image 5
Page 4
Page 6
Contents
Before use, please read these instructions completely
SD Multi Camera Operating Instructions
Contents
Advanced Recording Others
SD Memory Card 8MB RP-SD008BVE0
Standard Accessories
Page
Dear Customer
Information for Your Safety
SV-AS10
FCC Note U.S. only
Components
Operating Power Button
Body
Operating Jog Ball
Stereo Earphones
Remote Controller
USB Cradle
Close the door Lock the door while sliding it
Insert the Battery
Remove the Battery
Charge the battery
Charging the Battery
Charging environment Charging error
Battery indicator
Charging Information
Charging time and available Recording time
Insert the Card
Open the door Close the door Lock the door while sliding it
Remove the Card
Lock
SD Memory Card supplied
Access to the card
About Cards
Basic Menu Operation
About the Setup Menu
On the Setup menu Set the year, month, day and time
Setting the Date/Time
Select Clock set from Clock set
Initial Use
Still Picture Access the menu. P17
Turn the power on
Select Still picture from REC mode
Taking a Picture
Press the screen reversal button to reverse a picture
Self-Recording Turn the lens
Take a picture
Digital zoom
When taking a horizontal picture
Taking a Picture Still Picture Macro How to hold the camera
When the lens is facing down
Recording Still Picture with Audio
Access the menu in the recording mode. P17
Select Still picture + Audio from REC mode
Select Burst from REC mode
Taking Pictures in Burst Mode
Recording Motion Images
Select Video from REC mode
Start recording
Stop recording
Recording Voice
Select Voice memo from REC Mode
Select the still pictures
Switch to the playback mode
Playing Back Still Pictures
Playing Back Still Picture with Audio
Select the picture with the motion
Playing Back Motion Images
Playing Back Voice
Adjusting the volume
Select Audio player from Play Mode
Access the menu in the playback mode. P17
Playing Back Music
Insert the card which includes music files
Adjusting the volume using Remote Controller
With the remote controller
Saving power consumption Power save
With this unit
Playing back repeatedly Repeat play
Switching the sound quality EQ using Remote Controller
Controller
Selecting playlist
Multi File Playback Thumbnail display
Select Thumbnail from Play mode
Select the type of the file
Select the file and press the jog ball
Erase file
Select the file. Only when selecting Erase one
Erasing Files
Flash on
Setting Flash
Auto
Setting Flash
Quality Size
Changing the Quality and Size of Picture
Select on from Self timer
Taking Pictures with the Self Timer
Access the menu in the recording Take a picture Mode. P17
Daylight
Setting the White Balance
Cloudy
Manual
Select Manual from White balance
Setting the White Balance Manual
Advanced setup
Setting the Application Menu
Exposure Compensation +
EV auto
Auto Review
ISO Sensitivity
ISO
Video Burst Still Picture with Audio
Using the Playback Zoom
Marking the Picture as a Favorite
Cancelling all marks
Mark
Attaching the Background music
Playing back Still Pictures on the Slide Show
Select Slide show from Play mode
Select the desired item from Slide
Show
Print
Setting the Still Pictures to be Printed Dpof print
About Dpof
About printing with date
Select Lock/Unlock from Lock
Preventing Accidental Erasure of Files Lock setting
Select Add audio from Arrange
Adding Audio to the Still Picture Audio dubbing
Press the jog ball to resize it
Resizing the Still Picture
Select the effect Monochrome, Sepia and press the jog ball
Altering the Color of the Still Picture Color Creator
Select Color creator from Arrange
Operating Environment
Connecting to PC
Click on USB Driver
Installing the USB driver Only for Windows 98SE/Me
Installation of SD Viewer is completed
Click SD-Jukebox Ver.4
Features of SD-Jukebox Ver.4
Installing SD-Jukebox Ver.4
Connect the USB cable and the AC adapter to the USB cradle
Connecting this unit to PC
Double click icon on the task tray
Removing the USB connection Cable safely
Click on OK
Click on USB Mass Storage Device, and click on Stop
Starting SD Viewer
Click on File # Exit
DCIM: SDAUDIO: Dcim
LCD Monitor Display
Menu Screen Display
Menu in the recording mode
Menu in the playback mode
Menu in the music playback mode
About this unit
Do not throw the battery into a fire
Battery
Be sure to detach the battery after use
When condensation has taken place
Charging error
AC adaptor Condensation
Causes of condensation
Be sure to pull out and store the card after use
Memory card
Picture data
16MB
Fine Normal
32MB
64MB
Format
LCD monitor
Messages
Insert the battery and insert this unit into the cradle
Battery remaining is insufficient. Recharge the battery
Switch to the playback mode when connecting this unit to PC
Processing the data. Please wait for a while
Question Answer
Trouble Shooting
Starting playback of a Music file
Screen has frozen LCD Monitor remains dark when
Specifications
Jpeg
Image Compression
Specifications
Memo
Limited Warranty Coverage
Limited Warranty For U.S.A. Only
Limited Warranty
Limited Warranty Limits And Exclusions
Carry-In or Mail-In Service
Customer Services Directory
Customer Services Directory For U.S.A. Only
Index
Preparación Insertar la batería Cargar la batería
Grabación Encender
F0803Sn0 50 a
Top
Page
Image
Contents