Setting the White Balance
Use this function to adjust the whiteness when a recorded scene looks bluish or reddish.
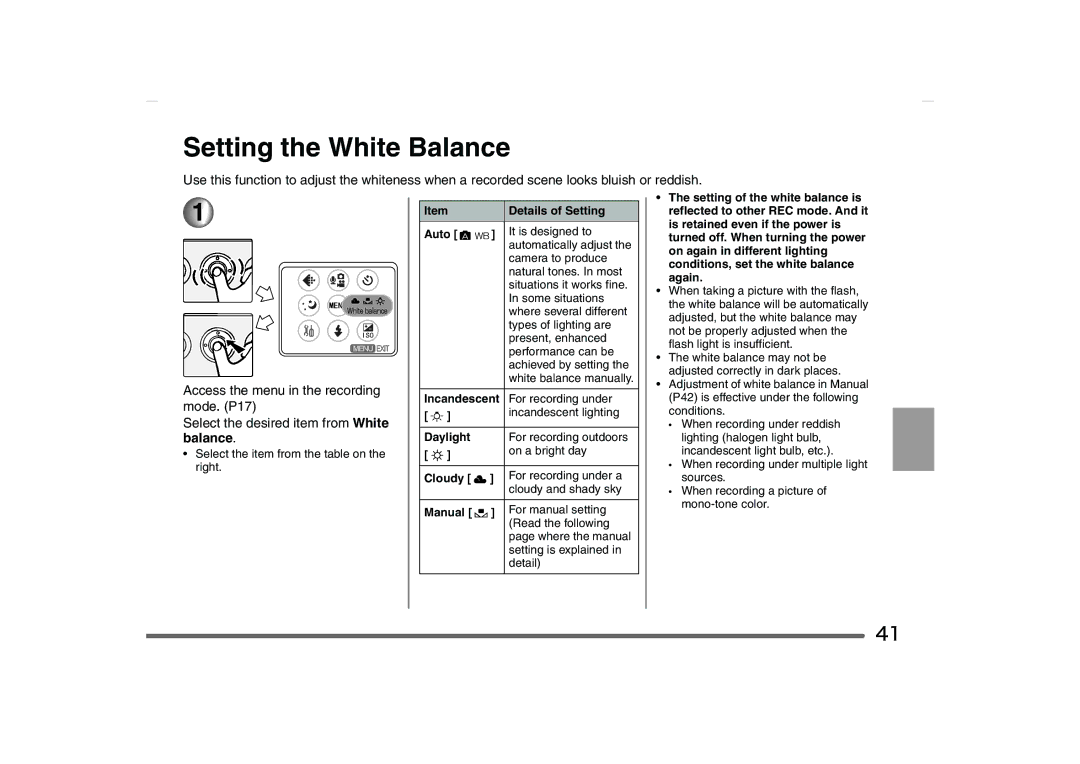
1![]()
Access the menu in the recording mode. (P17)
Select the desired item from White balance.
•Select the item from the table on the right.
Item |
|
| Details of Setting | |
Auto [ | ] | It is designed to | ||
|
|
|
| automatically adjust the |
|
|
|
| camera to produce |
|
|
|
| natural tones. In most |
|
|
|
| situations it works fine. |
|
|
|
| In some situations |
|
|
|
| where several different |
|
|
|
| types of lighting are |
|
|
|
| present, enhanced |
|
|
|
| performance can be |
|
|
|
| achieved by setting the |
|
|
|
| white balance manually. |
|
|
| ||
Incandescent | For recording under | |||
[ | ] |
|
| incandescent lighting |
|
|
|
| |
Daylight |
|
| For recording outdoors | |
[ | ] |
|
| on a bright day |
|
|
| ||
|
|
|
| |
Cloudy [ | ] | For recording under a | ||
|
|
|
| cloudy and shady sky |
|
|
|
| |
Manual [ |
| ] | For manual setting | |
| ||||
|
|
|
| (Read the following |
|
|
|
| page where the manual |
|
|
|
| setting is explained in |
|
|
|
| detail) |
|
|
|
|
|
•The setting of the white balance is reflected to other REC mode. And it is retained even if the power is turned off. When turning the power on again in different lighting conditions, set the white balance again.
•When taking a picture with the flash, the white balance will be automatically adjusted, but the white balance may not be properly adjusted when the flash light is insufficient.
•The white balance may not be adjusted correctly in dark places.
•Adjustment of white balance in Manual (P42) is effective under the following conditions.
•When recording under reddish lighting (halogen light bulb, incandescent light bulb, etc.).
•When recording under multiple light sources.
•When recording a picture of
![]() 41
41