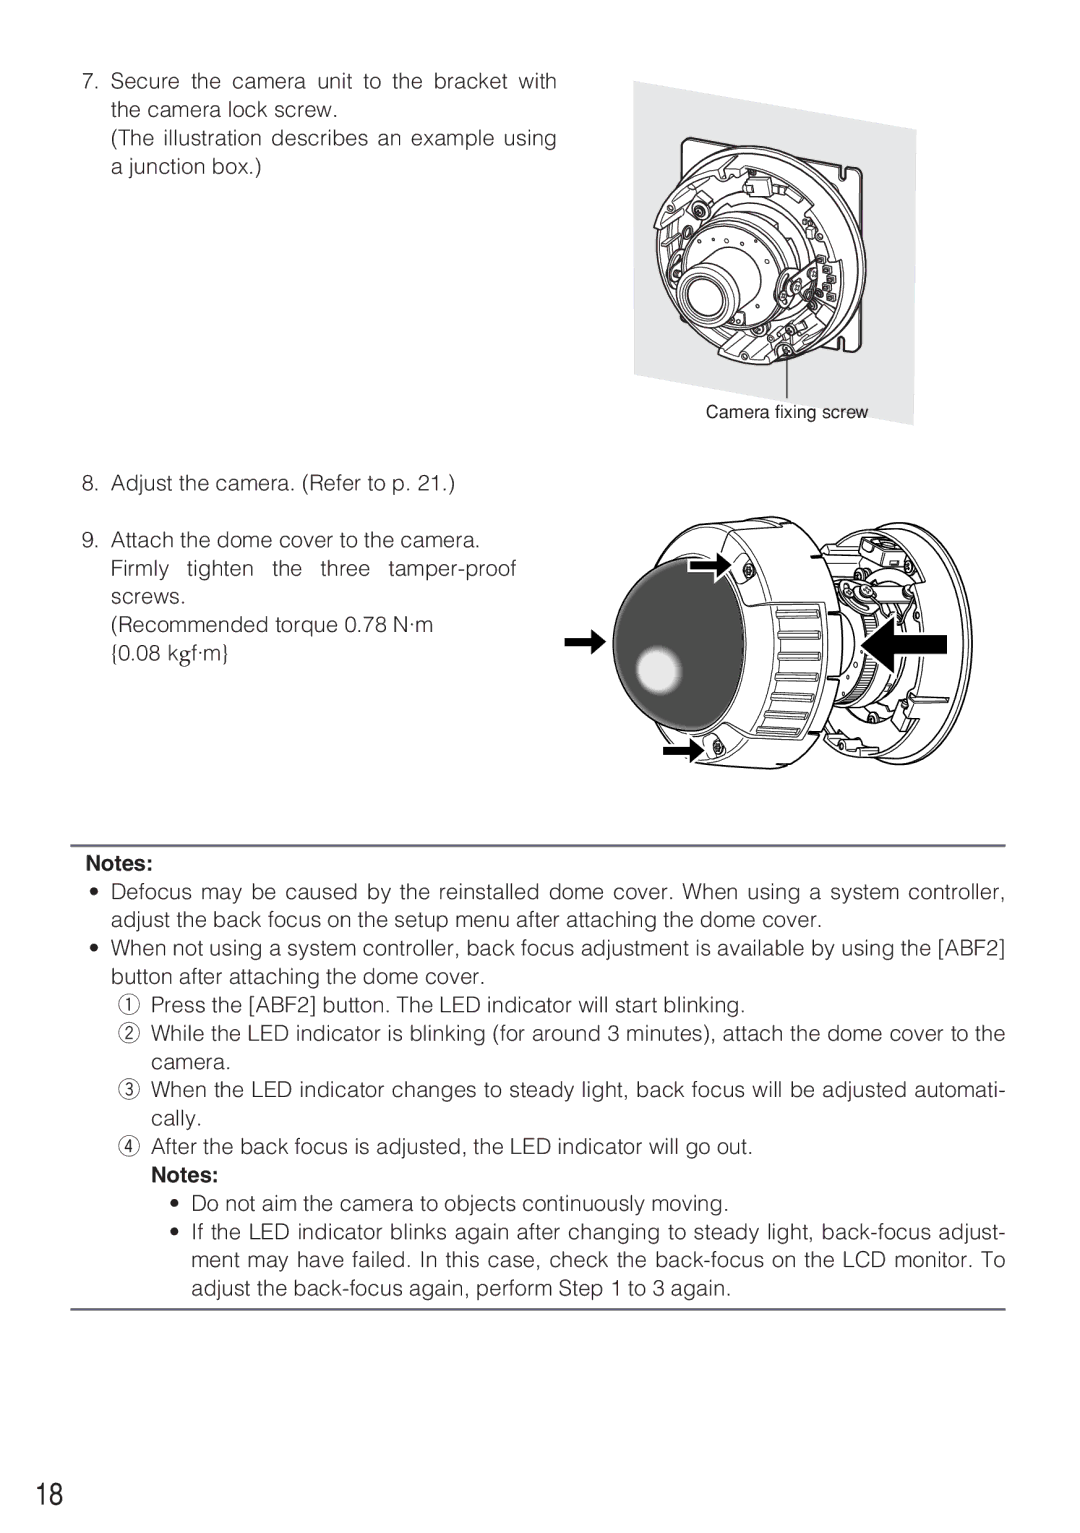
7. Secure the camera unit to the bracket with the camera lock screw.
(The illustration describes an example using a junction box.)
Camera fixing screw
8. Adjust the camera. (Refer to p. 21.)
9. Attach the dome cover to the camera. Firmly tighten the three
(Recommended torque 0.78 N·m {0.08 kgf·m}
Notes:
•Defocus may be caused by the reinstalled dome cover. When using a system controller, adjust the back focus on the setup menu after attaching the dome cover.
•When not using a system controller, back focus adjustment is available by using the [ABF2] button after attaching the dome cover.
q Press the [ABF2] button. The LED indicator will start blinking.
w While the LED indicator is blinking (for around 3 minutes), attach the dome cover to the camera.
e When the LED indicator changes to steady light, back focus will be adjusted automati- cally.
r After the back focus is adjusted, the LED indicator will go out.
Notes:
•Do not aim the camera to objects continuously moving.
•If the LED indicator blinks again after changing to steady light,
18