5.Aim the camera at the targeting objects and if applicable adjust the zoom angle.
6.Press the [DOWN] button.
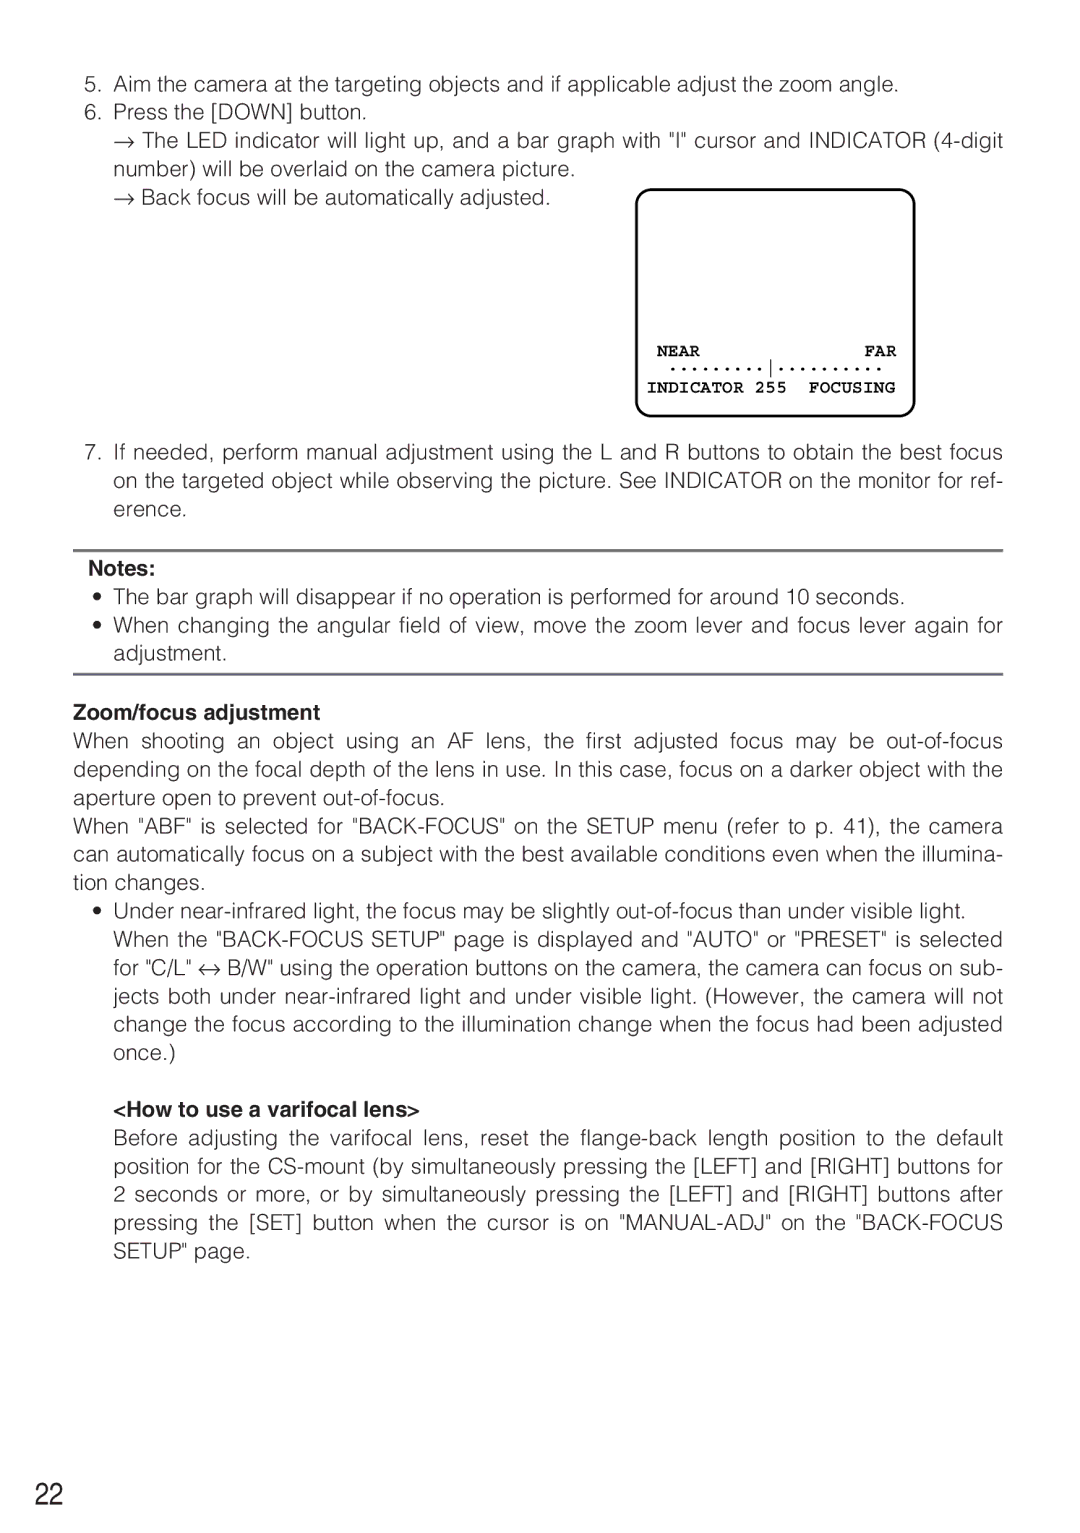
→The LED indicator will light up, and a bar graph with "I" cursor and INDICATOR (4-digit number) will be overlaid on the camera picture.
→Back focus will be automatically adjusted.
NEAR | FAR |
......... |
INDICATOR 255 | FOCUSING |
7.If needed, perform manual adjustment using the L and R buttons to obtain the best focus on the targeted object while observing the picture. See INDICATOR on the monitor for ref- erence.
Notes:
•The bar graph will disappear if no operation is performed for around 10 seconds.
•When changing the angular field of view, move the zoom lever and focus lever again for adjustment.
Zoom/focus adjustment
When shooting an object using an AF lens, the first adjusted focus may be out-of-focus depending on the focal depth of the lens in use. In this case, focus on a darker object with the aperture open to prevent out-of-focus.
When "ABF" is selected for "BACK-FOCUS" on the SETUP menu (refer to p. 41), the camera can automatically focus on a subject with the best available conditions even when the illumina- tion changes.
•Under near-infrared light, the focus may be slightly out-of-focus than under visible light.
When the "BACK-FOCUS SETUP" page is displayed and "AUTO" or "PRESET" is selected for "C/L" ↔ B/W" using the operation buttons on the camera, the camera can focus on sub-
jects both under near-infrared light and under visible light. (However, the camera will not change the focus according to the illumination change when the focus had been adjusted once.)
<How to use a varifocal lens>
Before adjusting the varifocal lens, reset the flange-back length position to the default position for the CS-mount (by simultaneously pressing the [LEFT] and [RIGHT] buttons for 2 seconds or more, or by simultaneously pressing the [LEFT] and [RIGHT] buttons after pressing the [SET] button when the cursor is on "MANUAL-ADJ" on the "BACK-FOCUS SETUP" page.