→When AUTO1 or AUTO2 is selected, LEVEL and DURATION TIME appear.
3.Select a threshold LEVEL to switch between the color and
HIGH: Switches the mode at around 5 lux illu- mination.
LOW: Switches the mode at around 1 lux illu- mination.
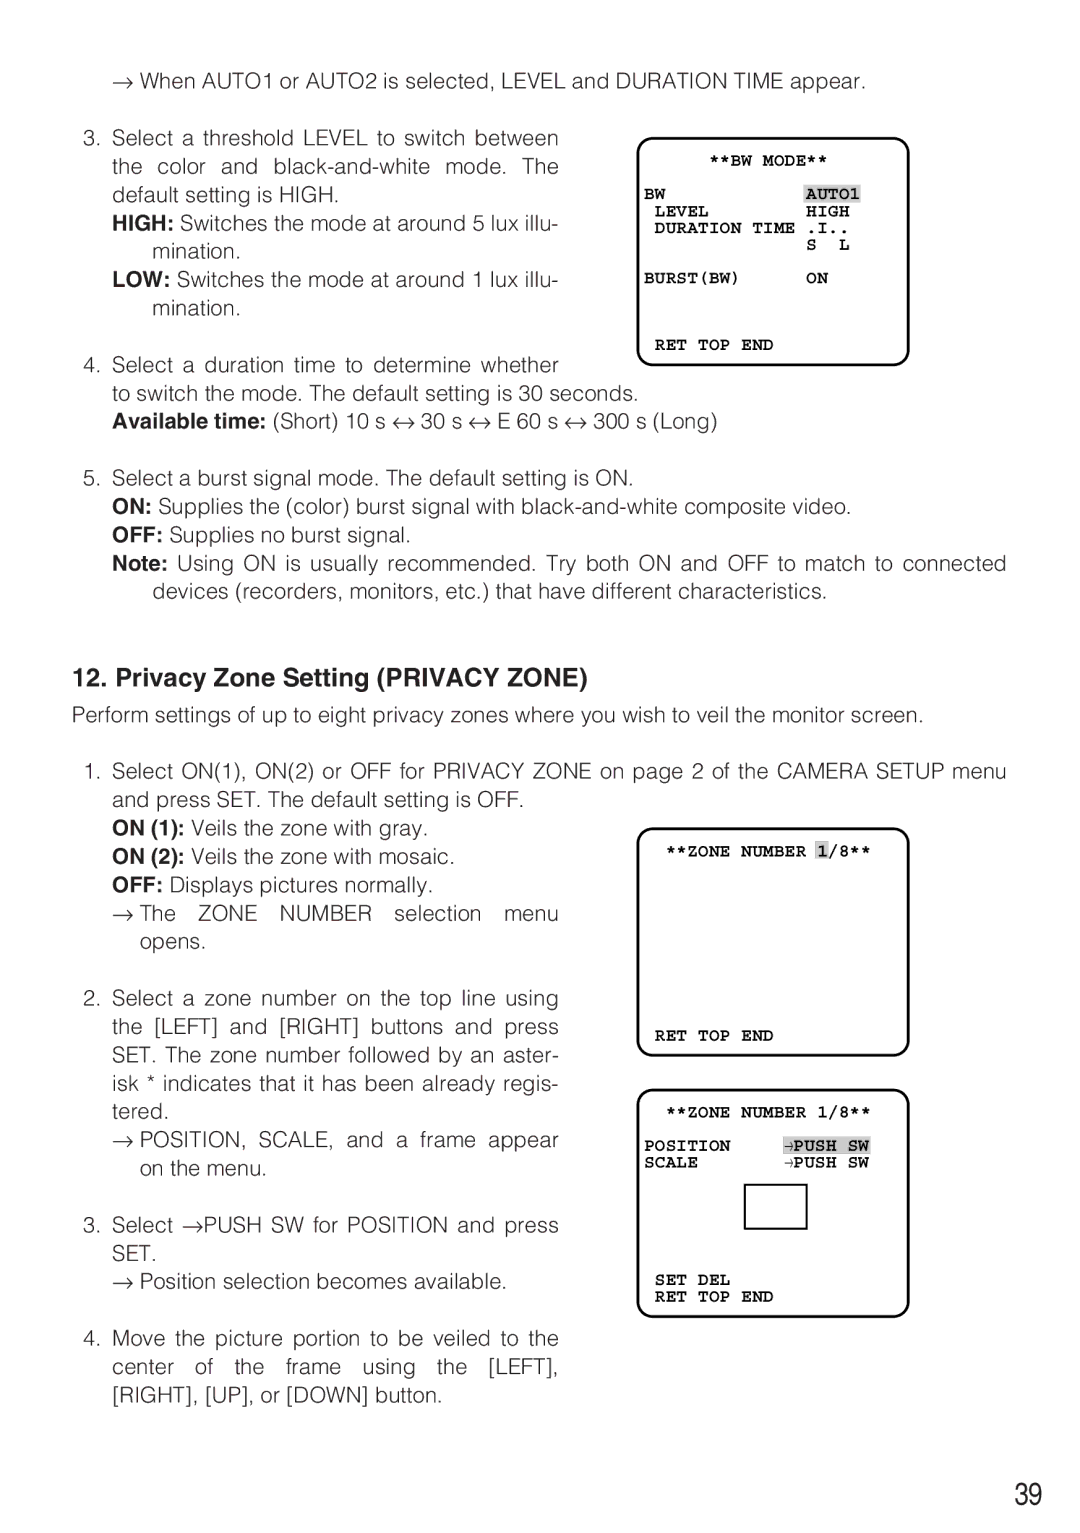
**BW MODE**
BW | AUTO1 |
LEVEL | HIGH |
DURATION TIME .I.. | |
| S L |
BURST(BW) | ON |
RET TOP END
4.Select a duration time to determine whether
to switch the mode. The default setting is 30 seconds. Available time: (Short) 10 s ↔ 30 s ↔ E 60 s ↔ 300 s (Long)
5.Select a burst signal mode. The default setting is ON.
ON: Supplies the (color) burst signal with
OFF: Supplies no burst signal.
Note: Using ON is usually recommended. Try both ON and OFF to match to connected devices (recorders, monitors, etc.) that have different characteristics.
12. Privacy Zone Setting (PRIVACY ZONE)
Perform settings of up to eight privacy zones where you wish to veil the monitor screen.
1.Select ON(1), ON(2) or OFF for PRIVACY ZONE on page 2 of the CAMERA SETUP menu and press SET. The default setting is OFF.
ON (1): Veils the zone with gray.
ON (2): Veils the zone with mosaic.
OFF: Displays pictures normally.
→The ZONE NUMBER selection menu opens.
2.Select a zone number on the top line using the [LEFT] and [RIGHT] buttons and press SET. The zone number followed by an aster- isk * indicates that it has been already regis- tered.
→POSITION, SCALE, and a frame appear on the menu.
3.Select →PUSH SW for POSITION and press SET.
→Position selection becomes available.
4.Move the picture portion to be veiled to the center of the frame using the [LEFT], [RIGHT], [UP], or [DOWN] button.
POSITION |
|
|
| |
→PUSH | SW | |||
SCALE | →PUSH | SW | ||
|
|
|
|
|
|
|
|
|
|
SET DEL
RET TOP END
39