Setting Procedures
First, select a language for menu display and camera ID display.
Language Setup (LANGUAGE SETUP)
1.Select LANGUAGE on the top menu and
press the [SET] button.
→ The LANGUAGE SETUP menu opens.
2.Select a language. The default setting is English.
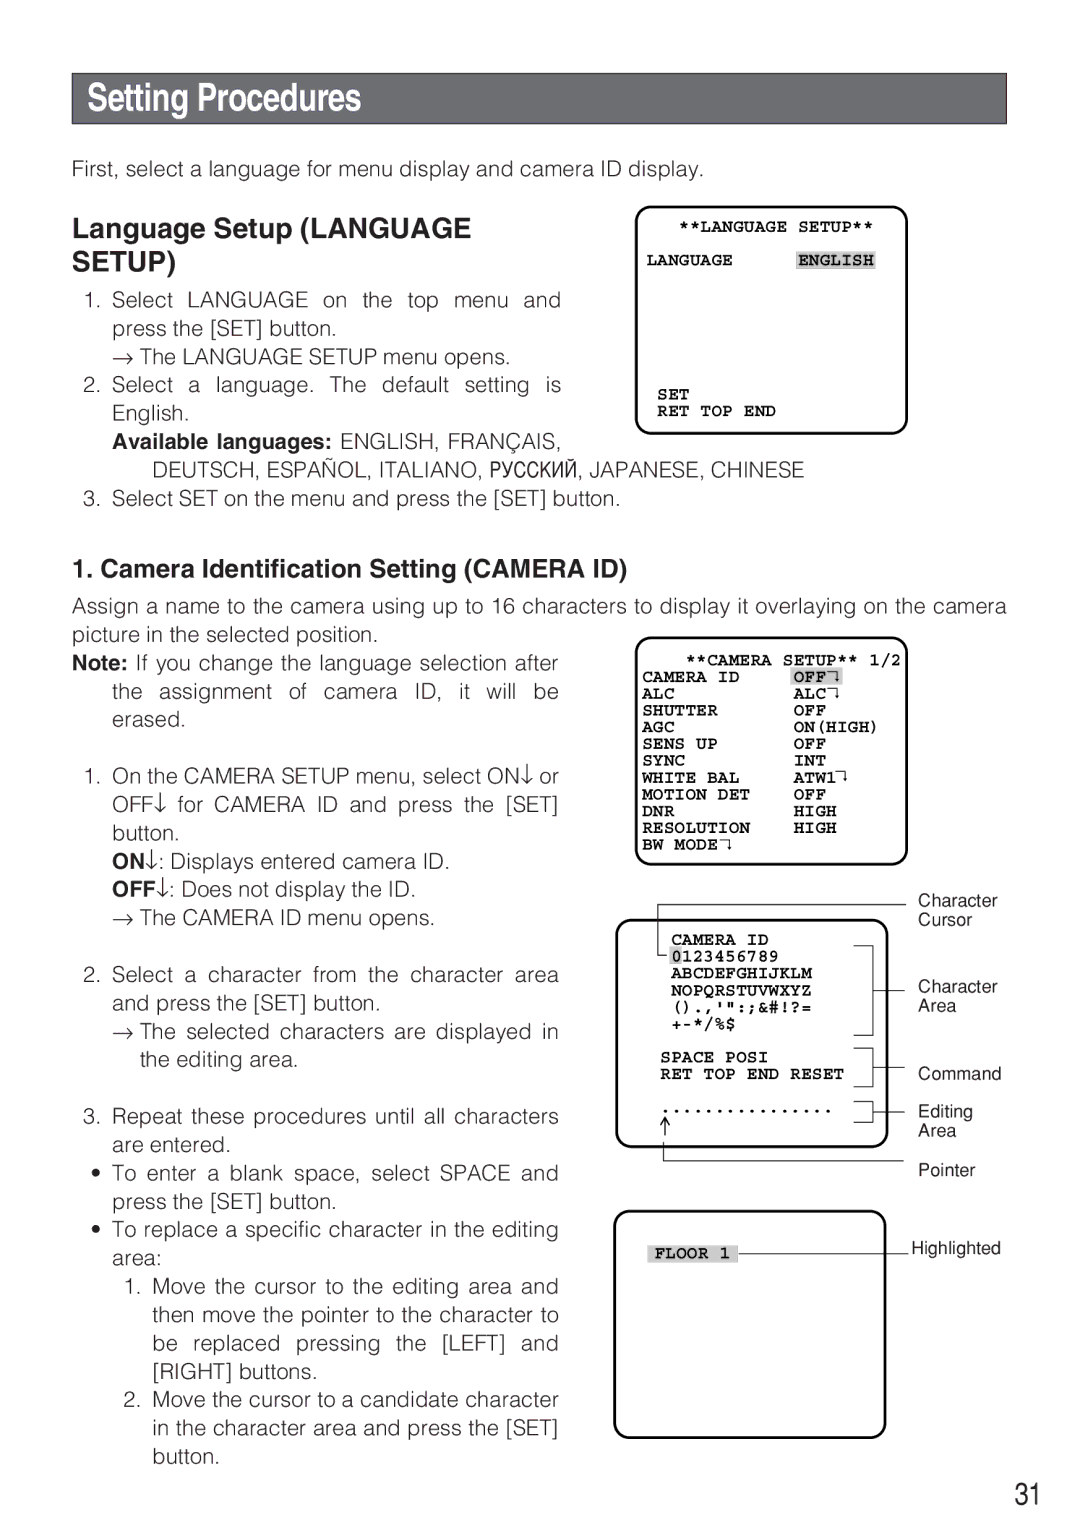
**LANGUAGE SETUP**
LANGUAGE ENGLISH
SET
RET TOP END
Available languages: ENGLISH, FRANÇAIS,
DEUTSCH, ESPAÑOL, ITALIANO, êìëëäàâ, JAPANESE, CHINESE
3.Select SET on the menu and press the [SET] button.
1.Camera Identification Setting (CAMERA ID)
Assign a name to the camera using up to 16 characters to display it overlaying on the camera
picture in the selected position. |
|
|
|
|
|
|
|
|
|
Note: If you change the language selection after |
|
| **CAMERA | SETUP** | 1/2 |
|
| ||
OFF↵ |
|
| |||||||
the assignment of camera ID, it will be | CAMERA ID |
|
|
|
|
| |||
ALC | ALC↵ |
|
|
|
|
| |||
erased. | SHUTTER | OFF |
|
| |||||
AGC | ON(HIGH) |
|
| ||||||
| SENS UP | OFF |
|
| |||||
1. On the CAMERA SETUP menu, select ON↓ or | SYNC | INT |
|
| |||||
WHITE BAL | ↵ |
|
| ||||||
ATW1 |
|
| |||||||
OFF↓ for CAMERA ID and press the [SET] | MOTION DET | OFF |
|
| |||||
DNR | HIGH |
|
| ||||||
button. | RESOLUTION | HIGH |
|
| |||||
ON↓: Displays entered camera ID. | BW MODE↵ |
|
|
|
|
|
| ||
|
|
|
|
|
|
|
|
| |
OFF↓: Does not display the ID. |
|
|
|
|
|
|
|
| Character |
→ The CAMERA ID menu opens. |
| CAMERA ID |
|
|
|
|
| Cursor | |
|
|
|
|
|
|
|
| ||
2. Select a character from the character area |
| 0 | 123456789 |
|
|
|
|
|
|
|
|
|
|
|
|
| |||
|
| ABCDEFGHIJKLM |
|
| Character | ||||
and press the [SET] button. |
| NOPQRSTUVWXYZ |
|
| |||||
|
| ||||||||
().,'":;&#!?= |
|
|
|
| Area | ||||
→ The selected characters are displayed in |
|
|
|
|
|
| |||
|
|
|
|
|
|
|
|
| |
the editing area. |
| SPACE POSI |
|
|
|
|
| Command | |
|
|
|
|
|
| ||||
|
| RET TOP END RESET |
|
|
| ||||
3.Repeat these procedures until all characters are entered.
•To enter a blank space, select SPACE and press the [SET] button.
•To replace a specific character in the editing area:
1.Move the cursor to the editing area and then move the pointer to the character to be replaced pressing the [LEFT] and [RIGHT] buttons.
2.Move the cursor to a candidate character in the character area and press the [SET] button.
................
FLOOR 1
Editing
Area
Pointer
Highlighted
31