ALL RESOLUTION MENU
Use this menu to set the resolution for all cameras. If you want to use different resolutions for the cameras, set the resolutions in the Camera menu (previous section).
NOTES: Setting the resolution in this menu will overwrite all camera resolution settings made in the individual camera settings (step 12 of previous section).
Higher resolutions require more disk storage space, reducing the recording time; lower resolutions need less disk space, increasing the recording time.
Skip steps 1 and 2 if you are already in the Setup Menu.
1. Press and hold the Function button. The Function Key List appears. Keep holding the Function button.
FUNCTION KEY LIST
0 : Setup
1 : Camera 1 recording/stop
2 : Camera 2 recording/stop
3 : Camera 3 recording/stop
4 : Camera 4 recording/stop
5 : All the cameras recording
6 : All the cameras stop
![]()
![]() : Alarm On : Alarm Off
: Alarm On : Alarm Off
2. Press and release the 0 button, and then release the Function button. Enter the password if requested. The Setup Menu appears.
SETUP MENU
Camera/Audio
All Resolution
Alarm Output
Time
Password
Program Update
Exit
Help: ON
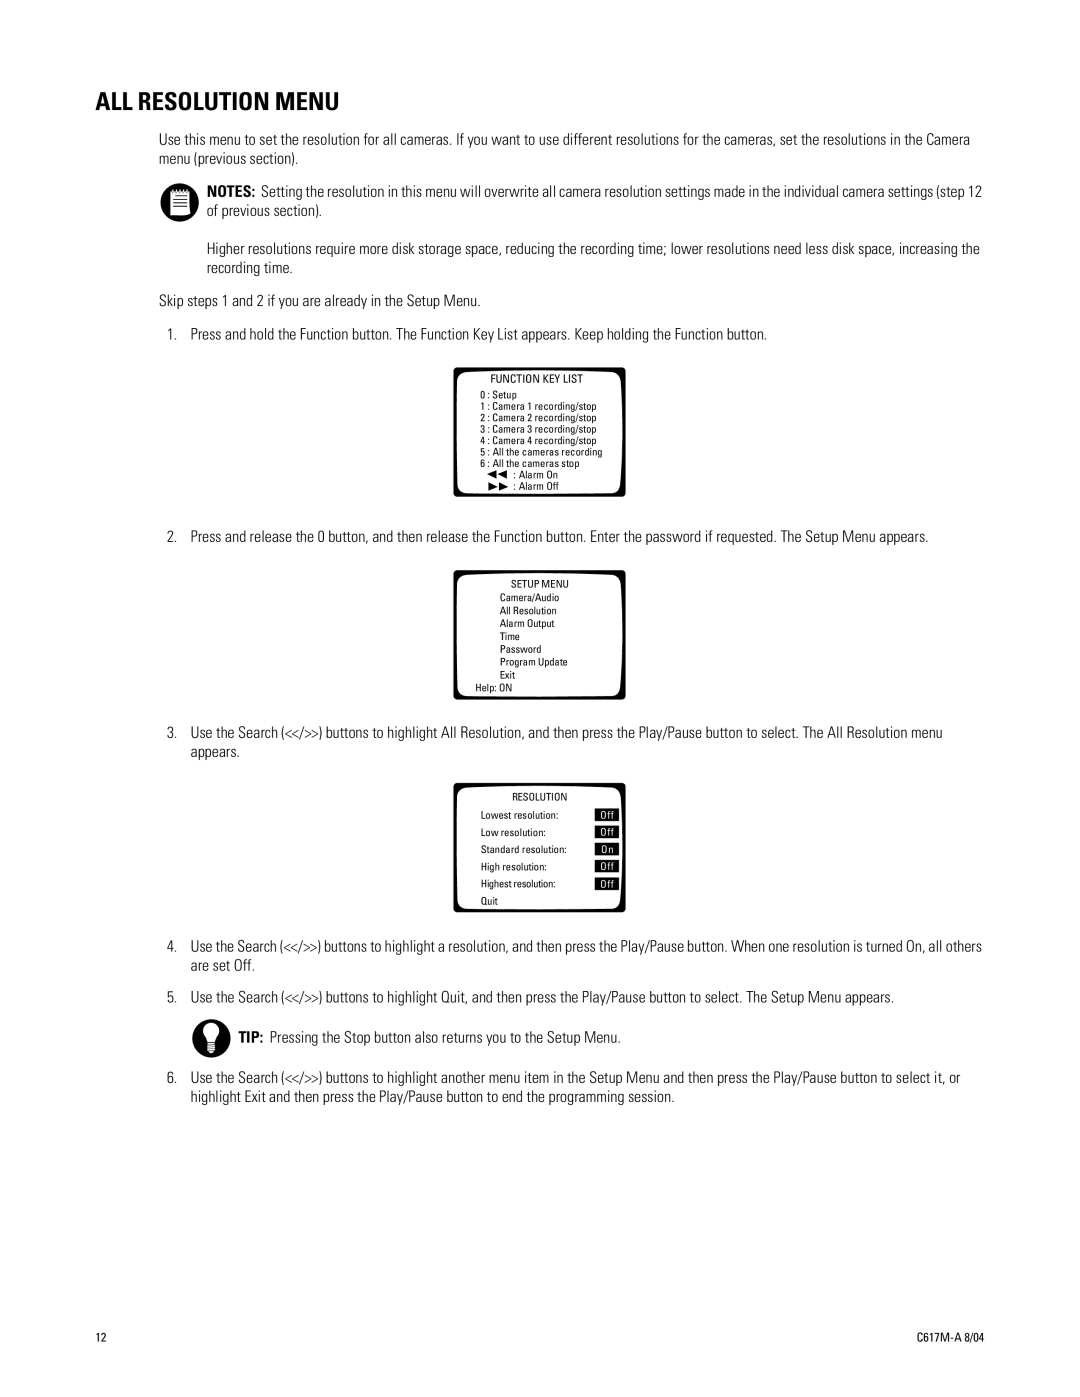
3.Use the Search (<</>>) buttons to highlight All Resolution, and then press the Play/Pause button to select. The All Resolution menu appears.
RESOLUTION
Lowest resolution:
Low resolution:
Standard resolution:
High resolution:
Highest resolution:
Quit
Off
Off
On
Off
Off
4.Use the Search (<</>>) buttons to highlight a resolution, and then press the Play/Pause button. When one resolution is turned On, all others are set Off.
5.Use the Search (<</>>) buttons to highlight Quit, and then press the Play/Pause button to select. The Setup Menu appears.
TIP: Pressing the Stop button also returns you to the Setup Menu.
6.Use the Search (<</>>) buttons to highlight another menu item in the Setup Menu and then press the Play/Pause button to select it, or highlight Exit and then press the Play/Pause button to end the programming session.
12 |