Pelco AD2088 manual Rack Mount Installation, Tighten the Thumbscrew to Secure the Unit

Models: AD2088

1 44
Download 44 pages 25.55 Kb
Page 12
Image 12

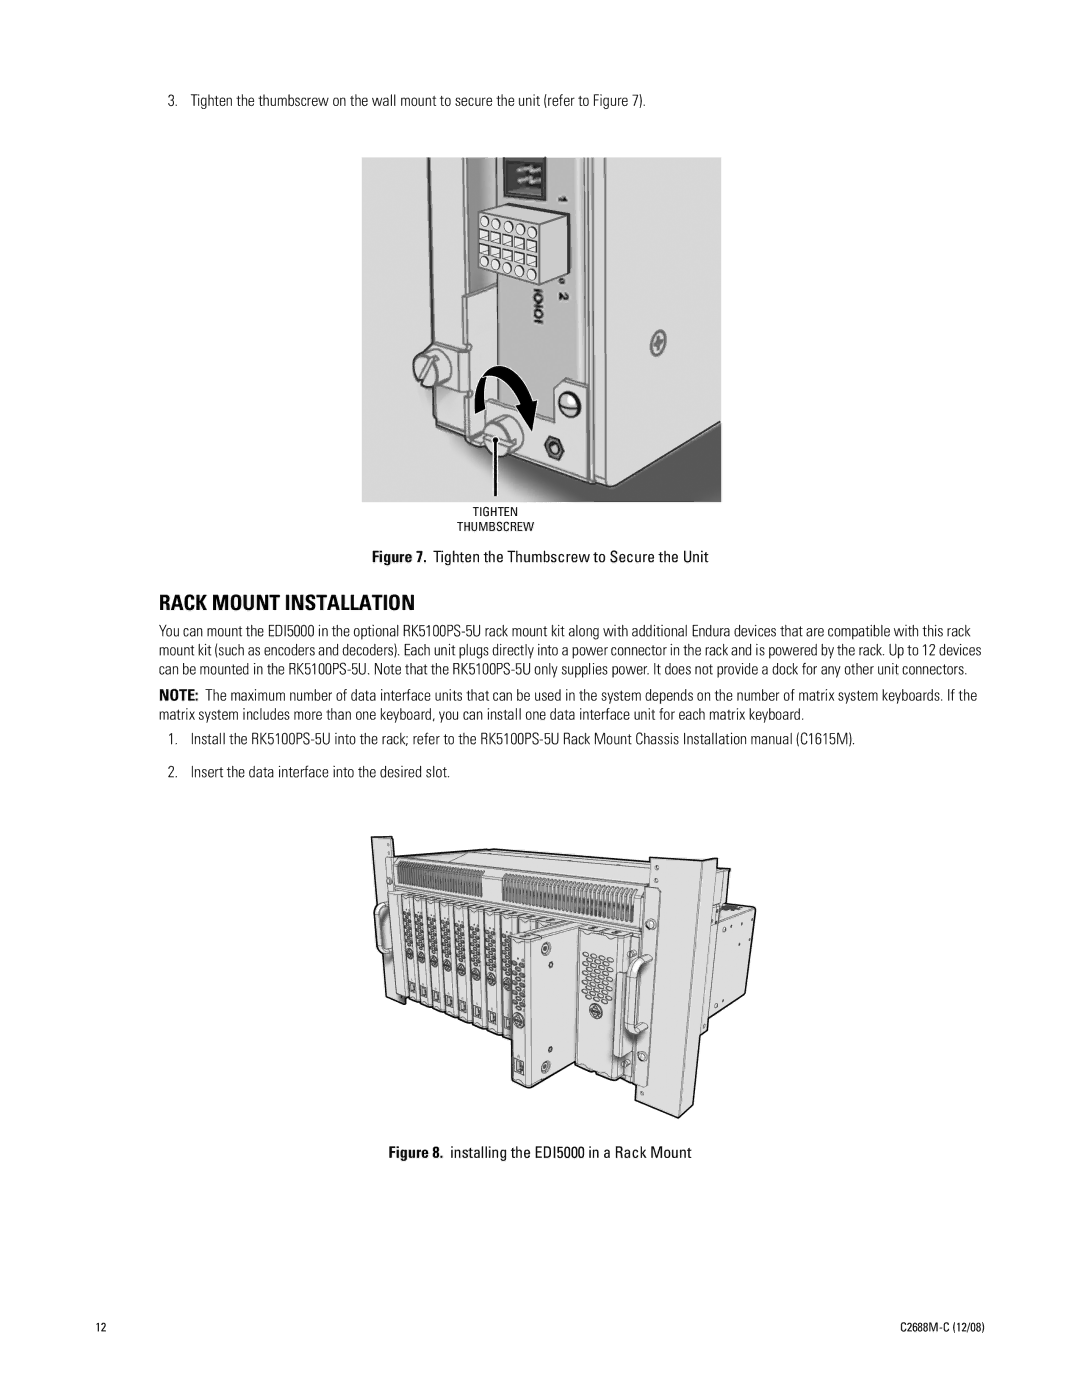
3. Tighten the thumbscrew on the wall mount to secure the unit (refer to Figure 7).

TIGHTEN

THUMBSCREW

Figure 7. Tighten the Thumbscrew to Secure the Unit

RACK MOUNT INSTALLATION

You can mount the EDI5000 in the optional RK5100PS-5U rack mount kit along with additional Endura devices that are compatible with this rack mount kit (such as encoders and decoders). Each unit plugs directly into a power connector in the rack and is powered by the rack. Up to 12 devices can be mounted in the RK5100PS-5U. Note that the RK5100PS-5U only supplies power. It does not provide a dock for any other unit connectors.

NOTE: The maximum number of data interface units that can be used in the system depends on the number of matrix system keyboards. If the matrix system includes more than one keyboard, you can install one data interface unit for each matrix keyboard.

1.Install the RK5100PS-5U into the rack; refer to the RK5100PS-5U Rack Mount Chassis Installation manual (C1615M).

2.Insert the data interface into the desired slot.

Figure 8. installing the EDI5000 in a Rack Mount

12

C2688M-C (12/08)

Page 12
Image 12
Pelco AD2088 manual Rack Mount Installation, Tighten the Thumbscrew to Secure the Unit