3.Models with a wiper: Remove the wiper arm and the green bushing from the unit (refer to Figure 14).
4.Slide the camera module out of the enclosure.
WARNING: Never force the camera module into the enclosure.
5.Install the new camera module by doing the following:
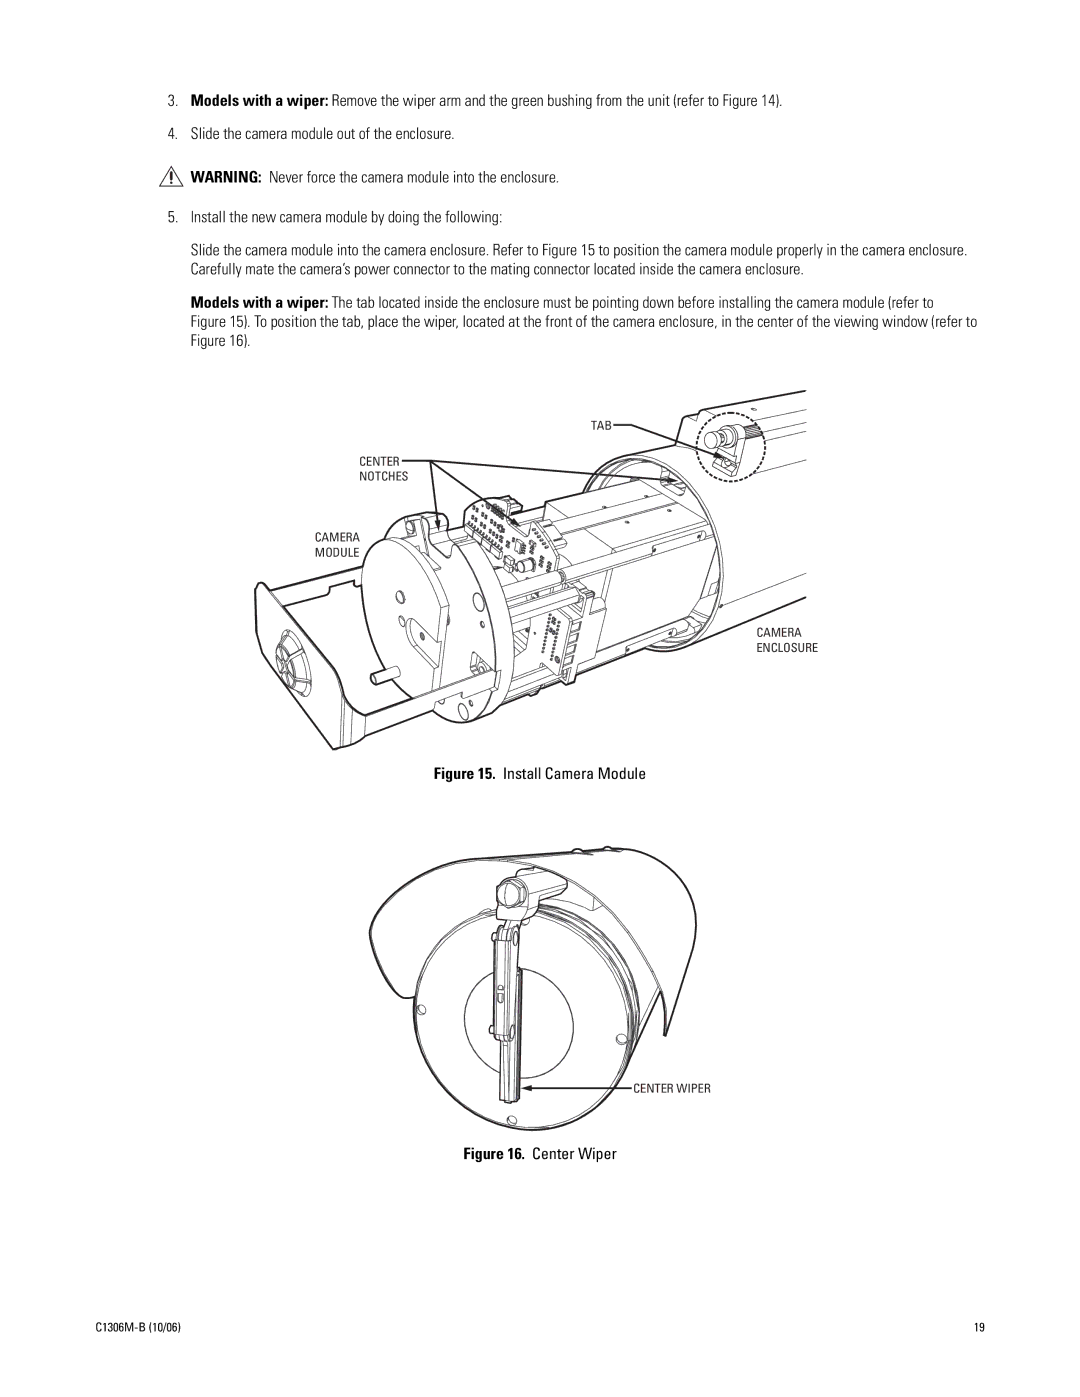
Slide the camera module into the camera enclosure. Refer to Figure 15 to position the camera module properly in the camera enclosure. Carefully mate the camera’s power connector to the mating connector located inside the camera enclosure.
Models with a wiper: The tab located inside the enclosure must be pointing down before installing the camera module (refer to
Figure 15). To position the tab, place the wiper, located at the front of the camera enclosure, in the center of the viewing window (refer to Figure 16).
TAB
CENTER
NOTCHES
CAMERA
MODULE
CAMERA
ENCLOSURE
Figure 15. Install Camera Module
CENTER WIPER
Figure 16. Center Wiper
19 |