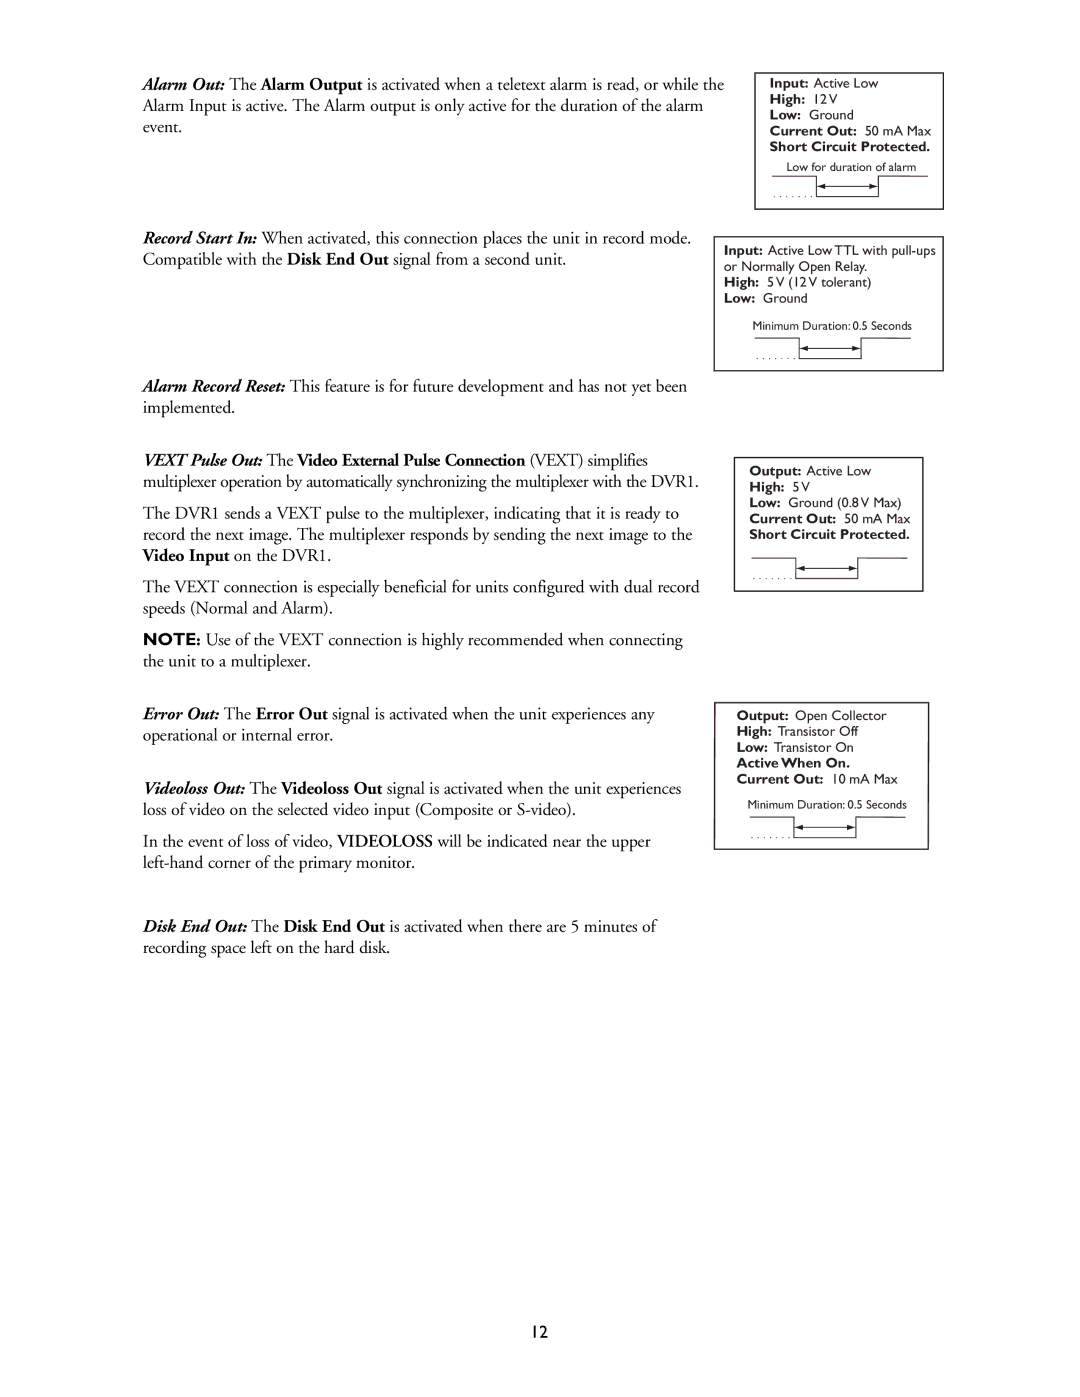
Applicable Models DVR1EP08, DVR1EP16, DVR1EP32, and DVR1EP32A
Installation Instructions
DVR1 Series Single Channel, Color Digital Video Recorder
IMPORTANT SAFEGUARDS
FCC & ICES INFORMATION
U.S.A. and Canadian Models Only
The Americas 1 800 326 Europe & Middle East 31 40 278
SAFETY PRECAUTIONS
SECURITE
CAUTION Lithium Battery
SICHERHEITSVORKEHRUNGEN
PRECAUCIONES DE SEGURIDAD
VEILIGHEIDSMAATREGELENSICUREZZA
VOORZICHTIG
ATTENZIONE
MEDIDAS DE SEGURANÇA
ZASADY BEZPIECZEŃSTWA
CUIDADO
UWAGA
TABLE OF CONTENTS
SECTION 1 INTRODUCTION TO THE DVR1 SERIES DIGITAL VIDEO RECORDERS
SECTION 3 GUIDE TO THE DVR1 CONTROLS
SECTION 4 DVR1 MAIN MENU PROGRAMMING
APPENDIX D INSTALLATION GUIDE FOR THE COMBINED PHILIPS MULTIPLEXER
SECTION 8 SERVICE AND RETURNS
APPENDIX A FACTORY DEFAULT SETTINGS
APPENDIX B TECHNICAL SPECIFICATIONS
SECTION 1 INTRODUCTION TO THE DVR1 SERIES DIGITAL VIDEO RECORDERS
1.1 Guide to This Manual
1.2 Unpacking
1.3 Understanding the DVR1 Series
SECTION 2 INSTALLING THE DVR1
2.2 Connecting the DVR1
2.1 Mounting
3. When all connections have been completed, apply power to the system
Alarm Out The Alarm Output is activated when a teletext alarm is read, or while the Alarm Input is active. The Alarm output is only active for the duration of the alarm event
105545A STOP 05/19/0060p
SECTION 3 GUIDE TO THE DVR1 CONTROLS
Main Menu Record Settings Normal Record Speed
3.3 Navigating with the DVR1 Controls
To save changes and exit the pop-up menu select OK and/or press ENTER
Not highlighted
SECTION 4 DVR1 MAIN MENU PROGRAMMING
Main Menu Alarms
Whether the DVR1 will activate an alarm condition when the unit
detects a signal on the Alarm In connection of the Accessories PCB
4.4 Configuring Scheduled Recordings
Main Menu Timer Settings
4.5 Configuring the Recording Parameters
Main Menu Record Settings
4.6 Configuring On-screen Display Options
Main Menu Display Settings
Main Menu Archive Setup
Main Menu Archive Setup Selective Archive
Main Menu Archive Setup Restore From Archive
Main Menu Archive Setup Background Archive
Main Menu Archive Setup Archive Overwrite Mode
Main Menu Archive Setup Erase Archive Medium
4.8 Accessing the Advanced Menu
ERASING MEDIA
4.9 About DSR
SECTION 5 DVR1 ADVANCED MENU PROGRAMMING
5.4 Erasing, Deleting, and Recovering Hard Disk Data
Advanced Menu Disk Maintenance
Advanced Menu Audio Record Setting
5.6 Using the Auto Delete Feature
your system configuration ensures proper playback
Advanced Menu Adjust Picture
sub-menu. Use the Up/Down Arrows to increase/decrease the setting
display when MENU is pressed
Advanced Menu Factory Settings
Advanced Menu Change Password
PASSWORD BOX PLEASE ENTER THE FACTORY PASSWORD
PASSWORD BOX ENTER A NEW PASSWORD
SECTION 6 OPERATING THE DVR1 SERIES
105545A
11/17/00
0.2p
123445A PLAY 12/17/000.2p
6.3 Playback
Which recorded alarms are to be searched
Use this screen to specify the following
Start and stop date of the search
Start and stop time of the search
SECTION 7 ARCHIVING
7.2 Using CD-Writers
7.1 Archiving Applications Explained
Minimum Write Speed Minimum Read Speed Interface SCSI-2
7.3 Creating a CD-ROM with Video Files
7.4 Limitations on CD Operations
SECTION 8 SERVICE AND RETURNS
8.1 Maintenance
8.2 Factory Service
DO NOT OPEN THE TOP COVER OR ATTEMPT TO SERVICE THE UNIT AS THIS
APPENDIX A FACTORY DEFAULT SETTINGS
SETTING
FUNCTION
APPENDIX B TECHNICAL SPECIFICATIONS
GENERAL
CONNECTIONS
AUDIO/VIDEO
ON-SCREEN VIDEO INDICATORS
PART NUMBERS
APPENDIX C REO QUICK INSTALL GUIDE
1.3 Installation
1.1 Introduction
1.2 Required Software Version
1.4 Programming the REO System monitor
1.5 Programming the DVR1
Select MENU ADVANCED MENU, then press ENTER
Select MULTIPLEXER FORMAT, then ENTER Select PHILIPS REO, then ENTER
APPENDIX D INSTALLATION GUIDE FOR THE COMBINED PHILIPS
MULTIPLEXER, INTUIKEY KEYBOARD & DVR1 SERIES SYSTEM
ADVANCED MENU → MULTIPLEXER FORMAT PHILIPS
ADVANCED MENU → COMMUNICATIONS → BAUD RATE
1.4 DVR1 Keyboard Menus
1.4.2 DVR1 Playback Controls Menu
Pause, Play Forward, Play Reverse
Increase Speed, Decrease Speed
APPENDIX E RS-232 REMOTE PROTOCOL
1.1 Supported Command Sequences
1.2 Setting the Clock
Example
02 43 4C 4B 20 30 30 2D 31 32 2D 32 35 2C 31 34 3A 33 39 03 Enter
Updated January 06, 2003. Data subject to change without
3935 890 36813
2003 Bosch Security Systems, Inc
Printed In U.S.A