4.4Configuring Scheduled Recordings
Main Menu ➝ Timer Settings
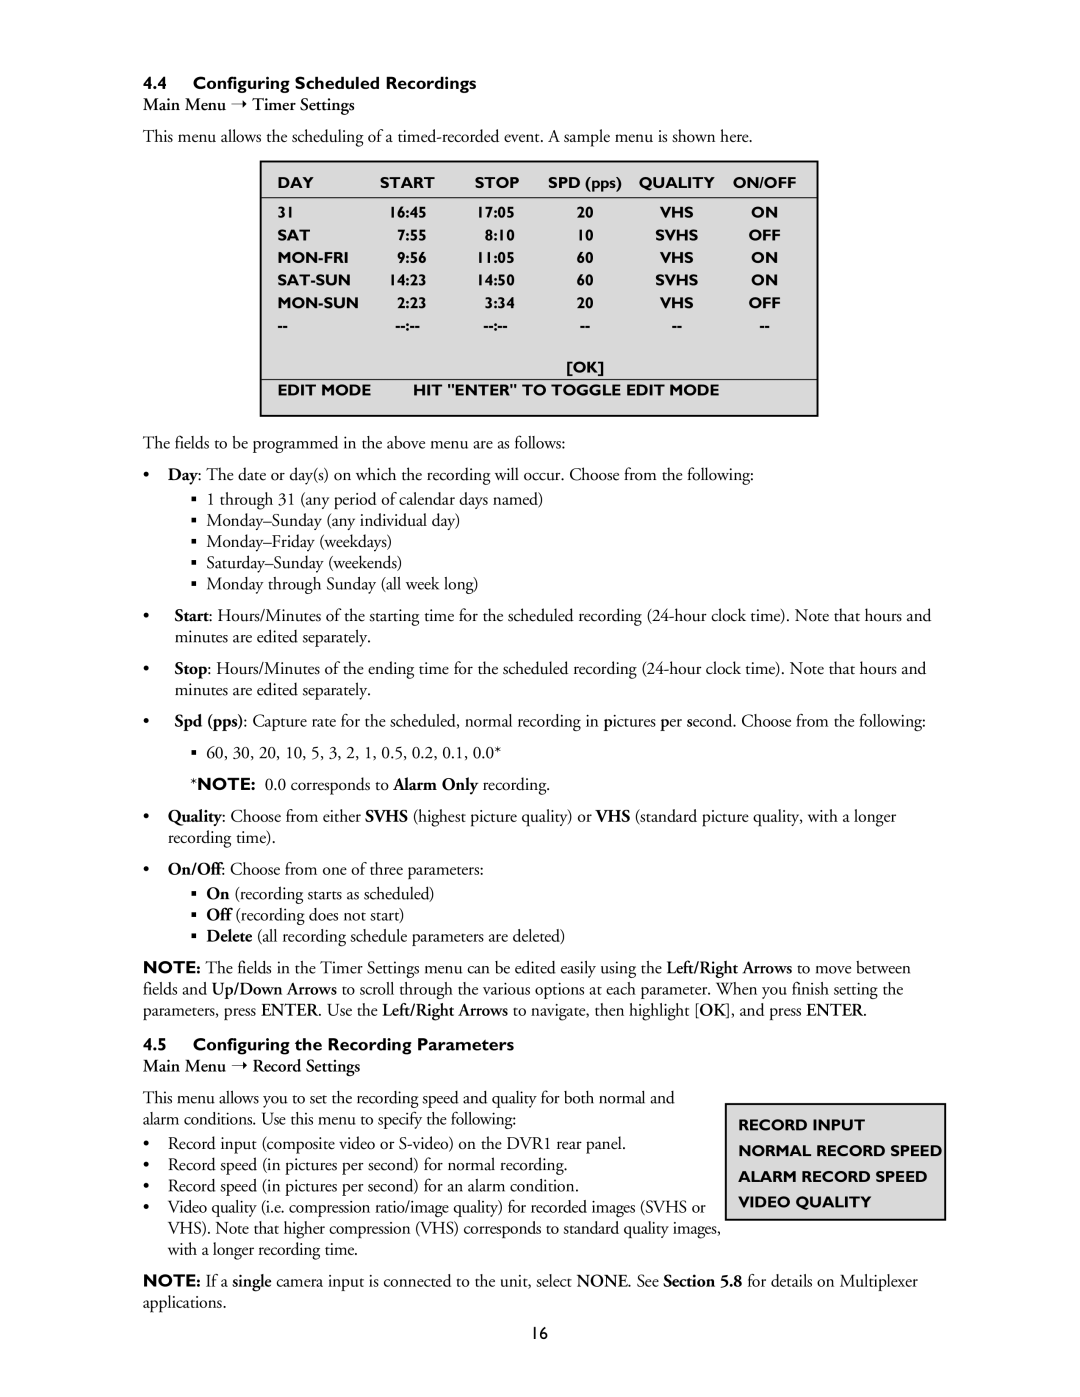
This menu allows the scheduling of a
DAY | START | STOP | SPD (pps) | QUALITY | ON/OFF |
|
|
|
|
|
|
31 | 16:45 | 17:05 | 20 | VHS | ON |
SAT | 7:55 | 8:10 | 10 | SVHS | OFF |
9:56 | 11:05 | 60 | VHS | ON | |
14:23 | 14:50 | 60 | SVHS | ON | |
2:23 | 3:34 | 20 | VHS | OFF | |
|
|
| [OK] |
|
|
EDIT MODE | HIT "ENTER" TO TOGGLE EDIT MODE |
| |||
|
|
|
|
|
|
The fields to be programmed in the above menu are as follows:
•Day: The date or day(s) on which the recording will occur. Choose from the following:
1 through 31 (any period of calendar days named)
Monday through Sunday (all week long)
•Start: Hours/Minutes of the starting time for the scheduled recording
•Stop: Hours/Minutes of the ending time for the scheduled recording
•Spd (pps): Capture rate for the scheduled, normal recording in pictures per second. Choose from the following: 60, 30, 20, 10, 5, 3, 2, 1, 0.5, 0.2, 0.1, 0.0*
*NOTE: 0.0 corresponds to Alarm Only recording.
•Quality: Choose from either SVHS (highest picture quality) or VHS (standard picture quality, with a longer recording time).
•On/Off: Choose from one of three parameters:
On (recording starts as scheduled)
Off (recording does not start)
Delete (all recording schedule parameters are deleted)
NOTE: The fields in the Timer Settings menu can be edited easily using the Left/Right Arrows to move between fields and Up/Down Arrows to scroll through the various options at each parameter. When you finish setting the parameters, press ENTER. Use the Left/Right Arrows to navigate, then highlight [OK], and press ENTER.
4.5Configuring the Recording Parameters
Main Menu ➝ Record Settings
This menu allows you to set the recording speed and quality for both normal and alarm conditions. Use this menu to specify the following:
•Record input (composite video or
•Record speed (in pictures per second) for normal recording.
•Record speed (in pictures per second) for an alarm condition.
•Video quality (i.e. compression ratio/image quality) for recorded images (SVHS or VHS). Note that higher compression (VHS) corresponds to standard quality images, with a longer recording time.
RECORD INPUT
NORMAL RECORD SPEED
ALARM RECORD SPEED
VIDEO QUALITY
NOTE: If a single camera input is connected to the unit, select NONE. See Section 5.8 for details on Multiplexer applications.
16
