SECTION 7: ARCHIVING
7.1Archiving Applications Explained
The following sections explain the usage of the Extended Archiving, Backup Archiving, and Selective/Manual Archiving applications for the DVR1 Series Digital Video Recorders.
7.1.1Extended Archiving Applications
•Explained: In this application, the DVR is in a Background Archiving Mode. Hence, all recorded video is sent to the archive device in a continuous fashion.
•Typical Usage: All video recorded on the DVR’s hard drive is automatically sent to the archive device. This process continues until the archiving period is met.
7.1.2Backup Archiving Applications
•Explained: This is basically another Background Archiving Mode, where all video is sent to the archive device. However, in this case, archiving is used simply to Back up the DVR’s hard drive.
•Typical Usage: In this application, interaction with the archiving device should be minimal. Therefore, when full, the unit prepares for overwriting (oldest data first) and begins the recording cycle all over again.
7.1.3Selective/Manual Archiving Applications
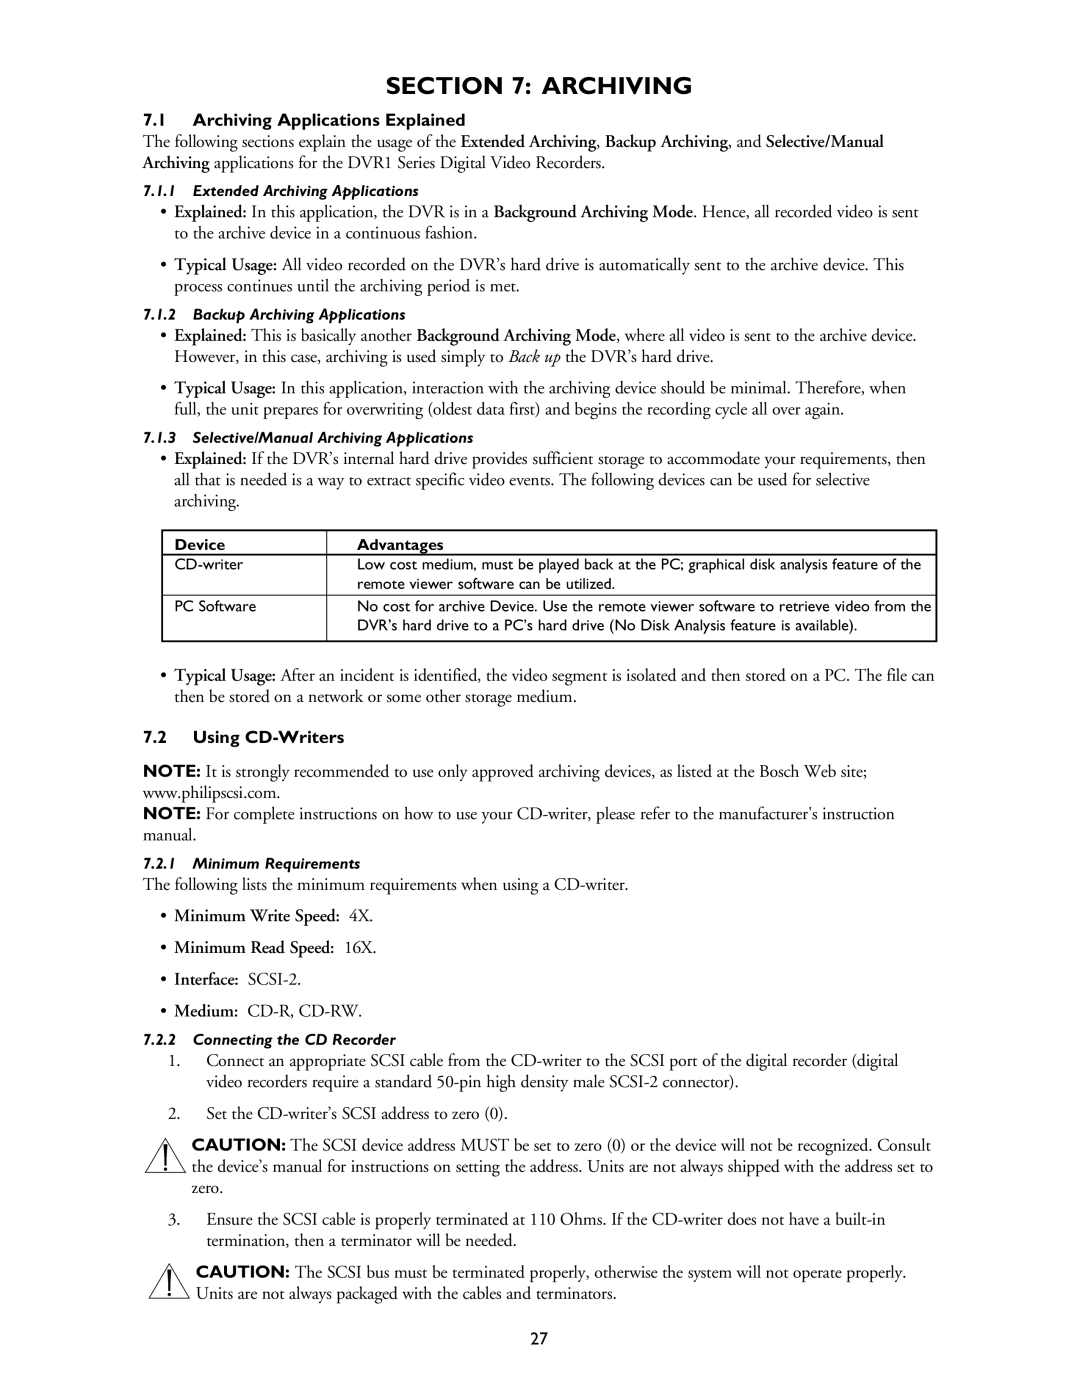
•Explained: If the DVR’s internal hard drive provides sufficient storage to accommodate your requirements, then all that is needed is a way to extract specific video events. The following devices can be used for selective archiving.
Device | Advantages |
Low cost medium, must be played back at the PC; graphical disk analysis feature of the | |
| remote viewer software can be utilized. |
|
|
PC Software | No cost for archive Device. Use the remote viewer software to retrieve video from the |
| DVR’s hard drive to a PC’s hard drive (No Disk Analysis feature is available). |
|
|
•Typical Usage: After an incident is identified, the video segment is isolated and then stored on a PC. The file can then be stored on a network or some other storage medium.
7.2Using CD-Writers
NOTE: It is strongly recommended to use only approved archiving devices, as listed at the Bosch Web site; www.philipscsi.com.
NOTE: For complete instructions on how to use your
7.2.1Minimum Requirements
The following lists the minimum requirements when using a
•Minimum Write Speed: 4X.
•Minimum Read Speed: 16X.
•Interface: SCSI-2.
•Medium:
7.2.2Connecting the CD Recorder
1.Connect an appropriate SCSI cable from the
2.Set the
CAUTION: The SCSI device address MUST be set to zero (0) or the device will not be recognized. Consult the device’s manual for instructions on setting the address. Units are not always shipped with the address set to zero.
3.Ensure the SCSI cable is properly terminated at 110 Ohms. If the
CAUTION: The SCSI bus must be terminated properly, otherwise the system will not operate properly. Units are not always packaged with the cables and terminators.
27
