8. OPERATION
Other settings
English
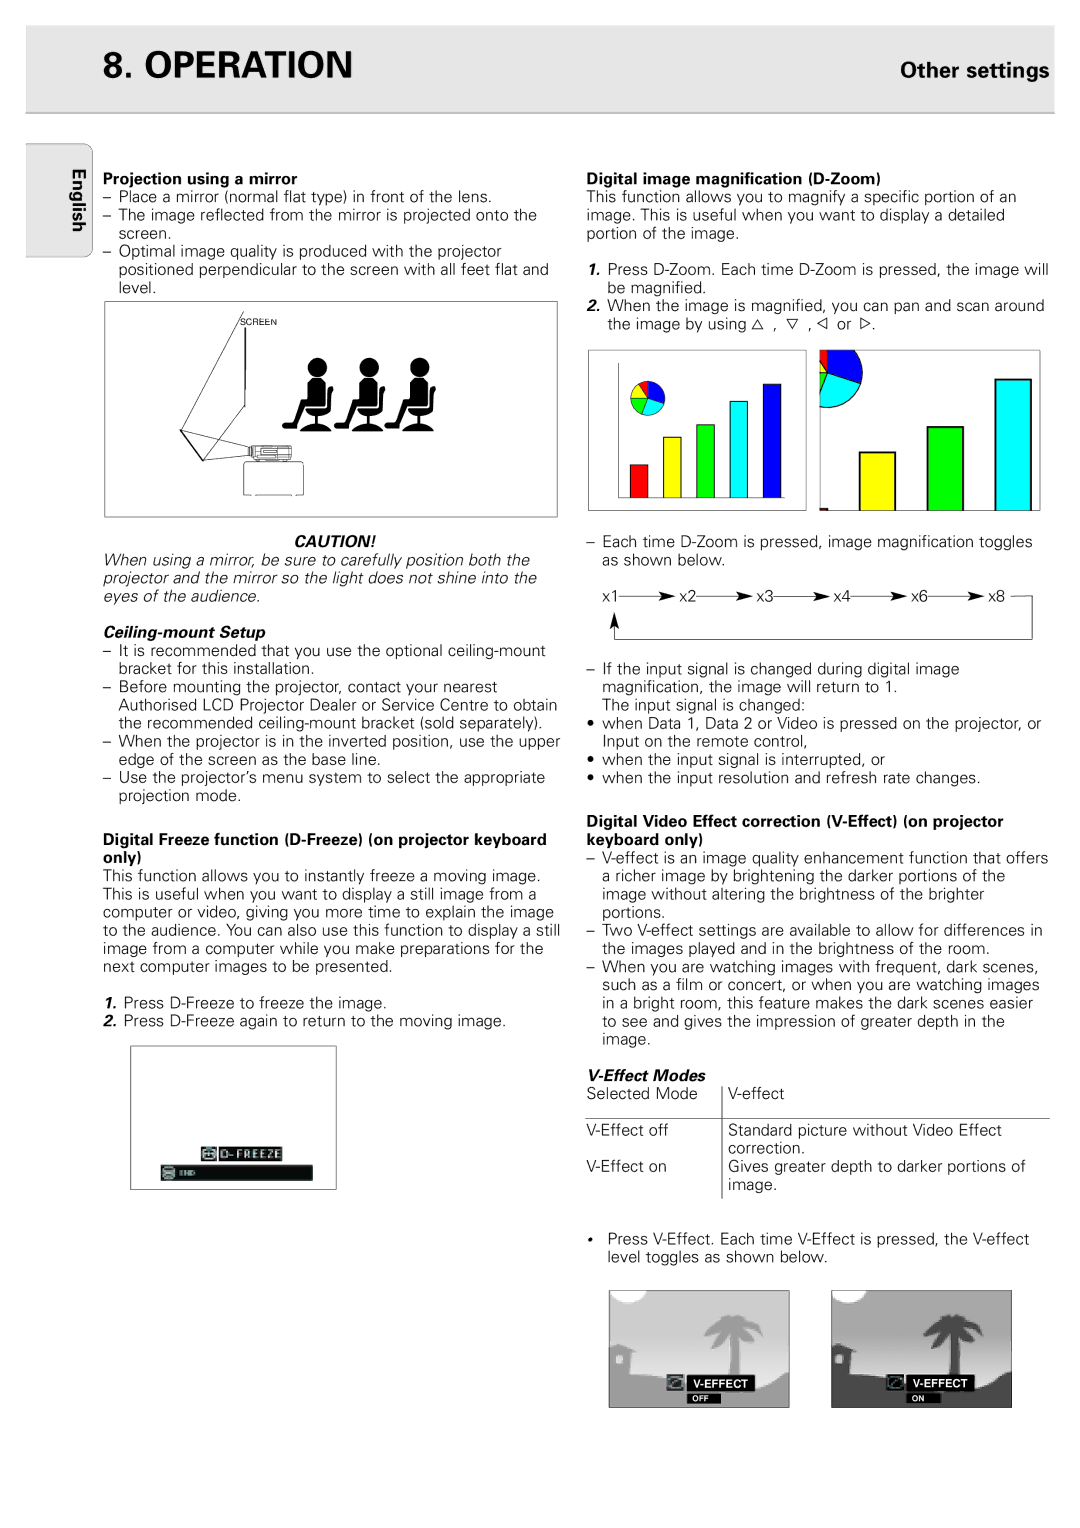
Projection using a mirror
– Place a mirror (normal flat type) in front of the lens.
– The image reflected from the mirror is projected onto the screen.
– Optimal image quality is produced with the projector positioned perpendicular to the screen with all feet flat and level.
SCREEN
CAUTION!
When using a mirror, be sure to carefully position both the projector and the mirror so the light does not shine into the eyes of the audience.
Ceiling-mount Setup
–It is recommended that you use the optional
–Before mounting the projector, contact your nearest Authorised LCD Projector Dealer or Service Centre to obtain the recommended
–When the projector is in the inverted position, use the upper edge of the screen as the base line.
–Use the projector’s menu system to select the appropriate projection mode.
Digital Freeze function (D-Freeze) (on projector keyboard only)
This function allows you to instantly freeze a moving image. This is useful when you want to display a still image from a computer or video, giving you more time to explain the image to the audience. You can also use this function to display a still image from a computer while you make preparations for the next computer images to be presented.
1.Press
2.Press
Digital image magnification (D-Zoom)
This function allows you to magnify a specific portion of an image. This is useful when you want to display a detailed portion of the image.
1.Press
2.When the image is magnified, you can pan and scan around the image by using 3 , 4 , 1 or 2.
–Each time
x1![]() x2
x2![]() x3
x3![]() x4
x4![]() x6
x6![]() x8
x8
–If the input signal is changed during digital image magnification, the image will return to 1.
The input signal is changed:
•when Data 1, Data 2 or Video is pressed on the projector, or Input on the remote control,
•when the input signal is interrupted, or
•when the input resolution and refresh rate changes.
Digital Video Effect correction
–
–Two
–When you are watching images with frequent, dark scenes, such as a film or concert, or when you are watching images in a bright room, this feature makes the dark scenes easier to see and gives the impression of greater depth in the image.
|
|
Selected Mode | |
|
|
Standard picture without Video Effect | |
| correction. |
Gives greater depth to darker portions of | |
| image. |
|
|
•Press
OFF
ON