8. OPERATION | Preparation |
|
|
PREPARATION
Turning on/off the power
1.Make the necessary connections before proceeding. Connect the powercord to a wall outlet.
The Power indicator lights up red and the projector enters standby mode.
2.Press Power ON.
The power indicator lights up green and the flashing green Lamp indicator shows that the lamp is warming up. Wait until the indicator stops flashing before operating the projector.
If the power is turned off and then immediately turned on again, it may take a short while before the lamp turns on.
Notes:
–If the bottom filter cover is not securely installed, the Power indicator flashes in red.
–After the projector is unpacked and turned on for the first time, a slight odour may be emitted from the exhaust vent. This odour will soon disappear with use.
Remarks:
1) When the power is on, the Lamp indicator (Lamp) indicates |
the status of the lamp. |
Notes:
–Wait until the cooling fan stops (about 2 minutes after the projector has been switched off) before disconnecting the powercord.
–The power can be turned on again by pressing Power ON. When the power is turned on, the Power indicator and the Lamp indicator light green.
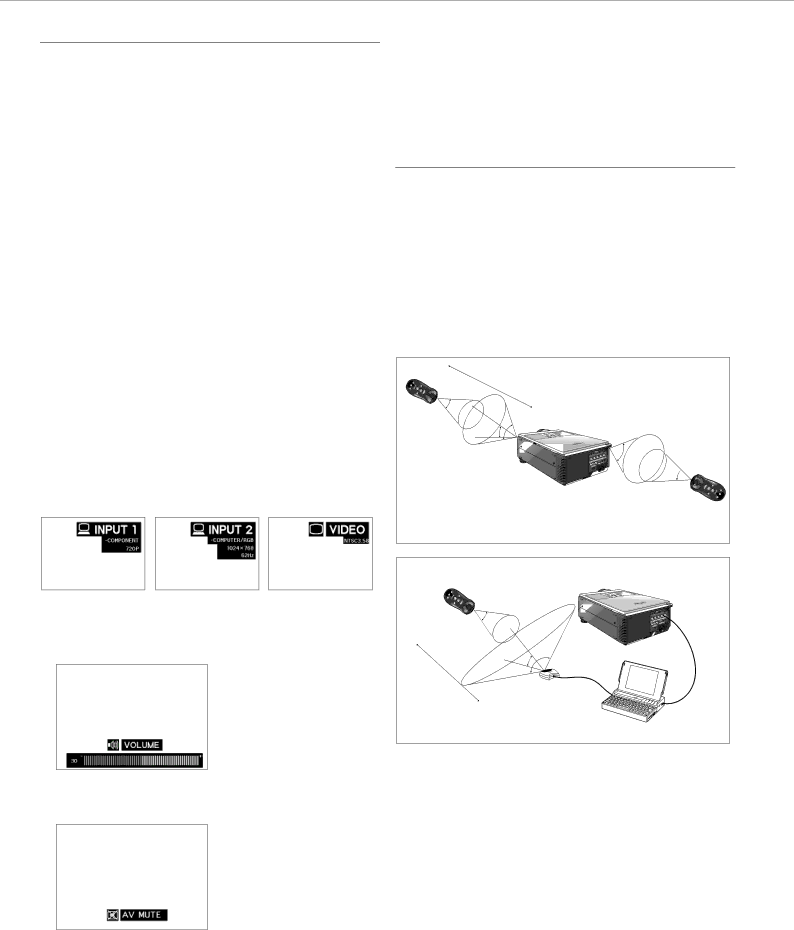
USING THE REMOTE CONTROL
(fig. 2)
The remote control has the following two functions:
•Projector control
•Wireless mouse
•Slide the remote control power ON/OFF switch into the ON
position for switching the projector and the Remote Control unit to on.
–The remote control can be used to control the projector within the ranges shown below.
–The USB mouse receiver can be used with the remote control to control the mouse functions of a connected computer within the ranges shown below.
Green: lamp is ready. |
Flashing green: warming up. |
Red: change the lamp. |
2) After the picture is displaying, the |
‘WARMING UP, PLEASE WAIT’ is shown |
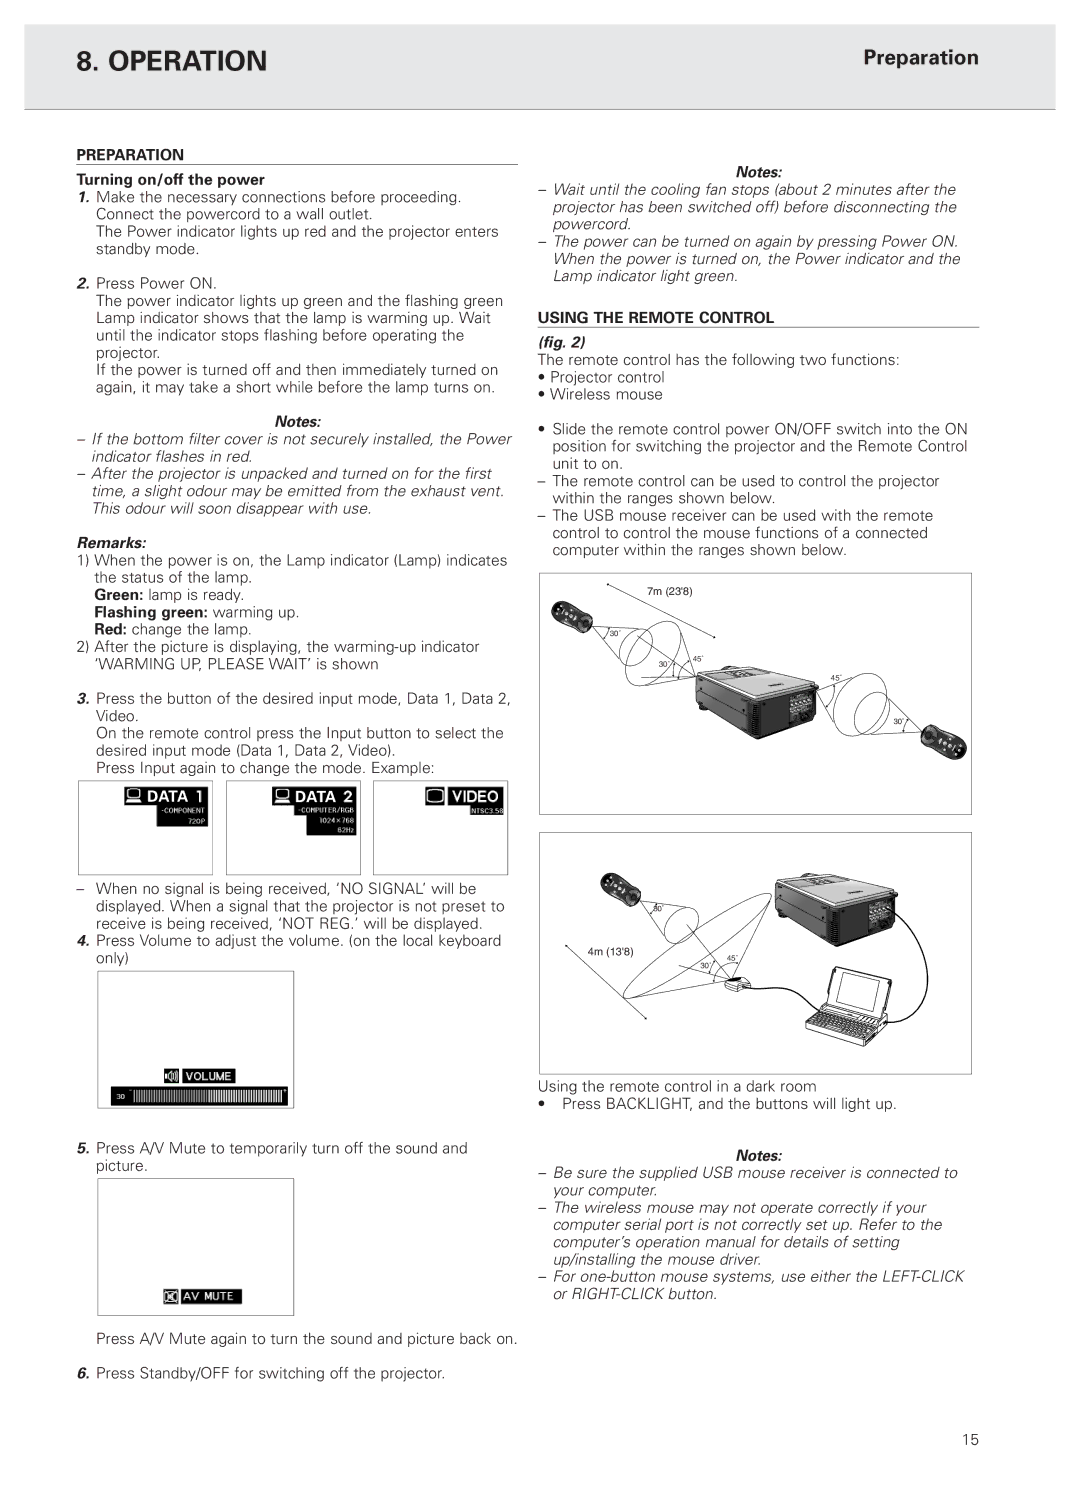
3.Press the button of the desired input mode, Data 1, Data 2, Video.
On the remote control press the Input button to select the desired input mode (Data 1, Data 2, Video).
Press Input again to change the mode. Example:
DATA |
| DATA |
7m (23'8) | |
30˚ |
|
30˚ | 45˚ |
| |
45˚
30˚ ![]()
–When no signal is being received, ‘NO SIGNAL’ will be displayed. When a signal that the projector is not preset to receive is being received, ‘NOT REG.’ will be displayed.
4.Press Volume to adjust the volume. (on the local keyboard only)
5.Press A/V Mute to temporarily turn off the sound and picture.
Press A/V Mute again to turn the sound and picture back on.
6.Press Standby/OFF for switching off the projector.
4m (13'8) | 45˚ |
| |
| 30˚ |
Using the remote control in a dark room
•Press BACKLIGHT, and the buttons will light up.
Notes:
–Be sure the supplied USB mouse receiver is connected to your computer.
–The wireless mouse may not operate correctly if your computer serial port is not correctly set up. Refer to the computer’s operation manual for details of setting up/installing the mouse driver.
–For
15