8. OPERATION | Picture control |
|
|
DATA MODE DISPLAY
Data display Fine Sync adjustments
When displaying computer patterns which are very detailed (tiling, vertical stripes, etc.), interference may occur between the LCD pixels, causing flickering, vertical stripes, or contrast irregularities in portions of the screen. Should this occur, adjust ‘Clock’, ‘Phase’,
1.Select the desired computer input mode by pressing either Data 1 or Data 2 at the projector local keyboard or toggling the Input button on the Remote Control unit.
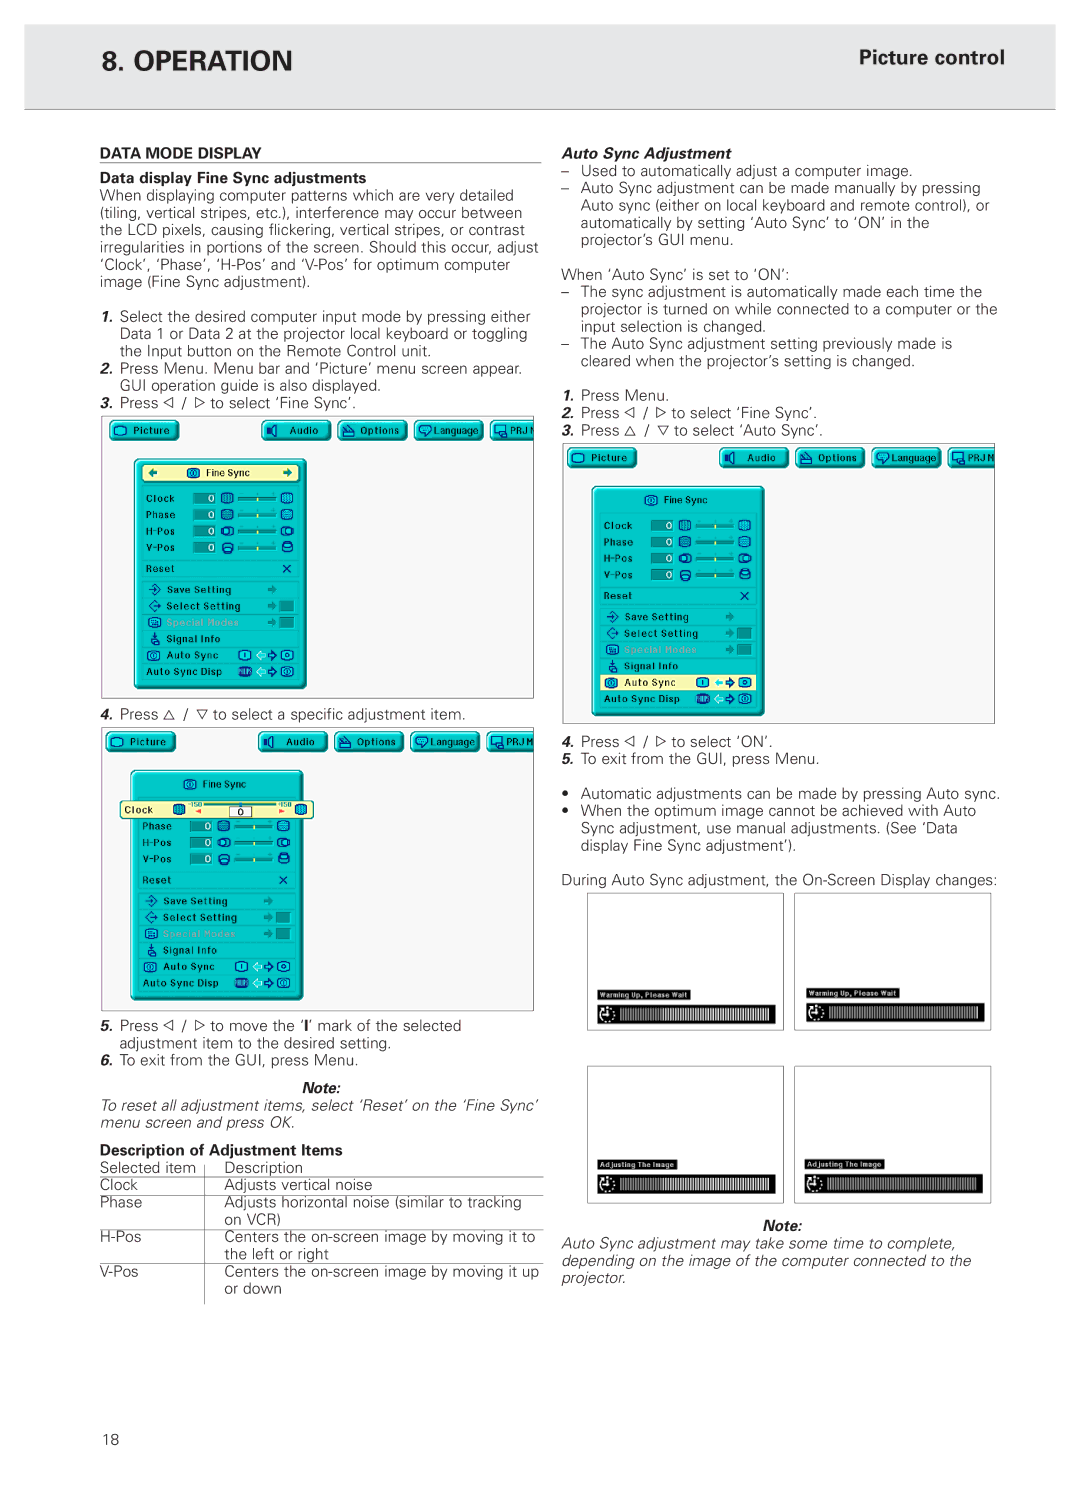
2.Press Menu. Menu bar and ‘Picture’ menu screen appear. GUI operation guide is also displayed.
3.Press 1 / 2 to select ‘Fine Sync’.
4.Press 3 / 4 to select a specific adjustment item.
5.Press 1 / 2 to move the ‘I’ mark of the selected adjustment item to the desired setting.
6.To exit from the GUI, press Menu.
Note:
To reset all adjustment items, select ‘Reset’ on the ‘Fine Sync’ menu screen and press OK.
Description of Adjustment Items
Selected item |
| Description | |
| |||
| Clock |
| Adjusts vertical noise |
Phase |
| Adjusts horizontal noise (similar to tracking | |
|
|
| on VCR) |
|
| Centers the | |
|
|
| the left or right |
|
| Centers the | |
|
|
| or down |
|
|
|
|
Auto Sync Adjustment
–Used to automatically adjust a computer image.
–Auto Sync adjustment can be made manually by pressing Auto sync (either on local keyboard and remote control), or automatically by setting ‘Auto Sync’ to ‘ON’ in the projector’s GUI menu.
When ‘Auto Sync’ is set to ‘ON’:
–The sync adjustment is automatically made each time the projector is turned on while connected to a computer or the input selection is changed.
–The Auto Sync adjustment setting previously made is cleared when the projector’s setting is changed.
1.Press Menu.
2.Press 1 / 2 to select ‘Fine Sync’.
3.Press 3 / 4 to select ‘Auto Sync’.
4.Press 1 / 2 to select ‘ON’.
5.To exit from the GUI, press Menu.
•Automatic adjustments can be made by pressing Auto sync.
•When the optimum image cannot be achieved with Auto Sync adjustment, use manual adjustments. (See ‘Data display Fine Sync adjustment’).
During Auto Sync adjustment, the
Note:
Auto Sync adjustment may take some time to complete, depending on the image of the computer connected to the projector.
18