8. OPERATION | Picture control |
|
|
Auto Sync Display Function
Normally, an image is not superimposed during Auto Sync adjustment. You can, however, choose to superimpose a background image during Auto Sync adjustment.
1.Press Menu.
2.Press 1 / 2 to select ‘Fine sync’
3.Press 3 / 4 to select ‘Auto Sync Disp’.
4.Press 1 / 2 to select ‘![]() ’ to superimpose a background image or ‘
’ to superimpose a background image or ‘ ![]() ’ to remove the background image during Auto Sync adjustment.
’ to remove the background image during Auto Sync adjustment.
5.To exit from the GUI, press Menu.
DATA MODE / VIDEO MODE DISPLAY
Picture adjustments
For Data / Video signal input, the following adjustments can be made:
–Contrast - adjusts the overall contrast intensity;
–Bright - adjusts the picture brightness;
–Color - adjusts the colour saturation of the projected image;
–Tint - for more purplish/greenish skin tones (NTSC only);
–Sharpness - adjusts the overall picture sharpness;
–Red - for weaker/stronger red images;
–Blue - for weaker/stronger blue images;
–Color Temperature – adjusts the colour temperature of the projected image;
–Reset - all image adjustment items are returned to the factory preset settings.
–Signal type – allows to select the input signal type (Data mode only)
–I/P conversion – allows to select either an interlaced display or a progressive display of a video signal;
Note:
‘Color’, ‘Tint’ and ‘Sharpness’ do not appear for Computer/RGB input in Data mode.
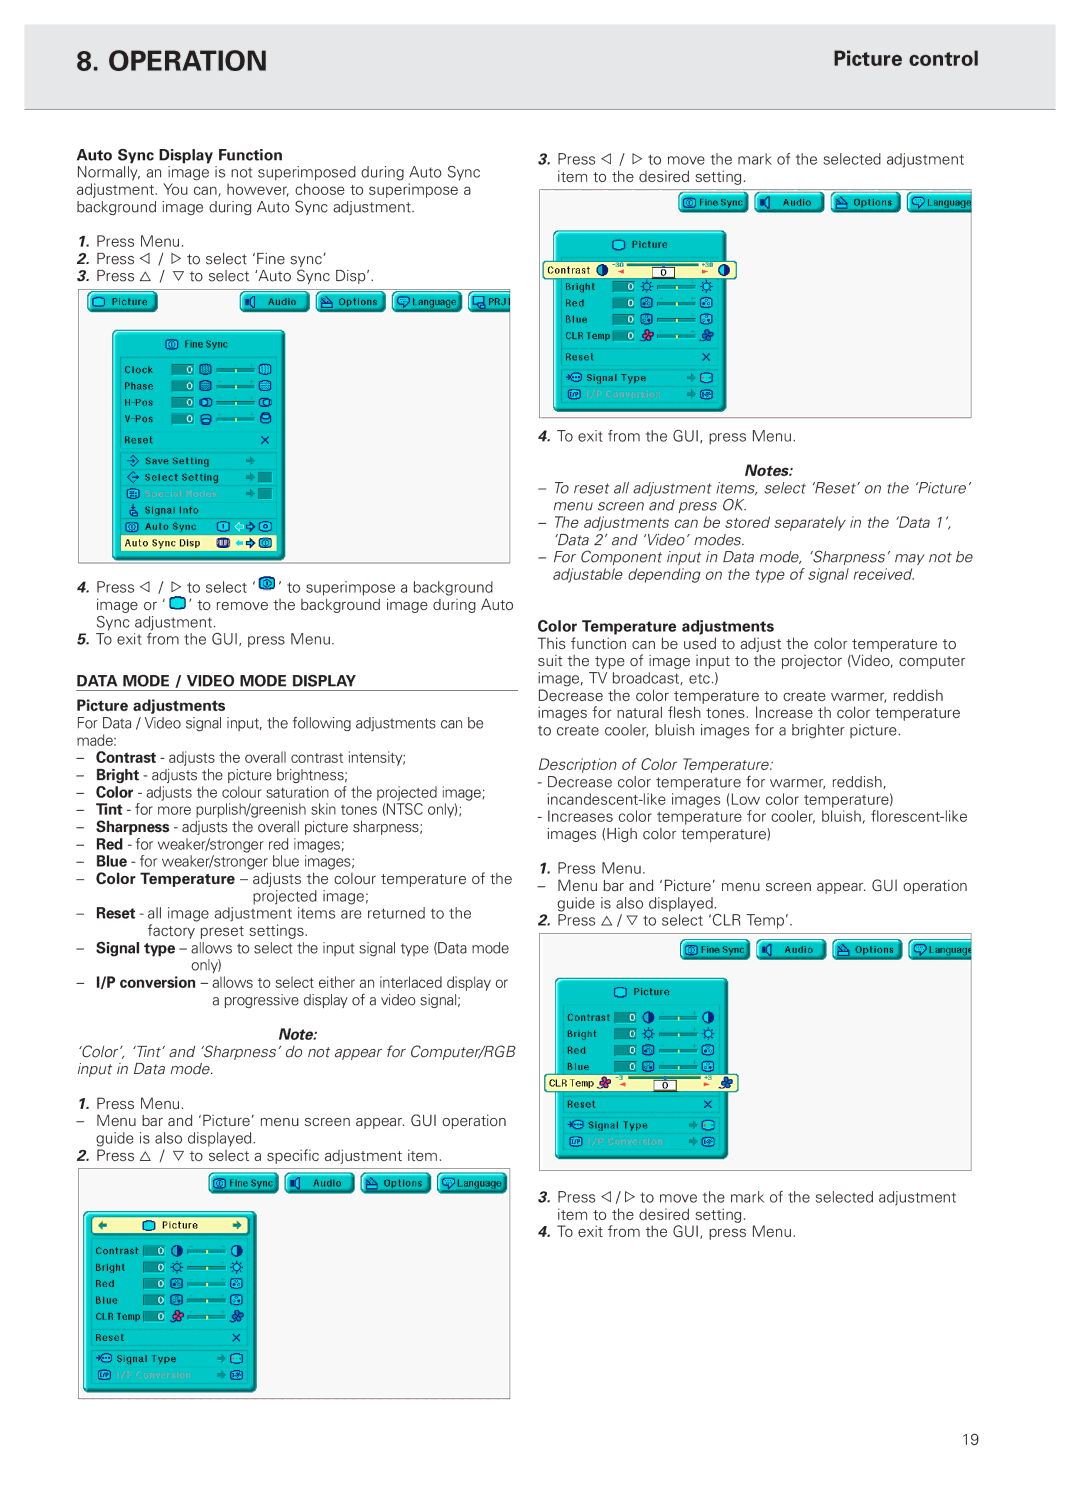
1.Press Menu.
–Menu bar and ‘Picture’ menu screen appear. GUI operation guide is also displayed.
2. Press 3 / 4 to select a specific adjustment item.
3.Press 1 / 2 to move the mark of the selected adjustment item to the desired setting.
4.To exit from the GUI, press Menu.
Notes:
–To reset all adjustment items, select ‘Reset’ on the ‘Picture’ menu screen and press OK.
–The adjustments can be stored separately in the ‘Data 1’, ‘Data 2’ and ‘Video’ modes.
–For Component input in Data mode, ‘Sharpness’ may not be adjustable depending on the type of signal received.
Color Temperature adjustments
This function can be used to adjust the color temperature to suit the type of image input to the projector (Video, computer image, TV broadcast, etc.)
Decrease the color temperature to create warmer, reddish images for natural flesh tones. Increase th color temperature to create cooler, bluish images for a brighter picture.
Description of Color Temperature:
-Decrease color temperature for warmer, reddish,
-Increases color temperature for cooler, bluish,
1.Press Menu.
–Menu bar and ‘Picture’ menu screen appear. GUI operation guide is also displayed.
2.Press 3 / 4 to select ‘CLR Temp’.
3.Press 1 / 2 to move the mark of the selected adjustment item to the desired setting.
4.To exit from the GUI, press Menu.
19