04 | Chapter 4 |
Getting started |
Switching on and setting up
When you switch the player on for the first time the Startup Navigator screen appears. We recommend using this to make a few basic player settings.
1Switch on your TV and set the video input to this player.
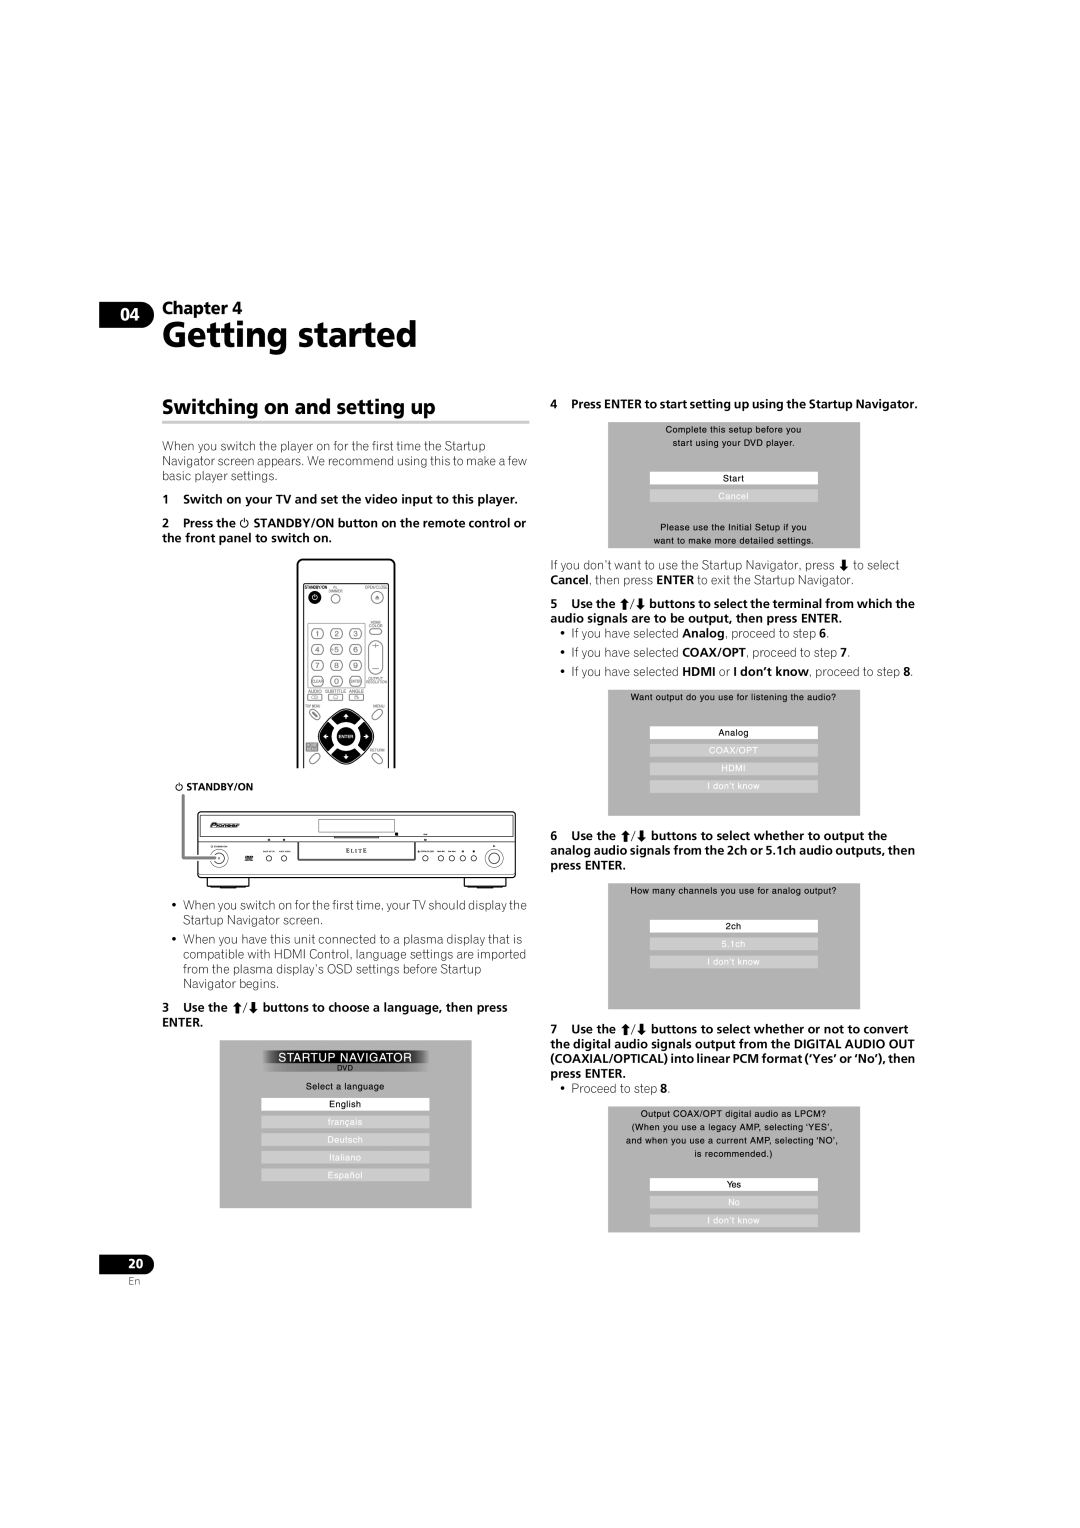
2Press the STANDBY/ON button on the remote control or the front panel to switch on.
•When you switch on for the first time, your TV should display the Startup Navigator screen.
•When you have this unit connected to a plasma display that is compatible with HDMI Control, language settings are imported from the plasma display’s OSD settings before Startup Navigator begins.
3Use the / buttons to choose a language, then press
ENTER.
4 Press ENTER to start setting up using the Startup Navigator.
If you don’t want to use the Startup Navigator, press to select Cancel, then press ENTER to exit the Startup Navigator.
5Use the / buttons to select the terminal from which the audio signals are to be output, then press ENTER.
•If you have selected Analog, proceed to step 6.
•If you have selected COAX/OPT, proceed to step 7.
•If you have selected HDMI or I don’t know, proceed to step 8.
6Use the / buttons to select whether to output the analog audio signals from the 2ch or 5.1ch audio outputs, then press ENTER.
7Use the / buttons to select whether or not to convert the digital audio signals output from the DIGITAL AUDIO OUT (COAXIAL/OPTICAL) into linear PCM format (‘Yes’ or ‘No’), then press ENTER.
•Proceed to step 8.
20
En