Recording | 06 |
•What happens when two or more timer programs overlap?
Basically, the program with the earlier recording start time has priority. However, the recorder will start recording the program with the later start time after the earlier program is finished. If two programs have the same times (but different channels, for example), the program set most recently takes priority.
Recording from an external component
VR mode Video mode
You can record from an external component, such as a camcorder or VCR, connected to one of the recorder’s external inputs.
INPUT
REC REC MODE
1Make sure that the component you want to record from is connected properly to the DVD recorder.
See Chapter 2 (Connecting up) for connection options.
2Press INPUT repeatedly to select one of the external inputs to record from.
There are two analog inputs. The current input is shown
•L1 – Input 1
•L2 – Input 2 (front panel)
Check that the Audio In setting for Dual Mono Recording is as you want it (see Audio In on page 51).
•If the aspect ratio is distorted (squashed or stretched), adjust on the source component or your TV before recording.
3Set up the recorder.
•Use REC MODE to set the recording quality. See Setting the picture quality/recording time on page 34 for detailed information.
4 Press REC when you’re ready to start recording.
![]() Note
Note
•If your source is
Playing your recordings on other DVD players
VR mode Video mode
Most regular DVD players can play finalized discs recorded in Video mode. A number of players (including many Pioneer models) can also play
When you finalize a Video mode disc, a title menu is created from which you can select titles when you play the disc. These menus are navigated in the usual way, pressing MENU or TOP MENU to display the menu, then
using the(cursor buttons) followed by ENTER to select titles and start playback.
Finalizing a disc
VR mode Video mode
Finalizing ‘fixes’ the recordings in place so that the disc can be played on a regular DVD player or computer equipped with a suitable
![]() Important
Important
•Once you’ve finalized a disc recorded in Video mode, you can’t edit or record anything else on that disc. However, the finalization on a
•A VR mode disc can still be recorded and edited on this recorder even after finalizing.
1Load the disc you want to finalize. Make sure that the recorder is stopped before proceeding.
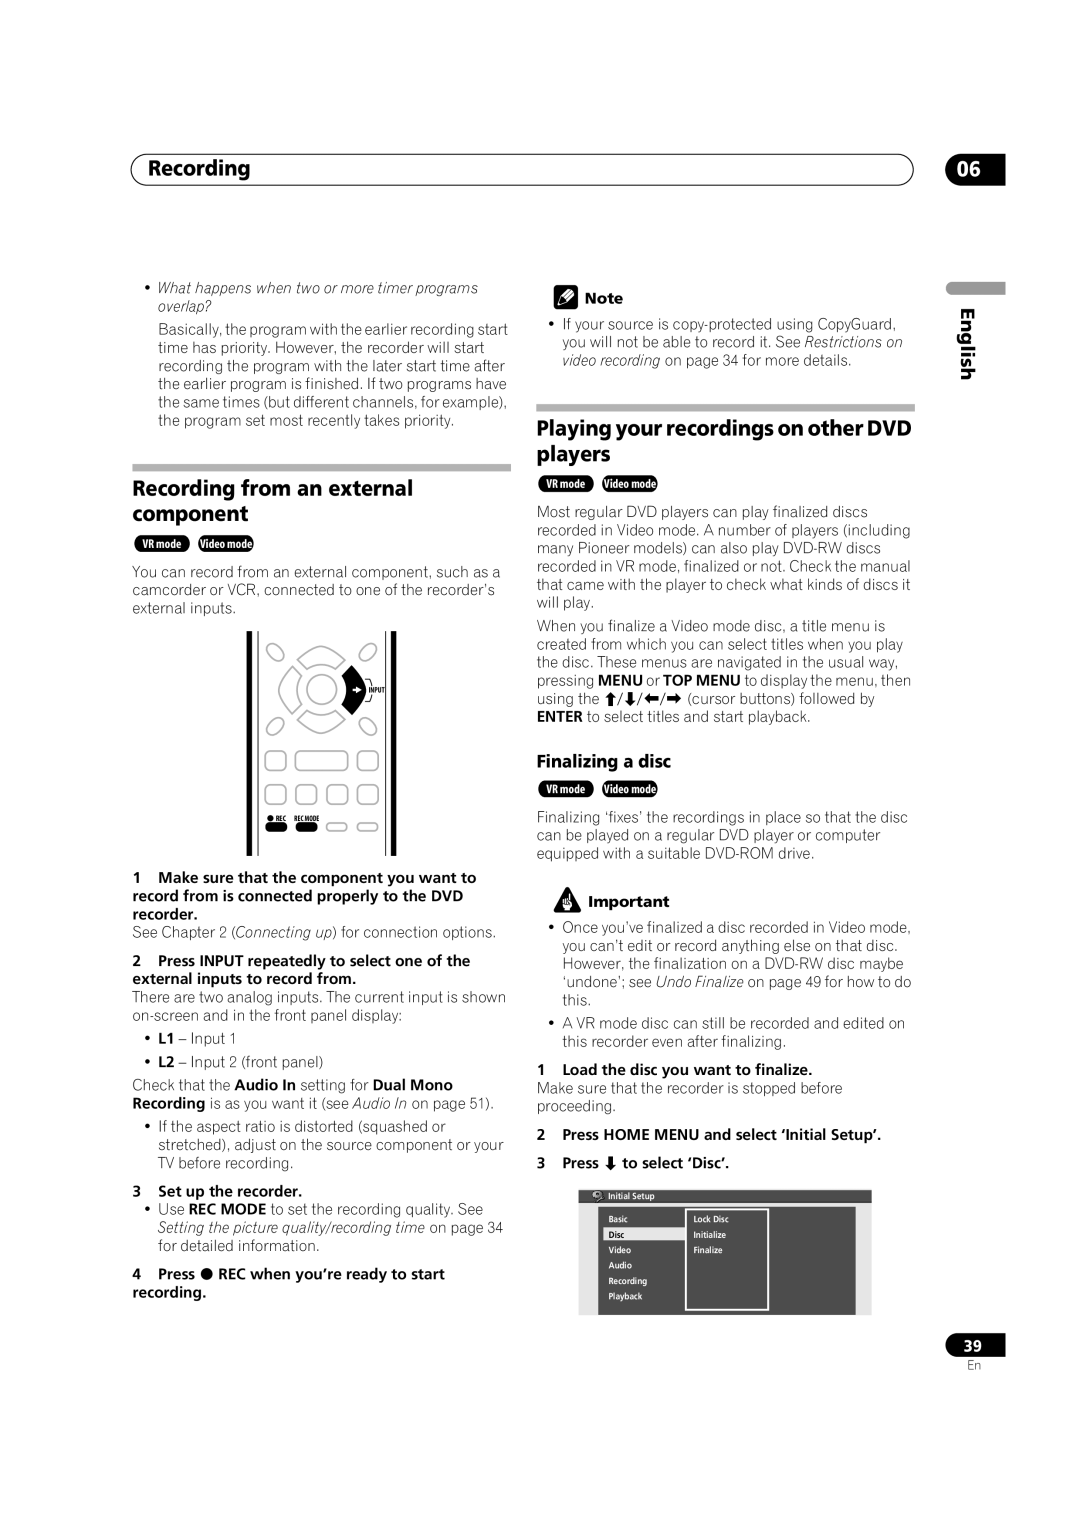
2Press HOME MENU and select ‘Initial Setup’.
3 Press | to select ‘Disc’. | |
| Initial Setup |
|
| Basic | Lock Disc |
| Disc | Initialize |
| Video | Finalize |
| Audio |
|
| Recording |
|
| Playback |
|
English
39
En