07The System Setup menu

SUB W. – LFE signals and bass frequencies of channels set to SMALL are output from the subwoofer when YES is selected (see notes below). Choose the PLUS setting if you want the subwoofer to output bass sound continuously or you want deeper bass (the bass frequencies that would normally come out the front and center speakers are also routed to the subwoofer). If you did not connect a subwoofer choose NO (the bass frequencies are output from other speakers).

3When you’re finished, press RETURN. You return to the Manual SP Setup menu.

Tip

If you have a subwoofer and like lots of bass, it may seem logical to select LARGE for your front speakers and PLUS for the subwoofer. This may not, however, yield the best bass results. Depending on the speaker placement of your room you may actually experience a decrease in the amount of bass due to low frequency cancellations. In this case, try changing the position or direction of speakers. If you can’t get good results, listen to the bass response with it set to PLUS and YES or the front speakers set to LARGE and SMALL alternatively and let your ears judge which sounds best. If you’re having problems, the easiest option is to route all the bass sounds to the subwoofer by selecting SMALL for the front speakers.

Crossover Network

• Default setting: 80Hz

This setting decides the cutoff between bass sounds playing back from the speakers selected as LARGE, or the subwoofer, and bass sounds playing back from those selected as SMALL. It also decides where the cutoff will

be for bass sounds in the LFE channel.1

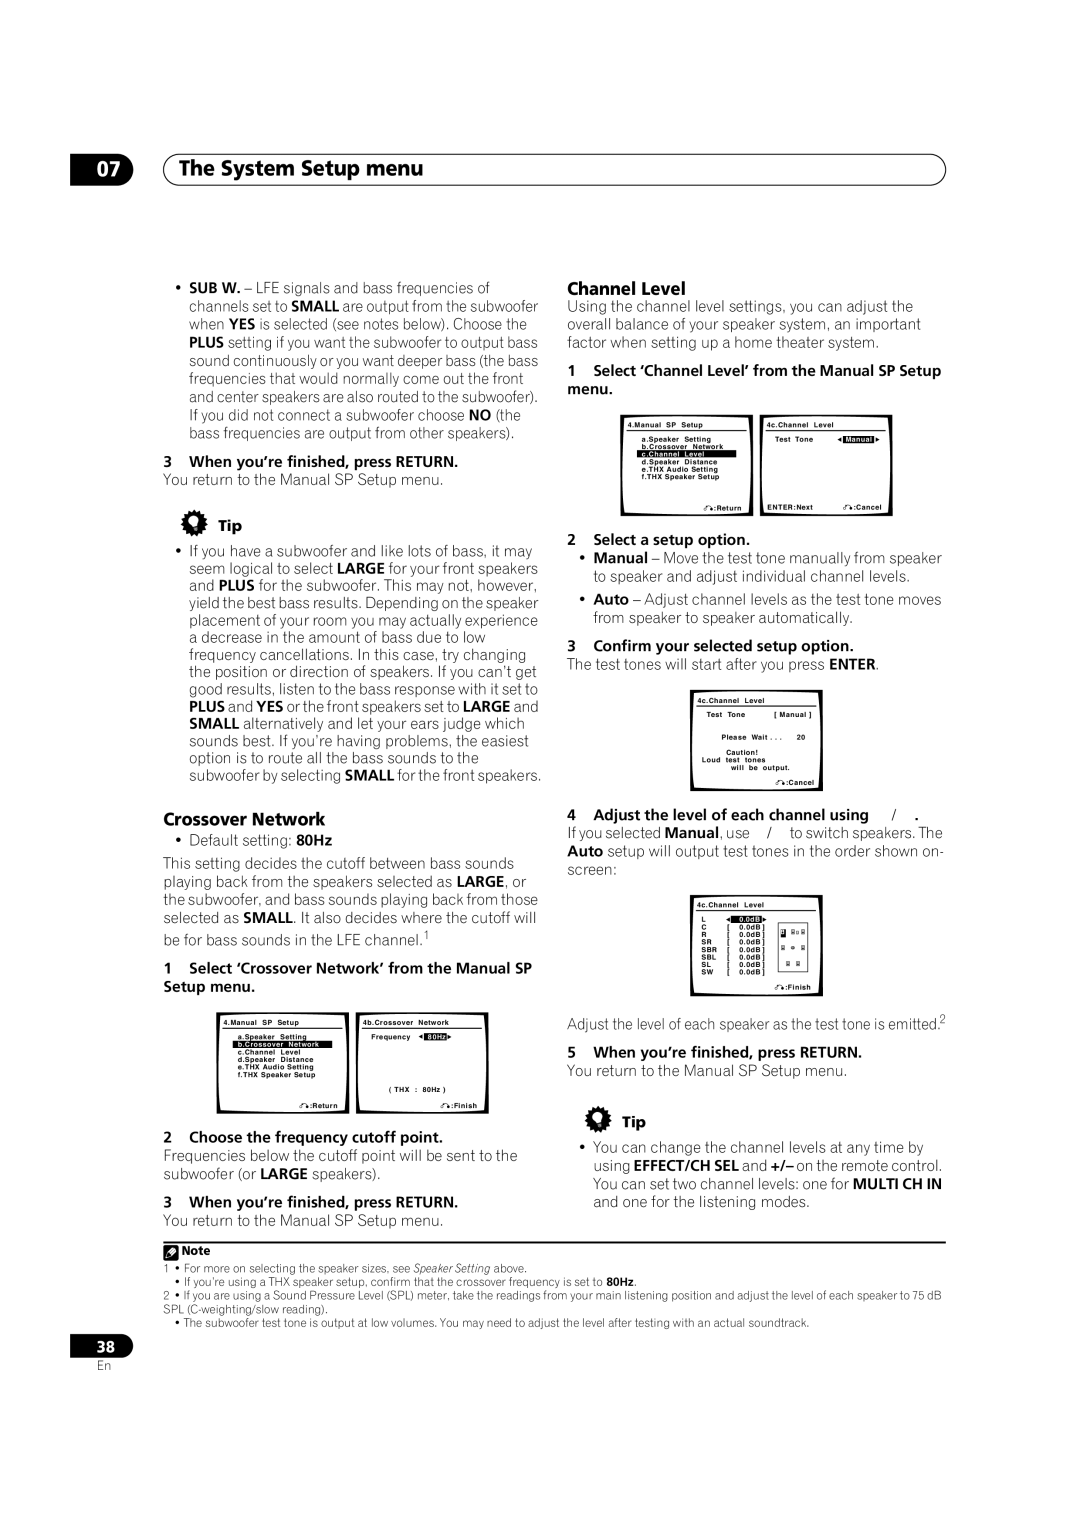
1Select ‘Crossover Network’ from the Manual SP Setup menu.


4.Manual SP

Setup


4b.Crossover

Network


a.Speaker

Setting


Frequency


80Hz


b.Crossover Network


c.Channel

Level


d.Speaker

Distance


e.THX Audio Setting


f.THX Speaker Setup


( THX : 80Hz )


:Return


:Finish


2Choose the frequency cutoff point. Frequencies below the cutoff point will be sent to the subwoofer (or LARGE speakers).

3When you’re finished, press RETURN.

You return to the Manual SP Setup menu.

Channel Level

Using the channel level settings, you can adjust the overall balance of your speaker system, an important factor when setting up a home theater system.

1Select ‘Channel Level’ from the Manual SP Setup menu.

4.Manual SP

Setup


4c.Channel

Level


a.Speaker

Setting


Test Tone


Manual


b.Crossover Network


c.Channel

Level


d.Speaker

Distance


e.THX Audio Setting f.THX Speaker Setup

:Return

ENTER:Next

:Cancel

2Select a setup option.

Manual – Move the test tone manually from speaker to speaker and adjust individual channel levels.

Auto – Adjust channel levels as the test tone moves from speaker to speaker automatically.

3Confirm your selected setup option.

The test tones will start after you press ENTER.


4c.Channel Level


Test

Tone

[ Manual ]


Please

Wait . . .

20


Caution!


Loud

test tones


will

be output.


:Cancel


4 Adjust the level of each channel using

.

If you selected Manual, use

to switch speakers. The

Auto setup will output test tones in the order shown on- screen:

4c.Channel Level

L 0.0dB

C

[

0.0dB ]

R

[

0.0dB ]

SR

[

0.0dB ]

SBR

[

0.0dB ]

SBL

[

0.0dB ]

SL

[

0.0dB ]

SW

[

0.0dB ]

:Finish

Adjust the level of each speaker as the test tone is emitted.2

5When you’re finished, press RETURN. You return to the Manual SP Setup menu.

Tip

You can change the channel levels at any time by using EFFECT/CH SEL and +/– on the remote control. You can set two channel levels: one for MULTI CH IN and one for the listening modes.

Note

1• For more on selecting the speaker sizes, see Speaker Setting above.

If you’re using a THX speaker setup, confirm that the crossover frequency is set to 80Hz.

2• If you are using a Sound Pressure Level (SPL) meter, take the readings from your main listening position and adjust the level of each speaker to 75 dB SPL (C-weighting/slow reading).

The subwoofer test tone is output at low volumes. You may need to adjust the level after testing with an actual soundtrack.

38

En

Page 38
Image 38
Pioneer VSX-1016TXV-K operating instructions Crossover Network, Channel Level

VSX-1016TXV-K specifications

The Pioneer VSX-1016TXV-K is a versatile and powerful A/V receiver that brings a wealth of features and technologies to enhance your home entertainment experience. Built with the audiophile in mind, it combines high-performance sound quality with modern connectivity and smart functionality.

One of the main features of the VSX-1016TXV-K is its robust amplification system, which delivers an impressive 7.1-channel surround sound experience. With a total output of 110 watts per channel, this receiver is capable of driving a variety of speakers, ensuring that every audio detail is crisp and immersive. This makes it an ideal choice for both movie watchers and music enthusiasts.

The receiver supports numerous audio formats, including Dolby TrueHD and DTS-HD Master Audio, providing lossless audio quality for high-definition content. This commitment to audio excellence is complemented by its use of advanced technologies such as the Pioneer MCACC (Multi-Channel Acoustic Calibration System), which automatically adjusts the receiver's settings based on the acoustics of your room, ensuring optimal sound performance.

In terms of connectivity, the VSX-1016TXV-K is equipped with multiple HDMI inputs, which support 1080p video pass-through and are compatible with the latest HDMI standards. This makes it easy to connect various devices such as Blu-ray players, gaming consoles, and streaming devices, allowing seamless switching between sources. The unit also includes component and composite video inputs, as well as optical and coaxial digital audio inputs for greater flexibility.

Additionally, the receiver features an integrated AM/FM tuner, allowing listeners to enjoy their favorite radio stations. The user-friendly on-screen display and menu system enable easy navigation through different settings and offers access to a wide range of features, including preset equalizer settings and listening modes.

The VSX-1016TXV-K is designed with aesthetics in mind, featuring a sleek black finish that fits well in any home theater environment. Its robust build quality ensures durability while providing an attractive addition to your audio setup.

In conclusion, the Pioneer VSX-1016TXV-K A/V receiver stands out in the crowded market of home audio equipment with its exceptional sound performance, extensive connectivity options, and thoughtful user features. Whether you're hosting movie nights or enjoying your favorite music, this receiver delivers an impressive and engaging listening experience.