Controlling the rest of your system

11

Chapter 11:

Controlling the rest of your system

Setting the remote to control other components

Most components can be assigned to one of the input source buttons (such as DVD/LD or CD) using the component’s manufacturer preset code stored in the remote.

However, there are cases where only certain functions may be controllable after assigning the proper preset code, or the codes for the manufacturer in the remote control will not work for the model that you are using.

If you can’t find a preset code that matches the component you want to control, you can still teach the remote individual commands from another remote control (see Programming signals from other remote controls below).

Note

You can cancel or exit any of the steps by pressing RECEIVER. To go back a step, press RETURN.

After one minute of inactivity, the remote automatically exits the operation.

4 Use to select the first letter of the brand name of your component then press ENTER.

This should be the manufacturer’s name (for example, P for Pioneer).

5

Use

to select the manufacturer’s name from

the list then press ENTER.

6

Use

to select the proper code from the list,

then try using this remote with your component.

The code should start with the component type (for example, DVD 020). If there is more than one, start with

the first one.2

To try out the remote control, switch the component on or off (into standby) by pressing SOURCE . If it doesn’t seem to work, select the next code from the list (if there is one).

If you can’t find or properly enter a preset code, you can still teach the remote individual commands from another remote control (see Programming signals from other remote controls below).

7If your component is controlled successfully, press ENTER to confirm.

The remote LCD display shows OK.

Selecting preset codes directly

Programming signals from other


remote controls


INPUT


SYSTEM OFF


RECEIVER


SOURCE

D.ACCESS

+10


CLASS


SELECT


DISC


ENTER


AV PARAMETER


CH LEVEL


TOP MENU


MENU


TUNE


DTVMENU ST


ST

T.EDIT


SETUP


ENTER

RETURN


CATEGORY

TUNE

BAND


GUIDE


CD

TV

VIDEO 2


TV CONTROL


DVD

SAT

VIDEO1

TVCONT


TV VOL

INPUT

TV CH

VOL

DVR2

CD-R

XMRADIO

ROOM2/3

SELECT


DVR1

i Pod

TUNER

RECEIVER


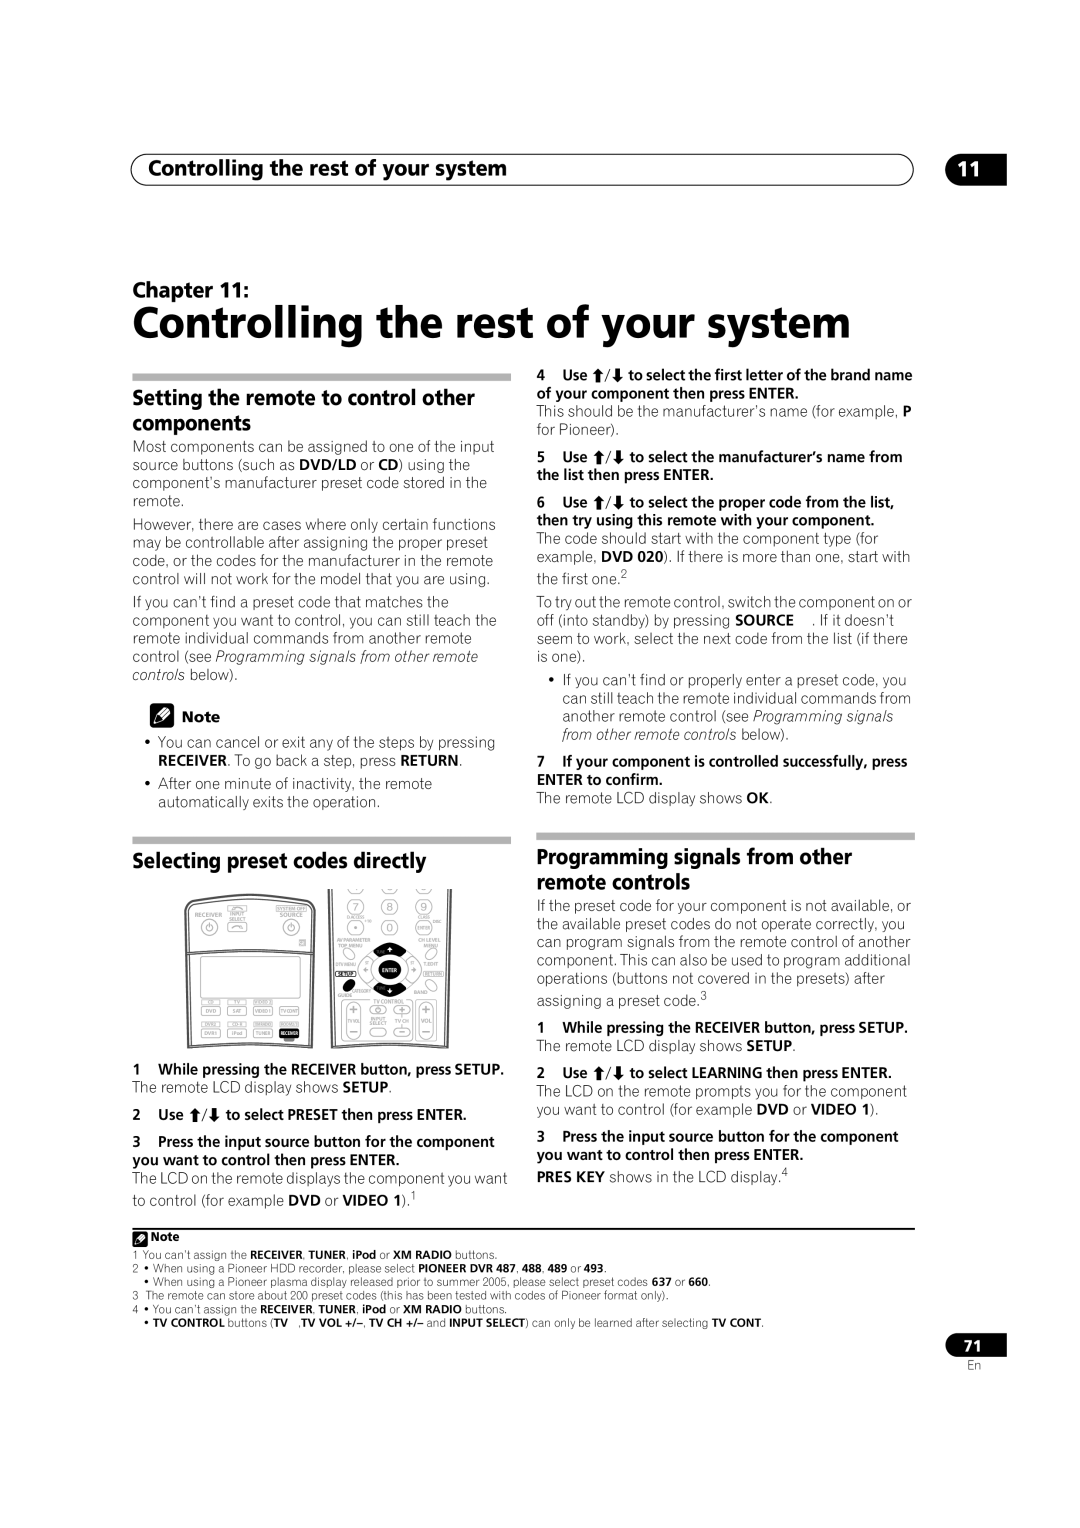
1While pressing the RECEIVER button, press SETUP. The remote LCD display shows SETUP.

2 Use

to select PRESET then press ENTER.

3Press the input source button for the component you want to control then press ENTER.

The LCD on the remote displays the component you want to control (for example DVD or VIDEO 1).1

If the preset code for your component is not available, or the available preset codes do not operate correctly, you can program signals from the remote control of another component. This can also be used to program additional operations (buttons not covered in the presets) after

assigning a preset code.3

1While pressing the RECEIVER button, press SETUP. The remote LCD display shows SETUP.

2 Use to select LEARNING then press ENTER.

The LCD on the remote prompts you for the component you want to control (for example DVD or VIDEO 1).

3Press the input source button for the component you want to control then press ENTER.

PRES KEY shows in the LCD display.4

Note

1You can’t assign the RECEIVER, TUNER, iPod or XM RADIO buttons.

2• When using a Pioneer HDD recorder, please select PIONEER DVR 487, 488, 489 or 493.

When using a Pioneer plasma display released prior to summer 2005, please select preset codes 637 or 660.

3The remote can store about 200 preset codes (this has been tested with codes of Pioneer format only).

4• You can’t assign the RECEIVER, TUNER, iPod or XM RADIO buttons.

TV CONTROL buttons (TV ,TV VOL +/–, TV CH +/– and INPUT SELECT) can only be learned after selecting TV CONT.

71

En

Page 71
Image 71
Pioneer VSX-84TXSi-S manual Controlling the rest of your system Chapter, Setting the remote to control other components

VSX-84TXSi-S, VSX-82TXS, VSX-82TXS-S, VSX-84TXSI specifications

The Pioneer VSX-84TXSi, VSX-82TXS, VSX-84TXSi-S, and VSX-82TXS are part of Pioneer's renowned lineup of home theater receivers, notable for their impressive audio capabilities and advanced features. Designed for enthusiasts who appreciate high-quality sound, these receivers stand out in the crowded market of A/V receivers.

The VSX-84TXSi and VSX-84TXSi-S come equipped with a robust 7.1-channel amplifier configuration, delivering a powerful output that ensures dynamic and immersive audio experience. Both models boast Pioneer's sophisticated Class D3 amplification technology, which efficiently provides high power output while minimizing distortion and heat. This feature allows listeners to enjoy their favorite music and movies with clarity and depth.

One standout feature of these receivers is the Advanced MCACC (Multi-Channel Acoustic Calibration System) technology. This automatically adjusts the speaker settings to fit the unique acoustics of the room, ensuring balanced sound across all channels. The calibration process is user-friendly, allowing even novice users to achieve optimal sound performance.

In terms of connectivity, the VSX-84TXSi and VSX-82TXS are equipped with multiple HDMI inputs, supporting the latest audio and video formats, including 4K Ultra HD. They also support Dolby TrueHD and DTS-HD Master Audio, which deliver lossless audio quality for a truly cinematic experience at home.

The VSX-84TXSi and VSX-82TXS models feature a user-friendly interface that includes on-screen displays and intuitive controls. They also offer extensive compatibility with various formats, including MP3, WMA, and AAC. For those who want to stream their music, both models have built-in support for networking capabilities, allowing users to connect to their home network and stream content from devices seamlessly.

The VSX-82TXS, while slightly less powerful than the VSX-84TXSi, offers many features that appeal to casual users and audiophiles alike. It retains the same high-quality audio processing and supports a variety of surround sound formats, making it a versatile choice for different media types.

Overall, the Pioneer VSX-84TXSi, VSX-82TXS, VSX-84TXSi-S, and VSX-82TXS are excellent choices for anyone looking to enhance their home entertainment experience. With a blend of advanced technology, impressive audio performance, and user-friendly features, these receivers continue to be favored options for home theater setups.