12Additional information

Chapter 12:

Additional information

Troubleshooting

Incorrect operations are often mistaken for trouble and malfunctions. If you think that there is something wrong with this component, check the points below. Take a look at the other components and electrical appliances being used, because sometimes the problem may lie there. If the trouble isn’t sorted out even after going through the checks below, ask your nearest Pioneer authorized independent service company to carry out repair work.

If the unit does not operate normally due to external effects such as static electricity disconnect the power plug from the outlet and insert again to return to normal operating conditions.

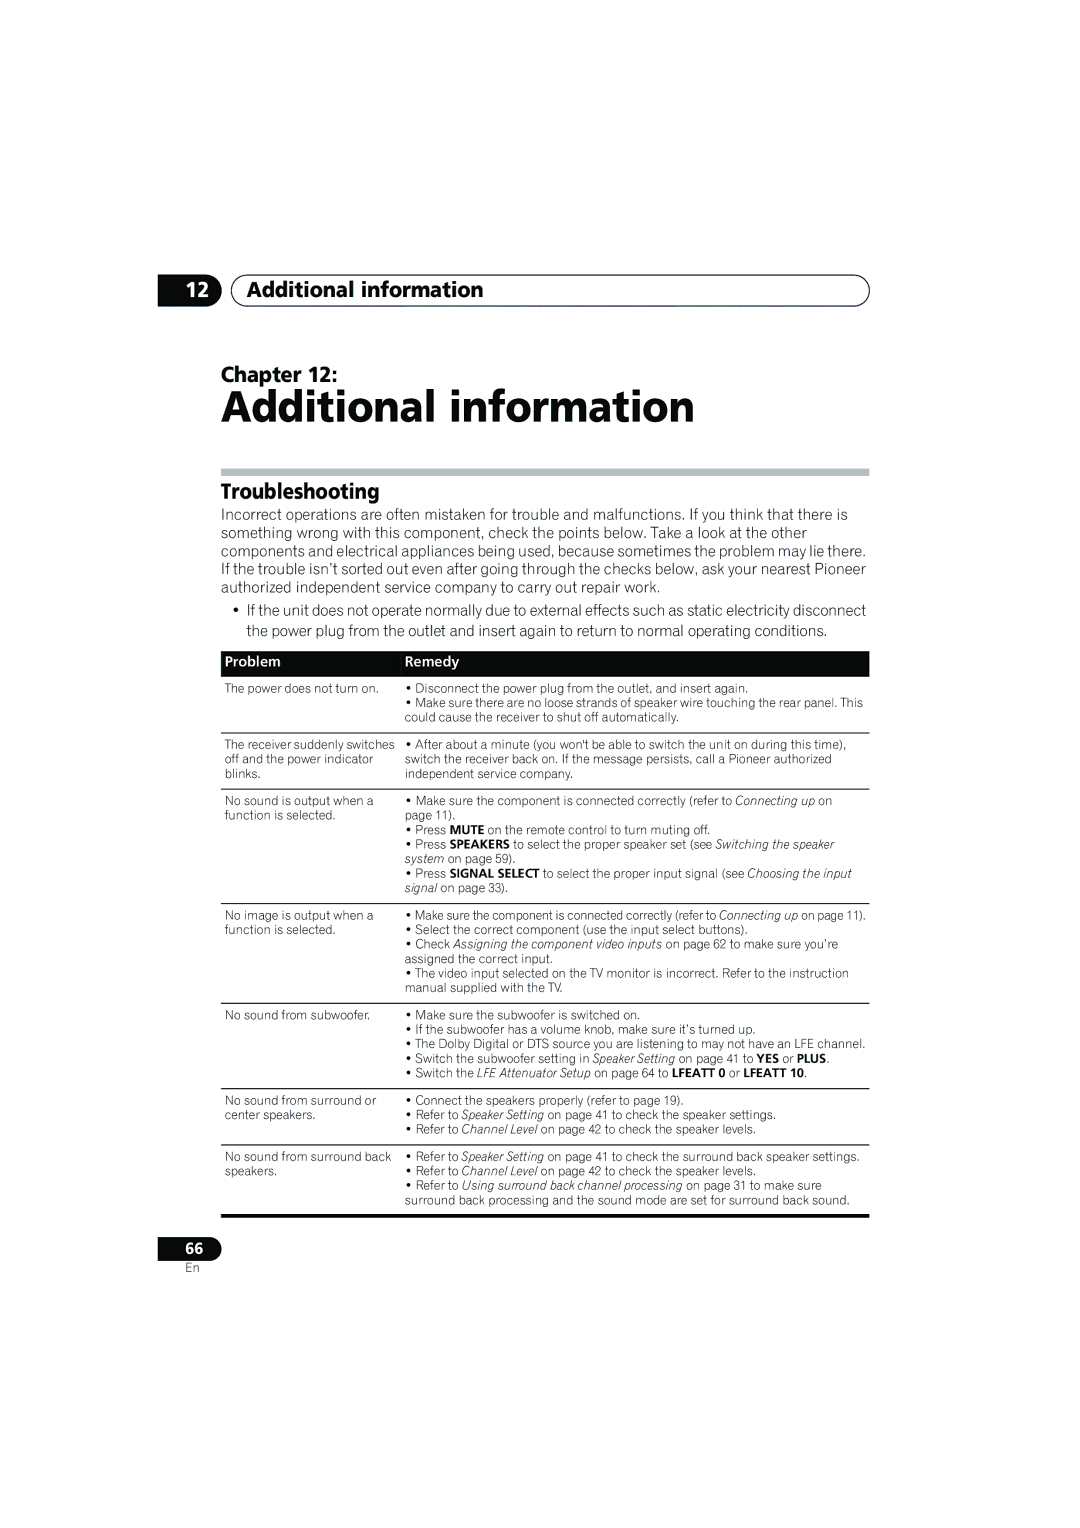
ProblemRemedy

The power does not turn on.

Disconnect the power plug from the outlet, and insert again.

Make sure there are no loose strands of speaker wire touching the rear panel. This could cause the receiver to shut off automatically.

The receiver suddenly switches

• After about a minute (you won't be able to switch the unit on during this time),

off and the power indicator

switch the receiver back on. If the message persists, call a Pioneer authorized

blinks.

independent service company.


No sound is output when a

• Make sure the component is connected correctly (refer to Connecting up on

function is selected.

page 11).


• Press MUTE on the remote control to turn muting off.


• Press SPEAKERS to select the proper speaker set (see Switching the speaker


system on page 59).


• Press SIGNAL SELECT to select the proper input signal (see Choosing the input


signal on page 33).

No image is output when a function is selected.

Make sure the component is connected correctly (refer to Connecting up on page 11).

Select the correct component (use the input select buttons).

Check Assigning the component video inputs on page 62 to make sure you’re assigned the correct input.

The video input selected on the TV monitor is incorrect. Refer to the instruction manual supplied with the TV.

No sound from subwoofer.

• Make sure the subwoofer is switched on.


• If the subwoofer has a volume knob, make sure it’s turned up.


• The Dolby Digital or DTS source you are listening to may not have an LFE channel.


• Switch the subwoofer setting in Speaker Setting on page 41 to YES or PLUS.


• Switch the LFE Attenuator Setup on page 64 to LFEATT 0 or LFEATT 10.


No sound from surround or

• Connect the speakers properly (refer to page 19).

center speakers.

• Refer to Speaker Setting on page 41 to check the speaker settings.


• Refer to Channel Level on page 42 to check the speaker levels.


No sound from surround back

• Refer to Speaker Setting on page 41 to check the surround back speaker settings.

speakers.

• Refer to Channel Level on page 42 to check the speaker levels.


• Refer to Using surround back channel processing on page 31 to make sure


surround back processing and the sound mode are set for surround back sound.


66

En

Page 66
Image 66
Pioneer VSX-917V manual Additional information Chapter, Troubleshooting

VSX-917V specifications

The Pioneer VSX-917V is a sophisticated receiver that stands out in the crowded landscape of home audio systems. Launched as part of the Pioneer VSX series, the VSX-917V embodies a blend of practicality and advanced technology, making it an excellent choice for both movie lovers and music enthusiasts.

One of the main features of the VSX-917V is its impressive power output, delivering a robust 110 watts per channel across a total of seven channels. This ensures that even larger spaces can be filled with rich, immersive sound without distortion. Partnered with the receiver’s Dynamic Range Control, it allows for an optimized audio experience, where both soft whispers and booming action sequences can be enjoyed with equal clarity.

The VSX-917V supports various surround sound formats, including Dolby Digital, Dolby Pro Logic IIx, and DTS. This capability allows users to experience multi-dimensional audio that encapsulates them in their favorite films and games. The receiver also features Pioneer's proprietary MCACC (Multi-Channel Acoustic Calibration System), which automatically calibrates the audio settings based on the acoustics of the room, providing a tailored audio experience for every listener.

Connectivity is another essential aspect of the VSX-917V. The receiver comes with multiple HDMI inputs, capable of handling high-definition video and audio signals, making it compatible with the latest devices such as Blu-ray players and gaming consoles. The HDMI 1.3 port also supports 1080p video upscaling, ensuring that all content played through the receiver is delivered in outstanding quality.

Additionally, the VSX-917V boasts a built-in AM/FM tuner and allows for convenient iPod integration via a direct connection, enabling users to play their favorite digital music seamlessly. The intuitive interface and remote control feature enhance user-friendliness, making system configuration straightforward.

In terms of design, the receiver features a sleek black finish, giving it a modern aesthetic that fits well into any home entertainment setup. The comprehensive menu system makes navigation effortless, allowing users to customize audio settings quickly.

Overall, the Pioneer VSX-917V is a feature-rich receiver that combines power, connectivity, and advanced audio technologies to create a compelling audio experience. With its robust build and user-centric design, it remains a remarkable choice for anyone looking to elevate their home audio system. Whether for casual listening or cinematic evenings, the VSX-917V meets all expectations.