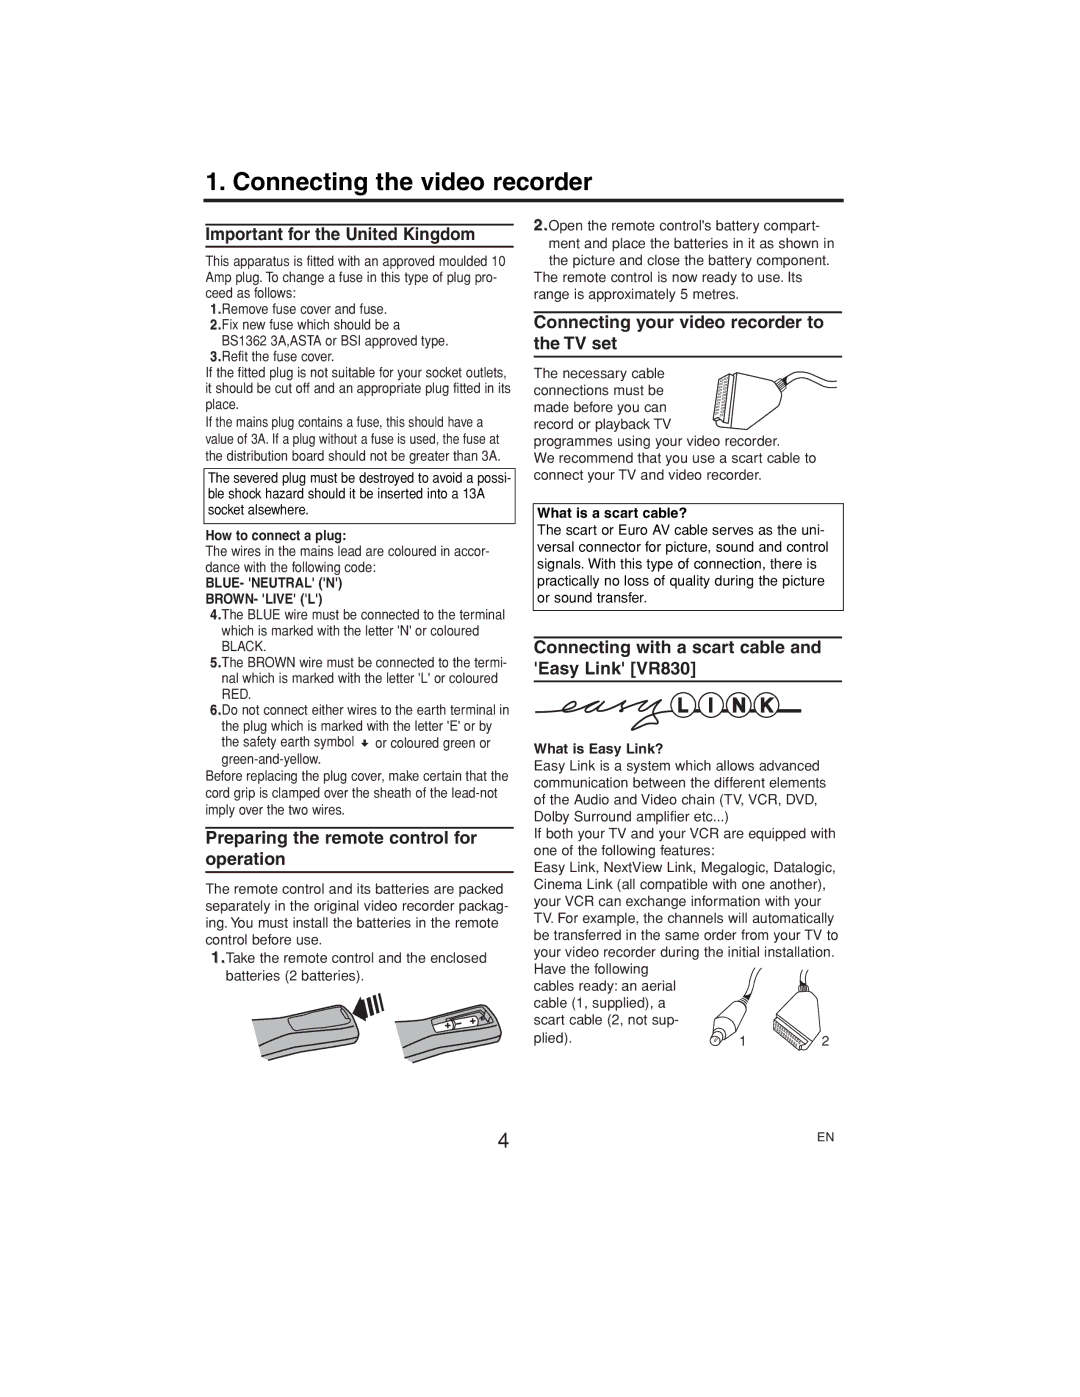
1. Connecting the video recorder
Important for the United Kingdom
This apparatus is fitted with an approved moulded 10 Amp plug. To change a fuse in this type of plug pro- ceed as follows:
1.Remove fuse cover and fuse.
2.Fix new fuse which should be a BS1362 3A,ASTA or BSI approved type.
3.Refit the fuse cover.
If the fitted plug is not suitable for your socket outlets, it should be cut off and an appropriate plug fitted in its place.
If the mains plug contains a fuse, this should have a value of 3A. If a plug without a fuse is used, the fuse at the distribution board should not be greater than 3A.
The severed plug must be destroyed to avoid a possi- ble shock hazard should it be inserted into a 13A socket alsewhere.
How to connect a plug:
The wires in the mains lead are coloured in accor- dance with the following code:
BLUE- 'NEUTRAL' ('N')
BROWN- 'LIVE' ('L')
4.The BLUE wire must be connected to the terminal which is marked with the letter 'N' or coloured
BLACK.
5.The BROWN wire must be connected to the termi- nal which is marked with the letter 'L' or coloured RED.
6.Do not connect either wires to the earth terminal in the plug which is marked with the letter 'E' or by the safety earth symbol or coloured green or
Before replacing the plug cover, make certain that the cord grip is clamped over the sheath of the
Preparing the remote control for operation
The remote control and its batteries are packed separately in the original video recorder packag- ing. You must install the batteries in the remote control before use.
1.Take the remote control and the enclosed batteries (2 batteries).
2.Open the remote control's battery compart- ment and place the batteries in it as shown in the picture and close the battery component.
The remote control is now ready to use. Its range is approximately 5 metres.
Connecting your video recorder to the TV set
The necessary cable connections must be made before you can
record or playback TV ![]() programmes using your video recorder.
programmes using your video recorder.
We recommend that you use a scart cable to connect your TV and video recorder.
What is a scart cable?
The scart or Euro AV cable serves as the uni- versal connector for picture, sound and control signals. With this type of connection, there is practically no loss of quality during the picture or sound transfer.
Connecting with a scart cable and 'Easy Link' [VR830]
 L I N K
What is Easy Link?
Easy Link is a system which allows advanced communication between the different elements of the Audio and Video chain (TV, VCR, DVD, Dolby Surround amplifier etc...)
If both your TV and your VCR are equipped with one of the following features:
Easy Link, NextView Link, Megalogic, Datalogic, Cinema Link (all compatible with one another), your VCR can exchange information with your TV. For example, the channels will automatically be transferred in the same order from your TV to your video recorder during the initial installation.
Have the following |
|
|
cables ready: an aerial |
|
|
cable (1, supplied), a |
|
|
scart cable (2, not sup- |
|
|
plied). | 1 | 2 |
4 | EN |
|
