8-Quart Stainless Steel Pressure Cooker specifications
The Presto 8-Quart Stainless Steel Pressure Cooker is a versatile and efficient kitchen appliance designed to make cooking faster and more convenient. This pressure cooker is a staple for both amateur and professional chefs, combining practicality with advanced features.One of the standout features of the Presto 8-Quart model is its durable stainless steel construction. This material not only ensures longevity but also provides a polished look that enhances any kitchen aesthetic. The stainless steel design is resistant to scratches and stains, making it easy to maintain and clean.
The 8-quart capacity is ideal for preparing large meals, making it perfect for families or gatherings. Whether you're pressure cooking, simmering, or even canning, this cooker can handle sizeable portions effortlessly. The generous size also allows for flexibility in creating various dishes, from hearty stews to tender meats and even desserts.
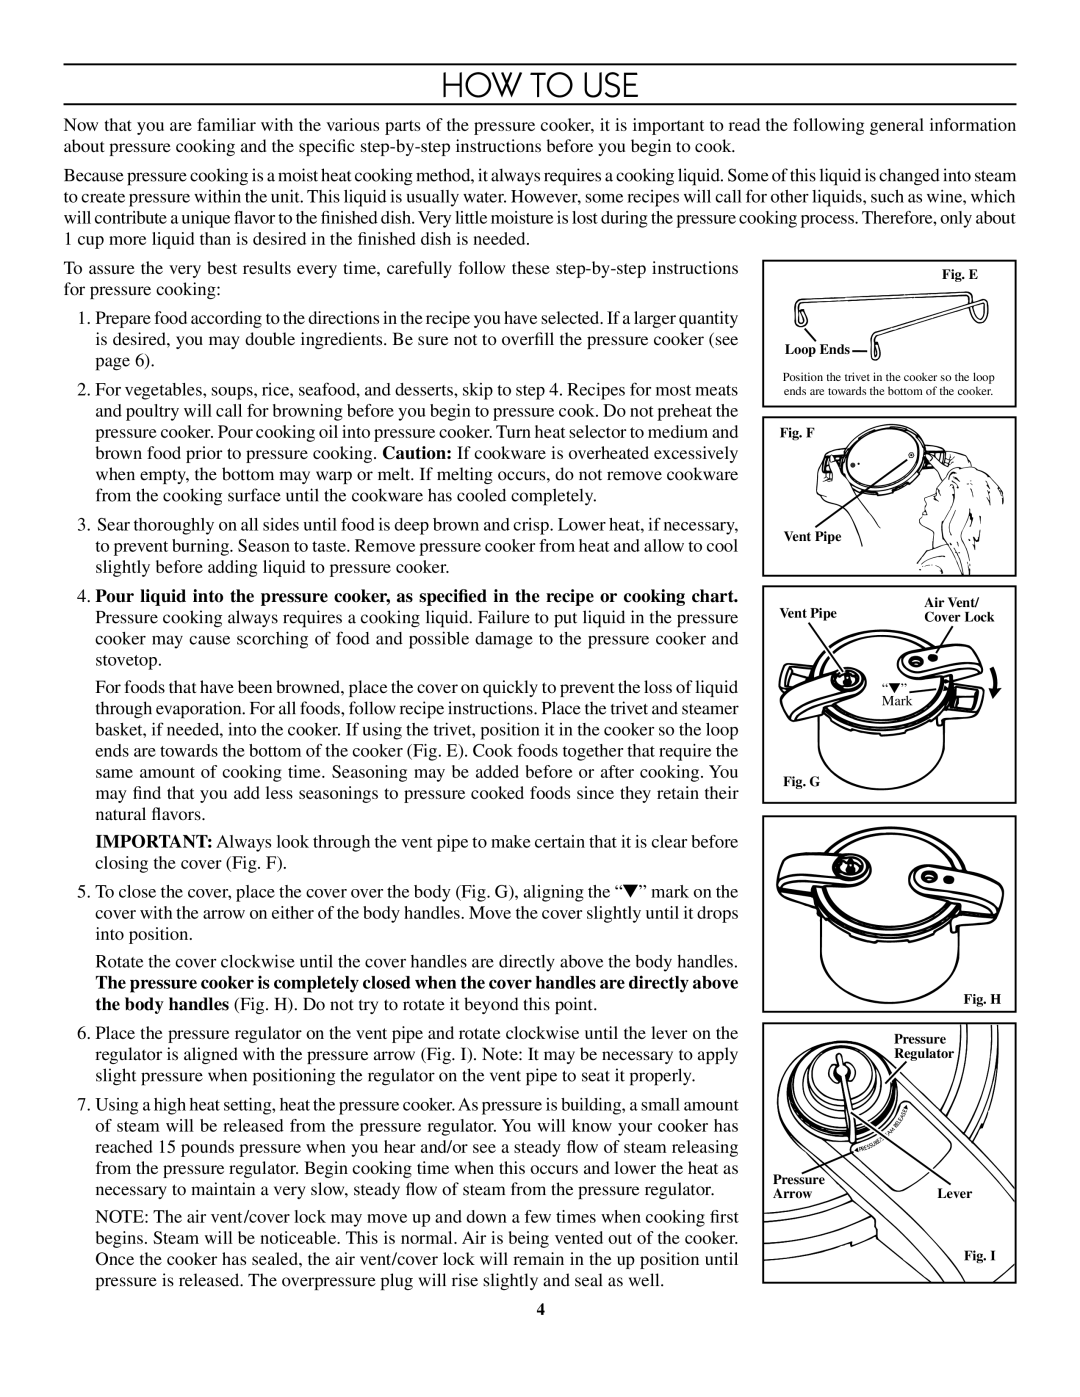
This pressure cooker incorporates an advanced pressure gauge, which ensures the right pressure level is achieved for optimal cooking. It regulates steam and allows users to cook food to perfection while retaining nutrients. The pressure cooker also features an easy-to-read pressure indicator, so users can conveniently monitor the cooking process.
Safety is paramount in any kitchen appliance, and the Presto 8-Quart doesn't disappoint. It comes equipped with multiple safety features, including a safety lock lid that prevents opening while under pressure, a steam release valve to control steam during cooking, and an overpressure plug for added security. These features give users peace of mind while they experiment with new recipes.
In terms of versatility, this pressure cooker is compatible with all types of stovetops, including gas, electric, and induction. Its multi-functionality makes it suitable for a wide variety of cooking methods, from sautéing to stewing, braising, and more.
Furthermore, the Presto 8-Quart Stainless Steel Pressure Cooker is designed for energy efficiency. It cooks food significantly faster than conventional methods, which not only saves time but also conserves energy. This means that not only are meals prepared in a fraction of the time, but users can also reduce their energy consumption, making it an environmentally friendly choice.
Overall, the Presto 8-Quart Stainless Steel Pressure Cooker stands out for its combination of durability, safety, and versatility. It simplifies meal preparation while enhancing flavors and textures, making it an essential tool for anyone looking to improve their cooking experience. With its attractive design and impressive features, this pressure cooker is a worthy addition to any kitchen.

