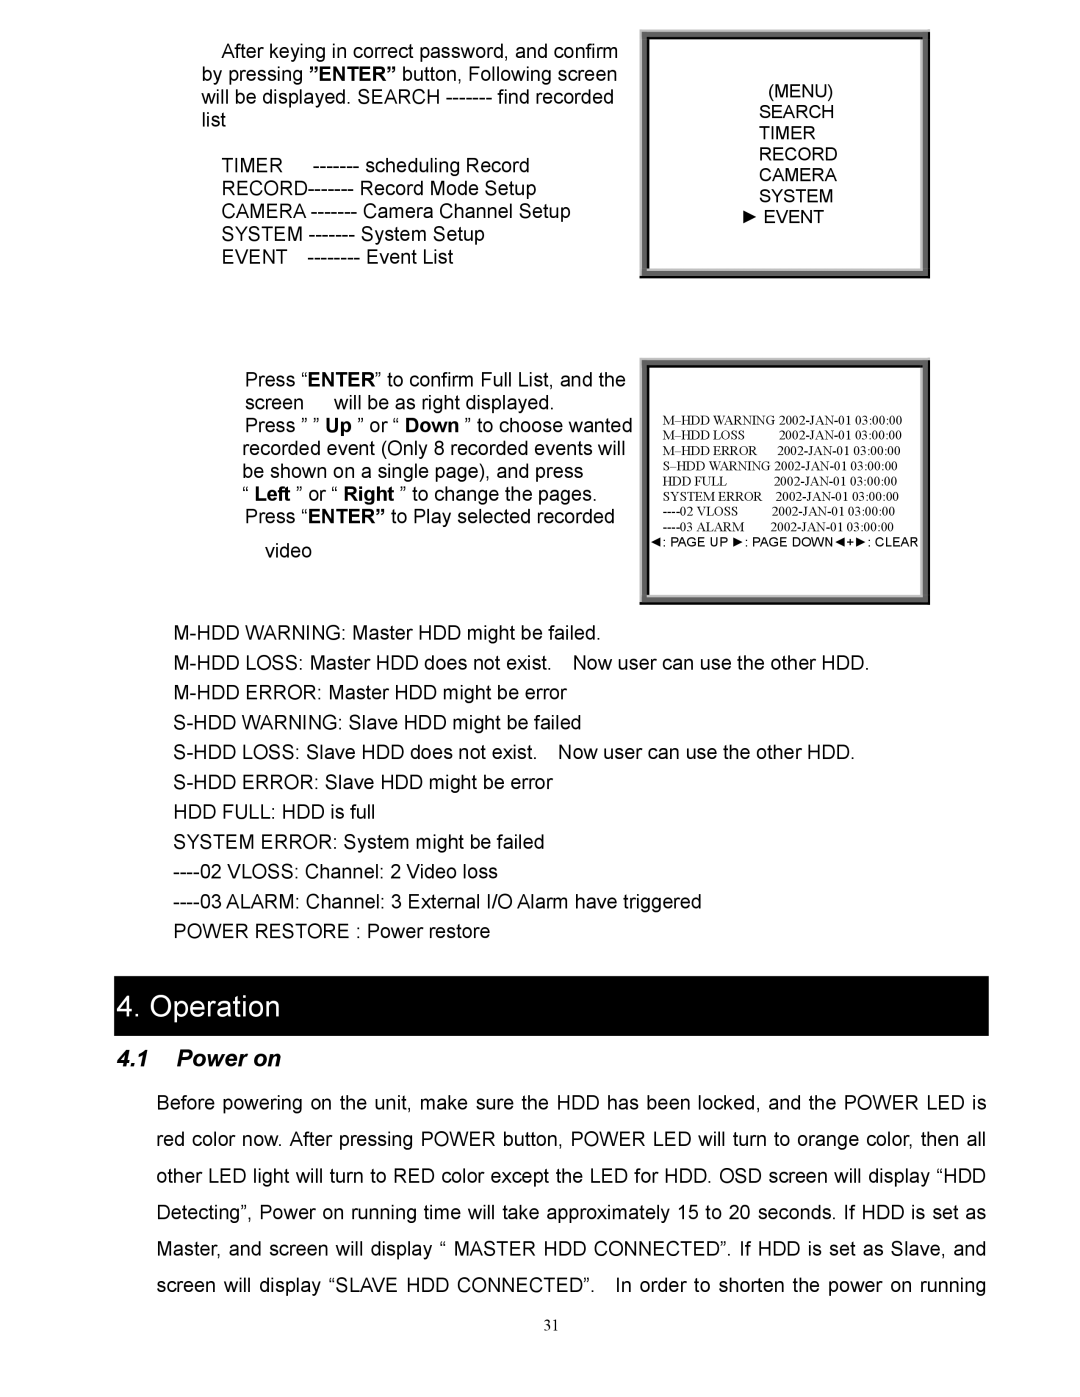
After keying in correct password, and confirm |
| ||
| |||
by pressing ”ENTER” button, Following screen | (MENU) | ||
will be displayed. SEARCH | |||
SEARCH | |||
list |
| ||
| TIMER | ||
|
| ||
TIMER | RECORD | ||
CAMERA | |||
SYSTEM | |||
CAMERA | |||
► EVENT | |||
SYSTEM | |||
| |||
EVENT |
| ||
|
|
| |
Press “ENTER” to confirm Full List, and the |
|
| |
|
| ||
screen will be as right displayed. |
|
| |
Press ” ” Up ” or “ Down ” to choose wanted | |||
| |||
recorded event (Only 8 recorded events will | |||
be shown on a single page), and press | |||
HDD FULL | |||
| |||
“ Left ” or “ Right ” to change the pages. | SYSTEM ERROR | ||
Press “ENTER” to Play selected recorded | |||
| |||
video | ◄: PAGE UP ►: PAGE DOWN◄+►: CLEAR | ||
|
| ||
|
|
| |
|
|
| |
HDD FULL: HDD is full
SYSTEM ERROR: System might be failed
POWER RESTORE : Power restore
4. Operation
4.1Power on
Before powering on the unit, make sure the HDD has been locked, and the POWER LED is
red color now. After pressing POWER button, POWER LED will turn to orange color, then all
other LED light will turn to RED color except the LED for HDD. OSD screen will display “HDD
Detecting”, Power on running time will take approximately 15 to 20 seconds. If HDD is set as
Master, and screen will display “ MASTER HDD CONNECTED”. If HDD is set as Slave, and
screen will display “SLAVE HDD CONNECTED”. In order to shorten the power on running
31
