You can press “REC” to start recording immediately. The recording speed & quality will be followed by “Record” recording mode setup in main menu.
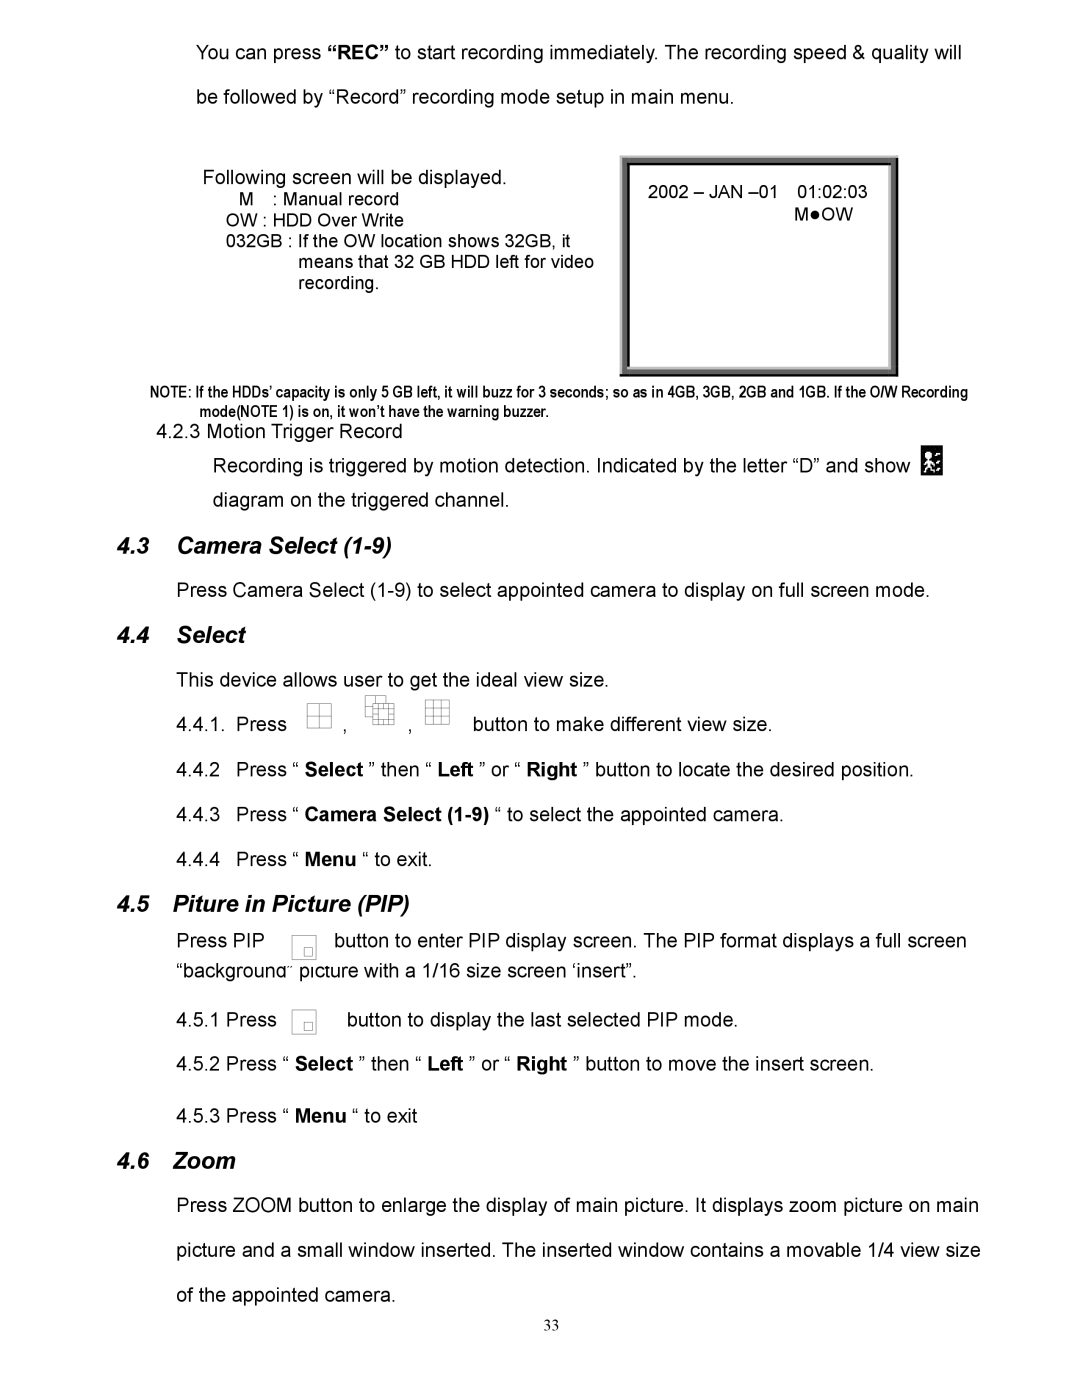
Following screen will be displayed.
M: Manual record
OW : HDD Over Write
032GB : If the OW location shows 32GB, it means that 32 GB HDD left for video recording.
2002 – JAN
MMOW
NOTE: If the HDDs’ capacity is only 5 GB left, it will buzz for 3 seconds; so as in 4GB, 3GB, 2GB and 1GB. If the O/W Recording mode(NOTE 1) is on, it won’t have the warning buzzer.
4.2.3 Motion Trigger Record
Recording is triggered by motion detection. Indicated by the letter “D” and show ![]() diagram on the triggered channel.
diagram on the triggered channel.
4.3Camera Select (1-9)
Press Camera Select
4.4Select
This device allows user to get the ideal view size.
4.4.1. Press | ,, |
|
| , | button to make different view size. |
|
4.4.2Press “ Select ” then “ Left ” or “ Right ” button to locate the desired position.
4.4.3Press “ Camera Select
4.4.4Press “ Menu “ to exit.
4.5Piture in Picture (PIP)
Press PIP | button to enter PIP display screen. The PIP format displays a full screen |
“background” picture with a 1/16 size screen ‘insert”. | |
4.5.1 Press | button to display the last selected PIP mode. |
4.5.2Press “ Select ” then “ Left ” or “ Right ” button to move the insert screen.
4.5.3Press “ Menu “ to exit
4.6Zoom
Press ZOOM button to enlarge the display of main picture. It displays zoom picture on main picture and a small window inserted. The inserted window contains a movable 1/4 view size of the appointed camera.
33