Changing Entertainment. Again
DVD Recorder/VCR Combo User’s Guide
Product Registration
Ventilation
Table of Contents
Things to consider before you connect
Types of Discs
Unpack the Box
Coaxial TV + cable Audio/video Box + audio
Coaxial Audio/video Video
Coaxial TV + cable Audio/video Box Video
Coaxial TV + Audio/video Satellite Video Receiver
Audio/Video Jacks and Cables RCA-type
Explanation of Input Jacks and Cables
Component Video Y, Pb, Pr Jacks and Cables
Video Jacks and Cables
Explanation of Jacks from left to right
Back of the DVD/VCR
Continues on next page…
DVD/VCR
Front Input Jacks
Front of the DVD/VCR
VCR Buttons
DVD Buttons
DVD/VCR + TV
Connect the DVD/VCR to the TV
Connection DVD/VCR + TV
Go to
Cable Box
DVD/VCR + TV+ Basic Cable Box
Connection DVD/VCR + TV + Basic Cable Box
Connect the cable box signal
DVD/VCR + TV+ Satellite Receiver
Connect the satellite receiver to the DVD/VCR
Connection DVD/VCR + TV + Satellite Receiver
DVD/VCR + TV + Basic Cable Box + Audio Receiver
Connect the DVD/VCR to the Audio/Video Receiver
Please Read This Before Using the Digital Audio Jack
Turn on the TV and DVD/VCR
Install Batteries in the Remote
Complete the Interactive Setup
Important Battery Information
Daylight Savings Time
Channel Search
Channel List
Time Zone
Watch TV
What to Expect
On the TV TV remote
Button/Switch Button on
Chapter
Explanation of Buttons
Remote Control
Automatic Code Search
Find out if the remote can operate your TV
Programming the remote to operate your TV
Direct Entry
Programming the Remote to Operate Other Components
Using the Remote’s Features
Very Important Know the mode
Low Battery Indicator
Deleting ALL Volume Punchthrough Commands
Volume Punchthrough Feature
Radio Shack
AOC
VCR
Tuner
Code List
AUX button
Audio button AUX button
Box
Audio 4014 button 4015 AUX button Technics4021
Recording, Playback & Features
Express Recording
Watching TV
DVD Recording
Channel Banner
Watching a videocassette tape while you record to disc
Setting up timer recordings to record programs automatically
Timer Recordings
Sort by Title
Disc Library
Other Sorting Options-Show All Discs
Erasing the Disc Library
To watch the program that you’ve highlighted, press Play
DVD Playback
Disc Information
Editing DVD+R and DVD+RW discs
Editing Titles with the Hide Chapter Feature
Basic Recording
Check the Safety Tab
VCR Basics
Basic Playback
Advanced Playback
Advanced VCR Features
VCR Info Display except during simultaneous disc recording
Recording to tape while you watch a DVD disc
VCR Recording
Copying a DVD disc DVD+R or DVD+RW to a videocassette tape
Copying a videocassette tape to a DVD disc DVD+R or DVD+RW
To initialize the disc
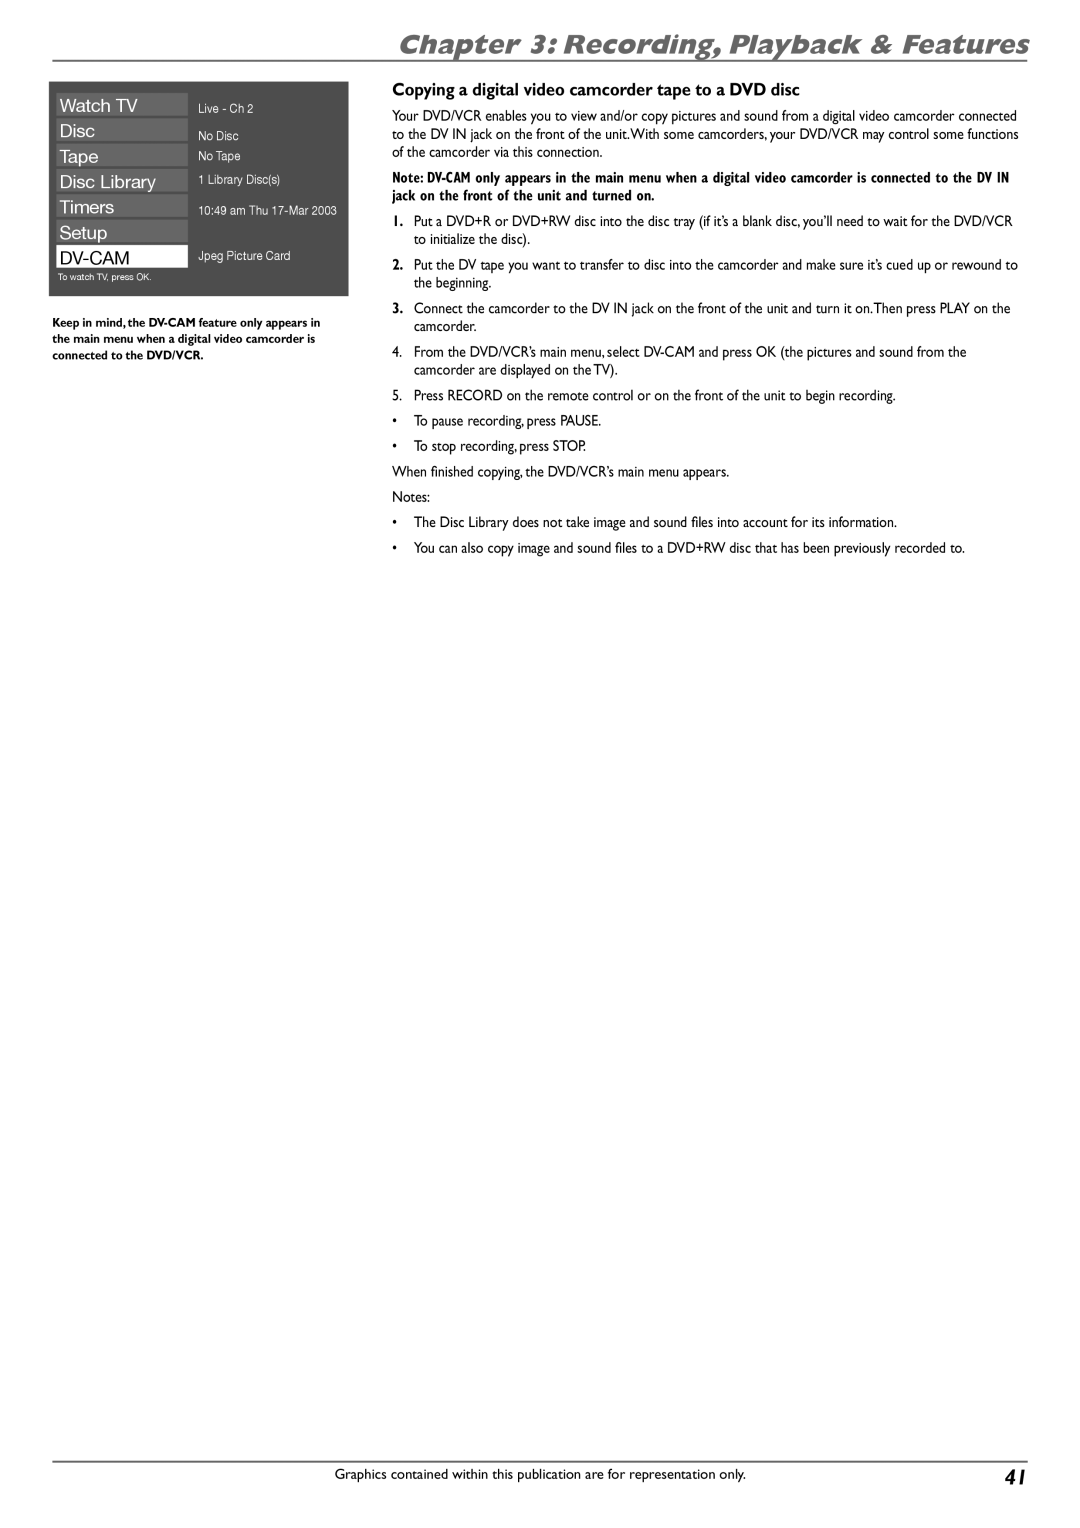
Copying a digital video camcorder tape to a DVD disc
Beginning
Playing Discs
Regional Coding
How to Load and Play Discs
Types of discs you can play
Search Options
Using Different Menus
Playback options
VCR Info Display… go to
Using the On-screen Info Display
DVD+R and DVD+RW Info Display… go to
Subtitle Icon DVD
Jpeg Info Display… go to
Time Display DVD,Video CD, and Audio CD
Chapter Icon DVD
Audio Icon DVD and Video CD
Repeat Icon DVD,Video CD, and Audio CD
Repeating Titles, Chapters, or Tracks
AB Repeat
Program
Play Mode Icon Audio CD
Camera Angle Icon DVD
Random
Playback Control PBC Icon Video CD
Playing DiscsYou Recorded DVD+R and DVD+RW
Playing mp3,WMA, or Jpeg files
IntroScan Icon Audio CD
Some file names are too long to be completely displayed
Jpeg Index Screen
Jpeg Info Display
Example of mp3 files
Rotate
Menu System
Overview of the DVD/VCR’s Menu System
How to navigate through on-screen menus
Main Menu
For details about the Disc Title Menu, go to
Disc
Tape
DVD+RW discs
Lock and Unlock
Timers
Setup
Parental Controls
To set Ratings
System Options
Unrated Titles
Recording Options
DV-CAM
Additional Information
DVD Problems
General Problems
No sound or distorted sound
Recording/Copying Problems
Timer Recordings
VCR Problems
Mp3 files
Handling Discs
Maintenance of Cabinet
Handling Cautions
Formation of Condensation
Limited Warranty
Accessory Information
How to Order
Trademarks Registered Marcas Registradas Tocom 1644356A
North Meridian Street Indianapolis,
Thomson Inc

