RCU_1010_RF_IB_RevA.qxd 9/24/03 10:30 AM Page 22
Delete a SmartMacro (continued)
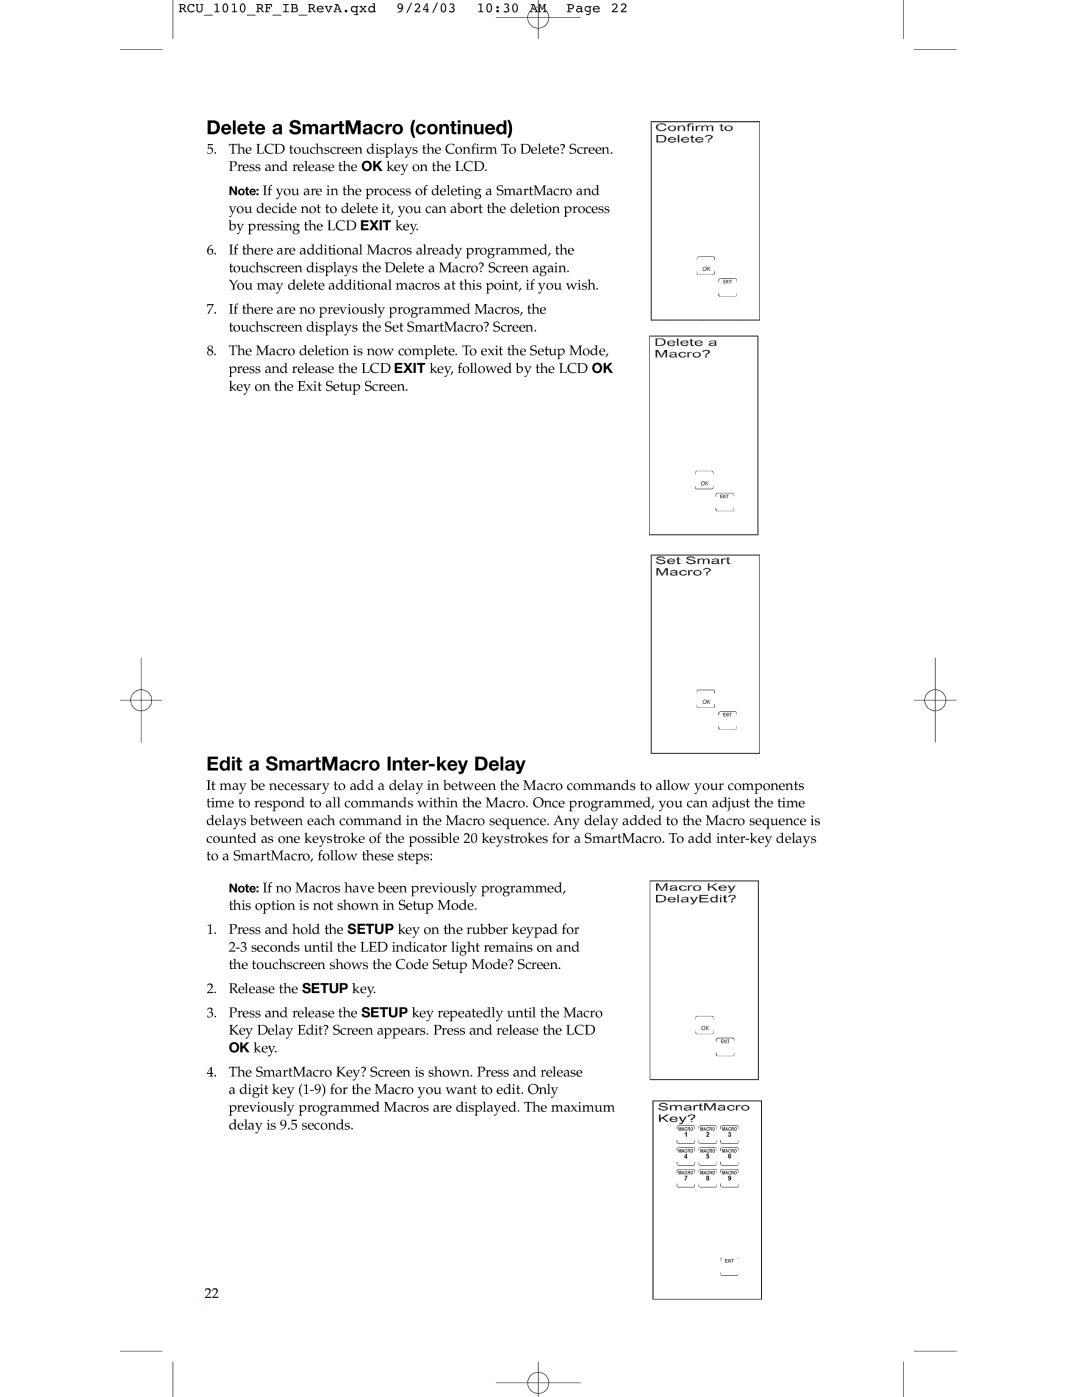
5.The LCD touchscreen displays the Confirm To Delete? Screen. Press and release the OK key on the LCD.
Note: If you are in the process of deleting a SmartMacro and you decide not to delete it, you can abort the deletion process by pressing the LCD EXIT key.
6.If there are additional Macros already programmed, the touchscreen displays the Delete a Macro? Screen again. You may delete additional macros at this point, if you wish.
7.If there are no previously programmed Macros, the touchscreen displays the Set SmartMacro? Screen.
8.The Macro deletion is now complete. To exit the Setup Mode, press and release the LCD EXIT key, followed by the LCD OK key on the Exit Setup Screen.
Edit a SmartMacro Inter-key Delay
It may be necessary to add a delay in between the Macro commands to allow your components time to respond to all commands within the Macro. Once programmed, you can adjust the time delays between each command in the Macro sequence. Any delay added to the Macro sequence is counted as one keystroke of the possible 20 keystrokes for a SmartMacro. To add
Note: If no Macros have been previously programmed, this option is not shown in Setup Mode.
1.Press and hold the SETUP key on the rubber keypad for
2.Release the SETUP key.
3.Press and release the SETUP key repeatedly until the Macro Key Delay Edit? Screen appears. Press and release the LCD OK key.
4.The SmartMacro Key? Screen is shown. Press and release a digit key
22