MAINTENANCE

7)Tighten side panels nuts using the following procedure:

a.tighten top & bottom outside corner nuts

(2)

b.tighten inside nuts (3)

c.tighten top & bottom inside corners (2)

8)Tighten the 10 nuts on center glass retainer.

9)Repeat step 7 for other side panel.

10)Replace new gasket by gluing it in place.

11)Install door onto stove and check the seal.

FAN MAINTENANCE

If your fan requires maintenance or replace- ment, access to the fan is through the plate on the rear wall of the firebox. NOTE: the unit

MUST NOT be operated without the fan access panel securely in place and cor- rectly sealed.

If the fan is damaged or needs repair, it shall be repaired by the manufacturer or its service agent or similiarily qualified person to avoid a hazard.

IMPORTANT: These fans collect a lot of dust from within your home. En- sure you maintain these fan mo- tors on a regular basis by vacuum- ing out the fan squirrel cages, around the motor, and around the grills on the back of the stove.

IMPORTANT

Disconnect power supply

before servicing

WARNING:

Electrical Grounding Instructions This appliance is equipped with a three pronged (grounding) plug for your protection against shock hazard and should be plugged directly into a properly grounded three-prong receptacle. Do not cut or remove the grounding prong from this plug.

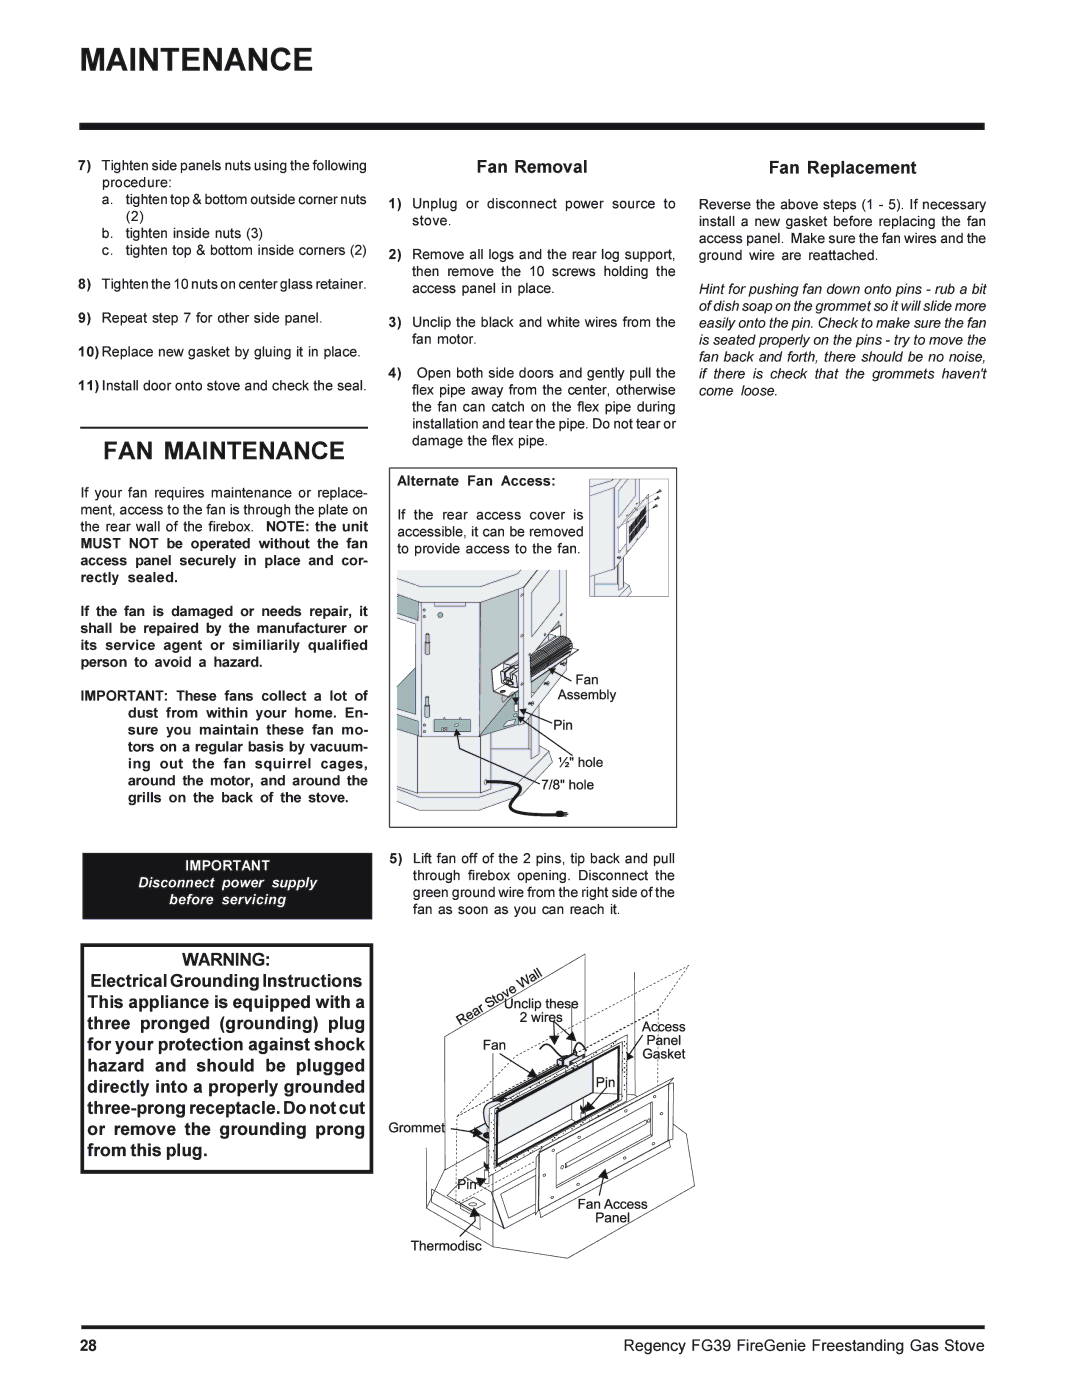
Fan Removal

1)Unplug or disconnect power source to stove.

2)Remove all logs and the rear log support, then remove the 10 screws holding the access panel in place.

3)Unclip the black and white wires from the fan motor.

4)Open both side doors and gently pull the flex pipe away from the center, otherwise the fan can catch on the flex pipe during installation and tear the pipe. Do not tear or damage the flex pipe.

Alternate Fan Access:

If the rear access cover is accessible, it can be removed to provide access to the fan.

5)Lift fan off of the 2 pins, tip back and pull through firebox opening. Disconnect the green ground wire from the right side of the fan as soon as you can reach it.

Fan Replacement

Reverse the above steps (1 - 5). If necessary install a new gasket before replacing the fan access panel. Make sure the fan wires and the ground wire are reattached.

Hint for pushing fan down onto pins - rub a bit of dish soap on the grommet so it will slide more easily onto the pin. Check to make sure the fan is seated properly on the pins - try to move the fan back and forth, there should be no noise, if there is check that the grommets haven't come loose.

28

Regency FG39 FireGenie Freestanding Gas Stove

Page 28
Image 28
Regency FG39-LPG, FG39-NG installation manual FAN Maintenance, Fan Replacement, Alternate Fan Access

FG39-NG, FG39-LPG specifications

The Regency FG39 series comprises two distinct gas fireplaces, the FG39-NG (natural gas) and the FG39-LPG (propane), embodying a perfect blend of functionality, design, and efficiency. These models cater to homeowners seeking an elegant heating solution that combines aesthetic appeal with modern technology.

One of the standout features of the Regency FG39 series is its advanced burner system. Designed for maximum heat output and efficiency, the interlocking burner design produces realistic flames that enhance the ambiance of any room. The flames are adjustable, allowing users to customize their heating experience to suit their preferences and home environment. With an impressive thermal efficiency rating, these fireplaces not only provide warmth but also do so while conserving energy.

An important characteristic of the Regency FG39 series is the extensive range of customizable options available. Homeowners can choose from various decorative fronts, media options like rocks and logs, and colors that complement their interior design themes. This modular approach allows the fireplace to blend seamlessly with any decor, while still standing as a stunning focal point.

Additionally, both models feature a sleek, contemporary design with a large viewing area that maximizes the fire's visual impact. The tempered glass doors not only enhance safety but also add a touch of sophistication. The clean lines and minimalist aesthetic make these fireplaces ideal for both modern and traditional homes.

Technologically, the Regency FG39 series is equipped with high-performance ventilation systems that ensure optimal airflow and heat distribution. This allows for versatile installation options, granting homeowners the flexibility to position the unit in various spaces without compromising on performance.

Furthermore, the unit's easy-to-use digital remote control elevates the user experience. With the ability to adjust temperature settings and flame levels from anywhere in the room, comfort is easily attainable at the touch of a button.

In conclusion, the Regency FG39-NG and FG39-LPG fireplaces offer a compelling solution for homeowners looking for a combination of style, efficiency, and advanced technology. With customizable options, impressive heating systems, and sleek designs, these fireplaces represent the epitome of modern heating solutions, enhancing any living space while ensuring comfort and luxury.