Setting a Leading Edge Margin
Setting a Leading Edge Margin
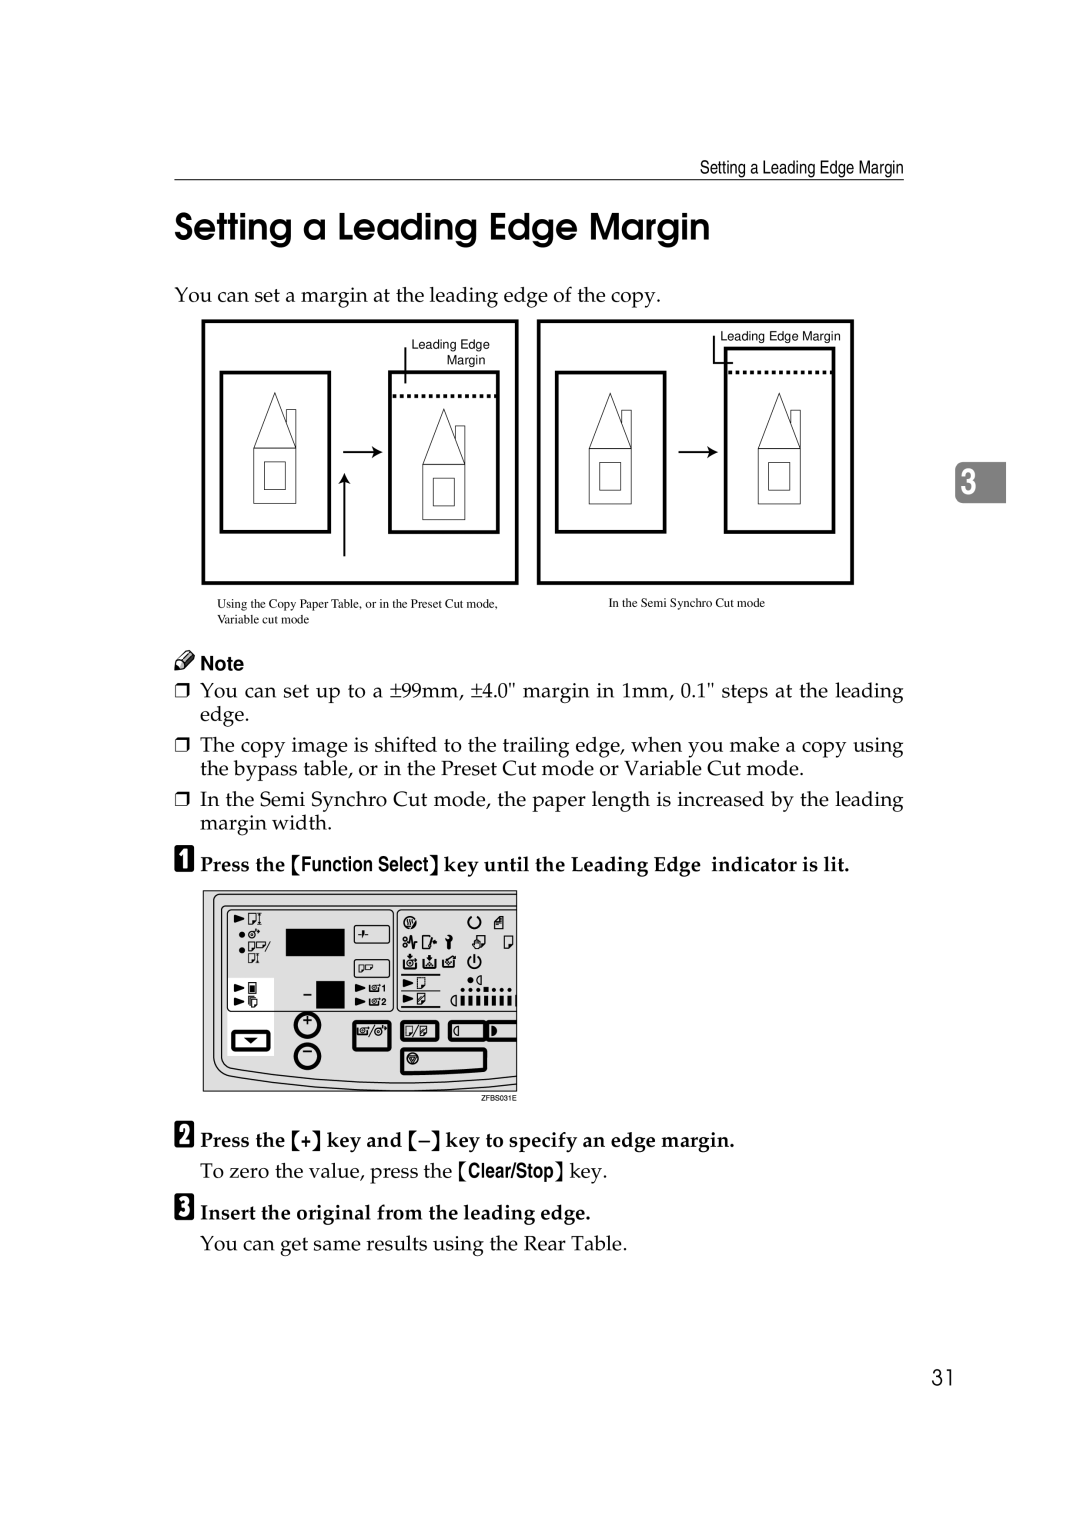
You can set a margin at the leading edge of the copy.
Leading Edge |
Margin |
Using the Copy Paper Table, or in the Preset Cut mode, Variable cut mode
Leading Edge Margin |
In the Semi Synchro Cut mode
3
![]()
![]() Note
Note
❒You can set up to a ± 99mm, ± 4.0" margin in 1mm, 0.1" steps at the leading edge.
❒The copy image is shifted to the trailing edge, when you make a copy using the bypass table, or in the Preset Cut mode or Variable Cut mode.
❒In the Semi Synchro Cut mode, the paper length is increased by the leading margin width.
A Press the {Function Select} key until the Leading Edge indicator is lit.
B
C
Press the {+} key and {− } key to specify an edge margin. To zero the value, press the {Clear/Stop} key.
Insert the original from the leading edge.
You can get same results using the Rear Table.
31