Alignment (continued)
Checking Sliding Table Extension
Lock the table extension lock lever. Pull- push on the sliding table extension. It should not move.
WARNING: To reduce the risk of thrown workpiece, do not use with extension lock lever unlocked.
If the sliding table extension moves when locked:
1.Release the table extension lock lever.
2.Find the front hex coupling located underneath the front table.
3.Loosen the hex locking nut.
4.Turn the hex coupling counterclock- wise.
5.Lock the table extension lock.
Hex Locking | Front Hex |
Nut | Coupling |
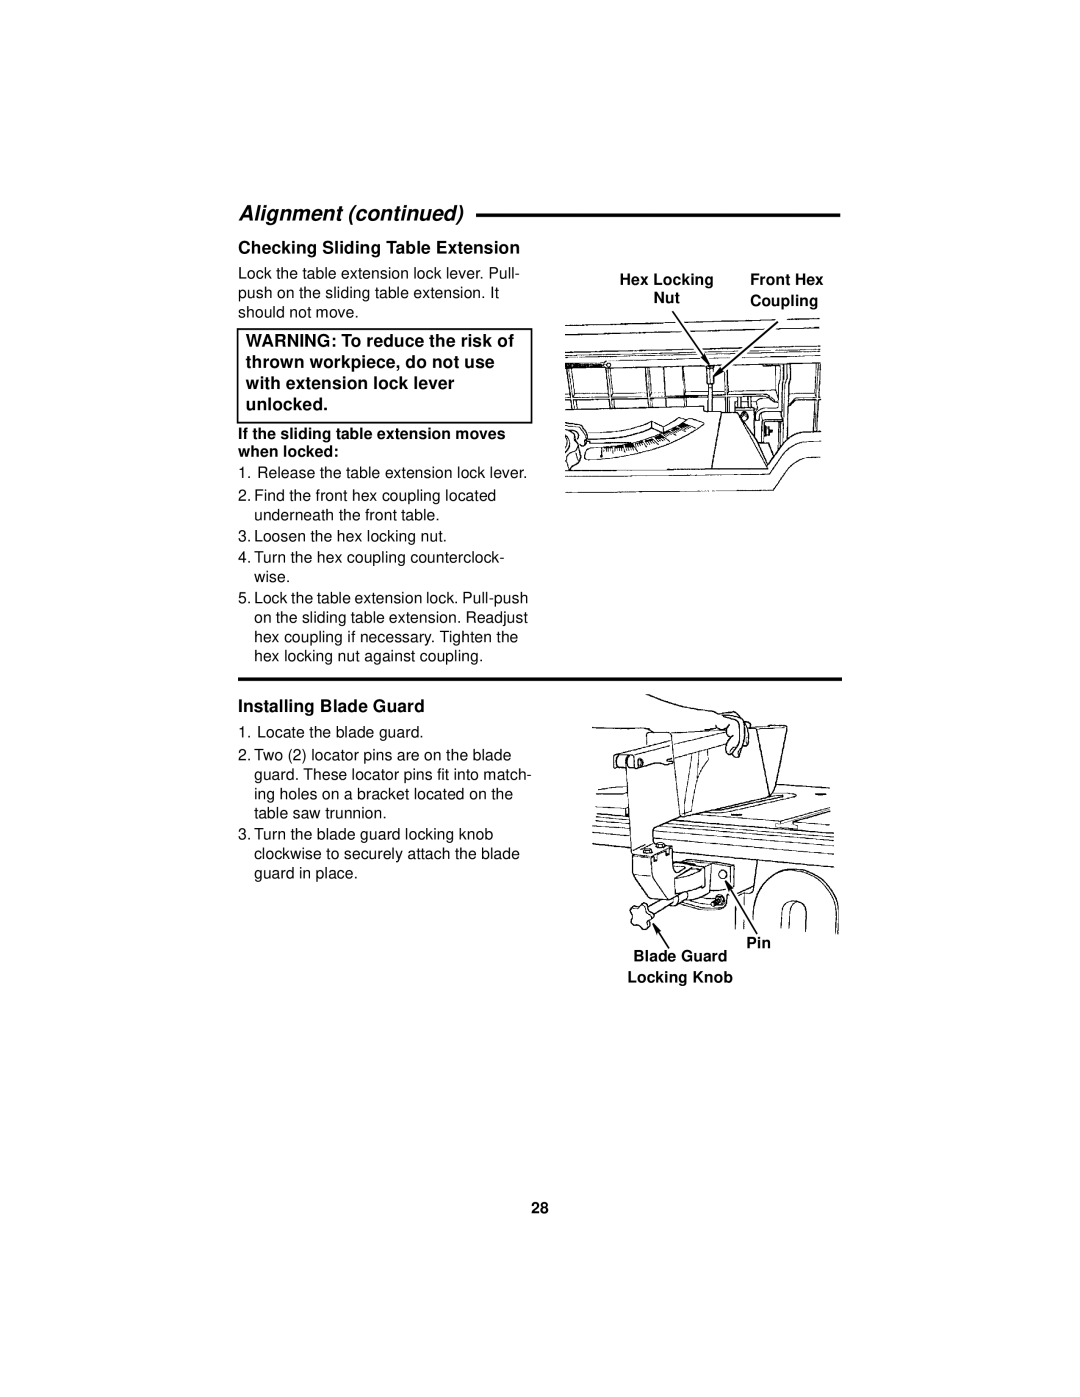
Installing Blade Guard
1.Locate the blade guard.
2.Two (2) locator pins are on the blade guard. These locator pins fit into match- ing holes on a bracket located on the table saw trunnion.
3.Turn the blade guard locking knob clockwise to securely attach the blade guard in place.
Pin
Blade Guard
Locking Knob
28