Mounting Your Saw (continued)
Mounting Table Saw to RIDGID Universal Power Tool Legset #AC9910
1.Assemble legset per instructions.
2.Locate the four (4) “TS” layout points on the particle board tables.
3.Drill the four (4) above holes.
4.Insert four (4)
NOTE: Mounting hardware (bolts, nuts, washers, etc.) are not supplied with the saw.
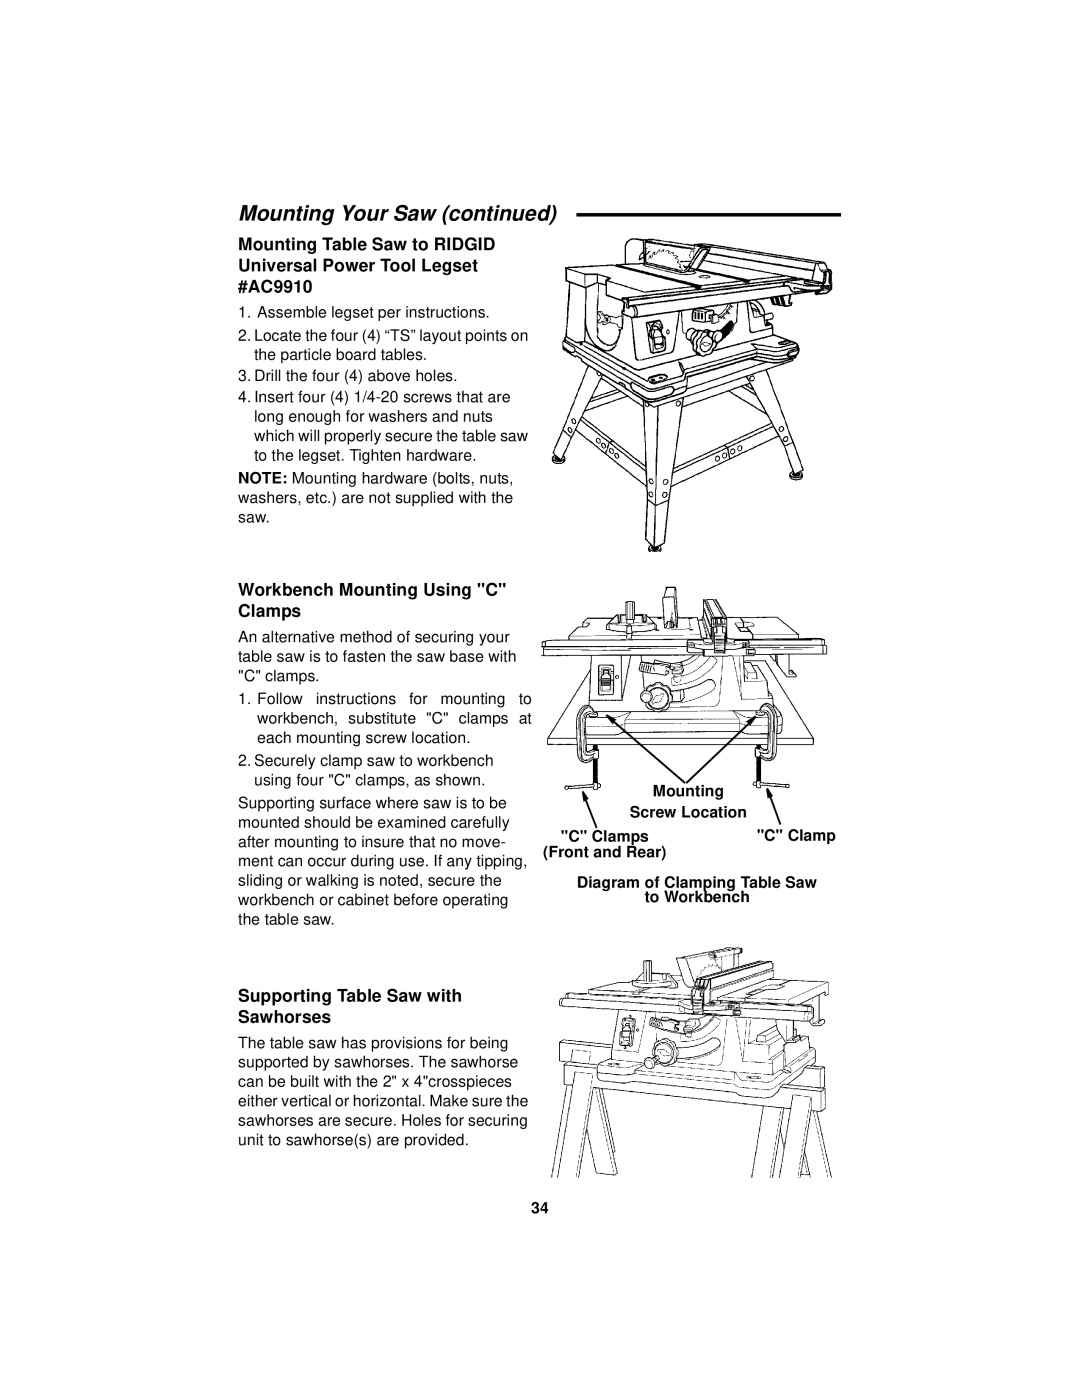
Workbench Mounting Using "C" Clamps
An alternative method of securing your table saw is to fasten the saw base with "C" clamps.
1.Follow instructions for mounting to workbench, substitute "C" clamps at each mounting screw location.
2.Securely clamp saw to workbench using four "C" clamps, as shown.
Supporting surface where saw is to be mounted should be examined carefully after mounting to insure that no move- ment can occur during use. If any tipping, sliding or walking is noted, secure the workbench or cabinet before operating the table saw.
Mounting
Screw Location
"C" Clamps | "C" Clamp |
(Front and Rear) |
|
Diagram of Clamping Table Saw
to Workbench
Supporting Table Saw with Sawhorses
The table saw has provisions for being supported by sawhorses. The sawhorse can be built with the 2" x 4"crosspieces either vertical or horizontal. Make sure the sawhorses are secure. Holes for securing unit to sawhorse(s) are provided.
34