Basic Saw Operations (continued)
Ripping
Definition: Cutting operation along the length of the workpiece.
Position the fence to the desired width of rip and lock in place.
Before starting to rip, be sure:
1.Rip fence is parallel to sawblade.
2.Spreader is properly aligned with saw- blade.
3.
When ripping long boards or large panels, always use a work support. A simple sup- port can be made by clamping a piece of plywood to a sawhorse.
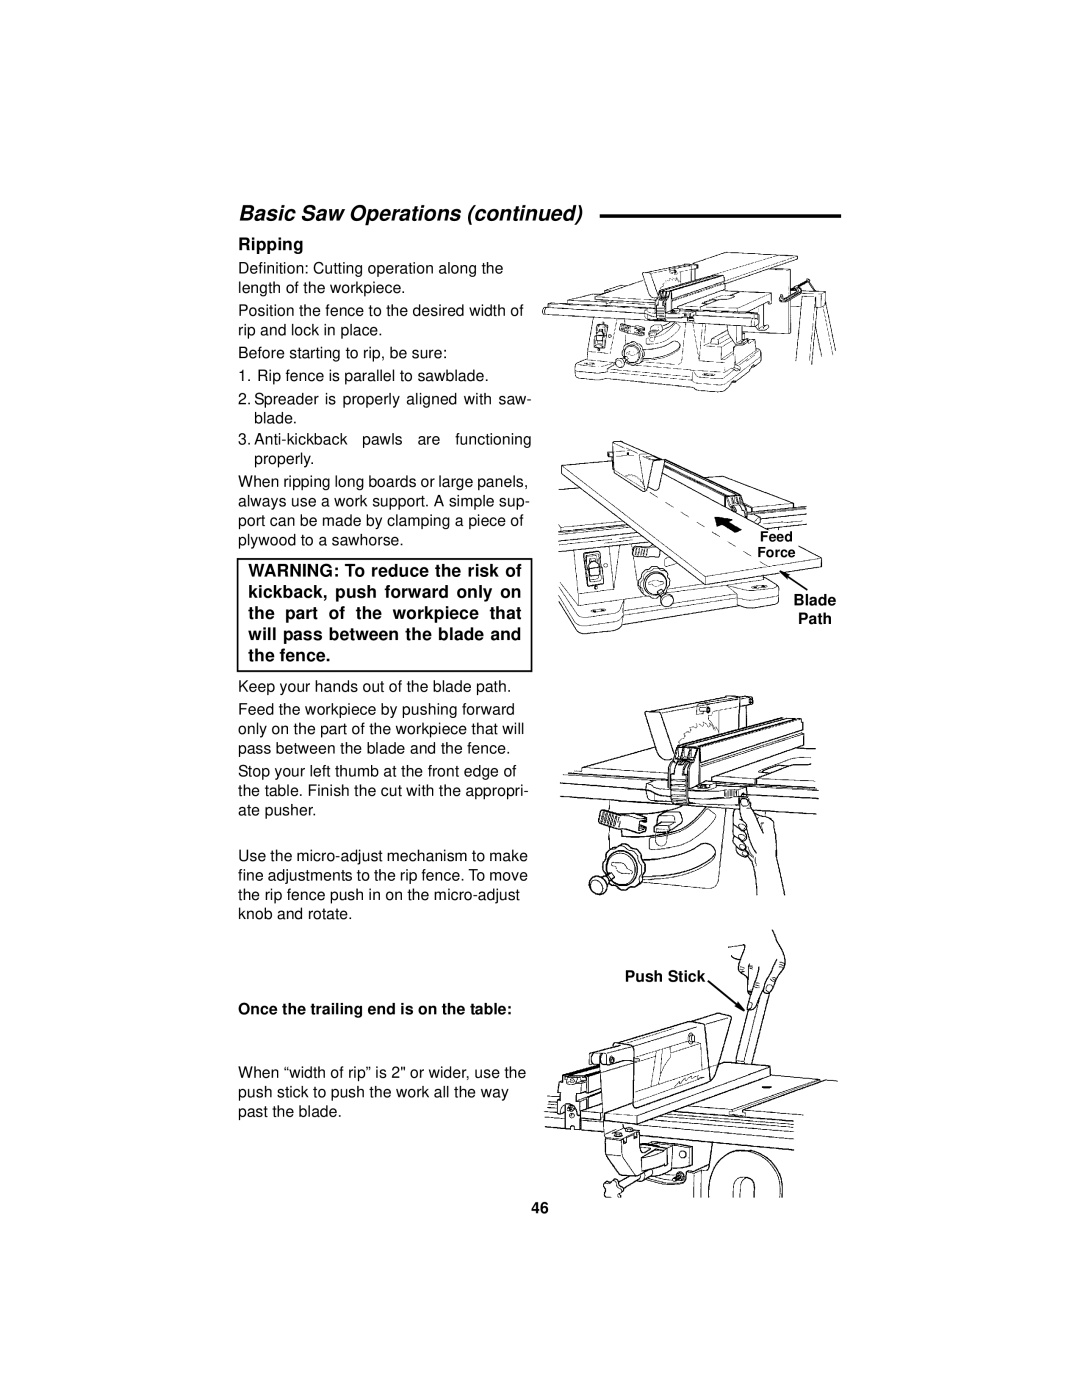
WARNING: To reduce the risk of kickback, push forward only on the part of the workpiece that will pass between the blade and the fence.
Keep your hands out of the blade path.
Feed the workpiece by pushing forward only on the part of the workpiece that will pass between the blade and the fence.
Stop your left thumb at the front edge of the table. Finish the cut with the appropri- ate pusher.
Use the
Once the trailing end is on the table:
When “width of rip” is 2" or wider, use the push stick to push the work all the way past the blade.
Push Stick
Feed
Force
Blade
Path
46