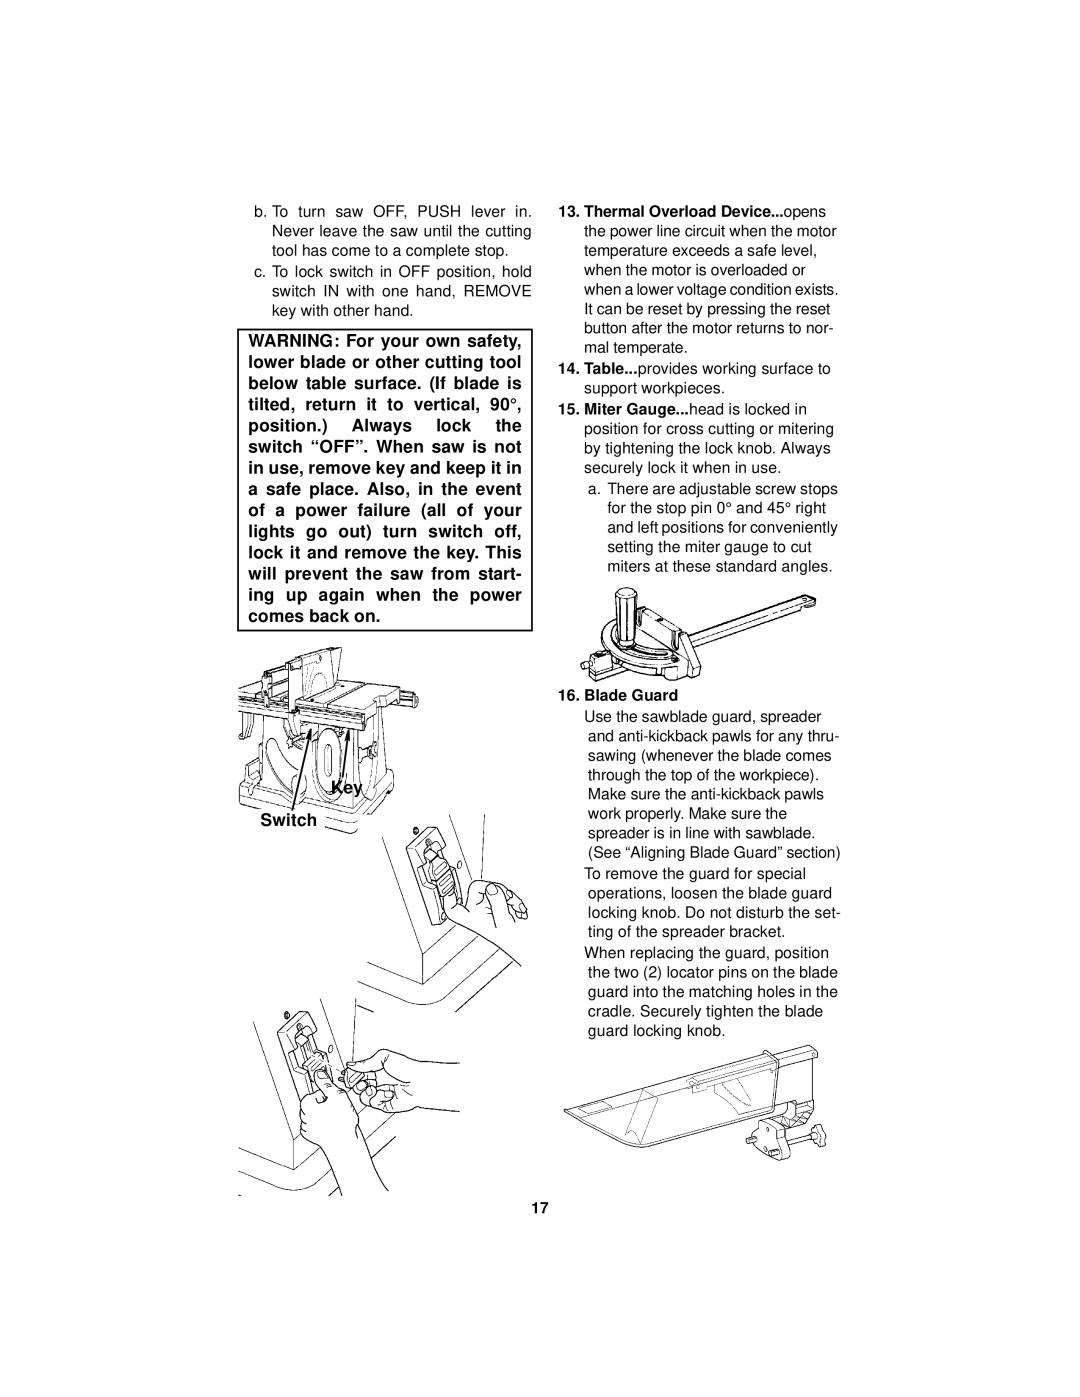
b. To turn saw OFF, PUSH lever in. Never leave the saw until the cutting tool has come to a complete stop.
c. To lock switch in OFF position, hold switch IN with one hand, REMOVE key with other hand.
WARNING: For your own safety, lower blade or other cutting tool below table surface. (If blade is tilted, return it to vertical, 90°, position.) Always lock the switch “OFF”. When saw is not in use, remove key and keep it in a safe place. Also, in the event of a power failure (all of your lights go out) turn switch off, lock it and remove the key. This will prevent the saw from start- ing up again when the power comes back on.
13.Thermal Overload Device...opens the power line circuit when the motor temperature exceeds a safe level, when the motor is overloaded or when a lower voltage condition exists. It can be reset by pressing the reset button after the motor returns to nor- mal temperate.
14.Table...provides working surface to support workpieces.
15.Miter Gauge...head is locked in position for cross cutting or mitering by tightening the lock knob. Always securely lock it when in use.
a.There are adjustable screw stops for the stop pin 0° and 45° right and left positions for conveniently setting the miter gauge to cut miters at these standard angles.
Key
Switch
16.Blade Guard
Use the sawblade guard, spreader and
When replacing the guard, position the two (2) locator pins on the blade guard into the matching holes in the cradle. Securely tighten the blade guard locking knob.
17
