Dadoing
Dadoing is cutting a groove into the work- piece. There are a wide variety of dado heads available - be sure and consult the specific instructions included with your dado head.
WARNING: For your own safety; always read, understand and fol- low all directions in the instruc- tional booklet furnished with the dado head.
The slot provided for the saw blade in the regular table insert is too small for the dado head to pass through. Therefore, a special dado insert must be purchased.
WARNING: For your own safety, always use dado insert listed under recommended accesso- ries.
A dado is never used for thru sawing or cutting completely through a workpiece. It is used for
WARNING: For your own safety, always replace the blade, table insert, guard and spreader when you are finished dadoing.
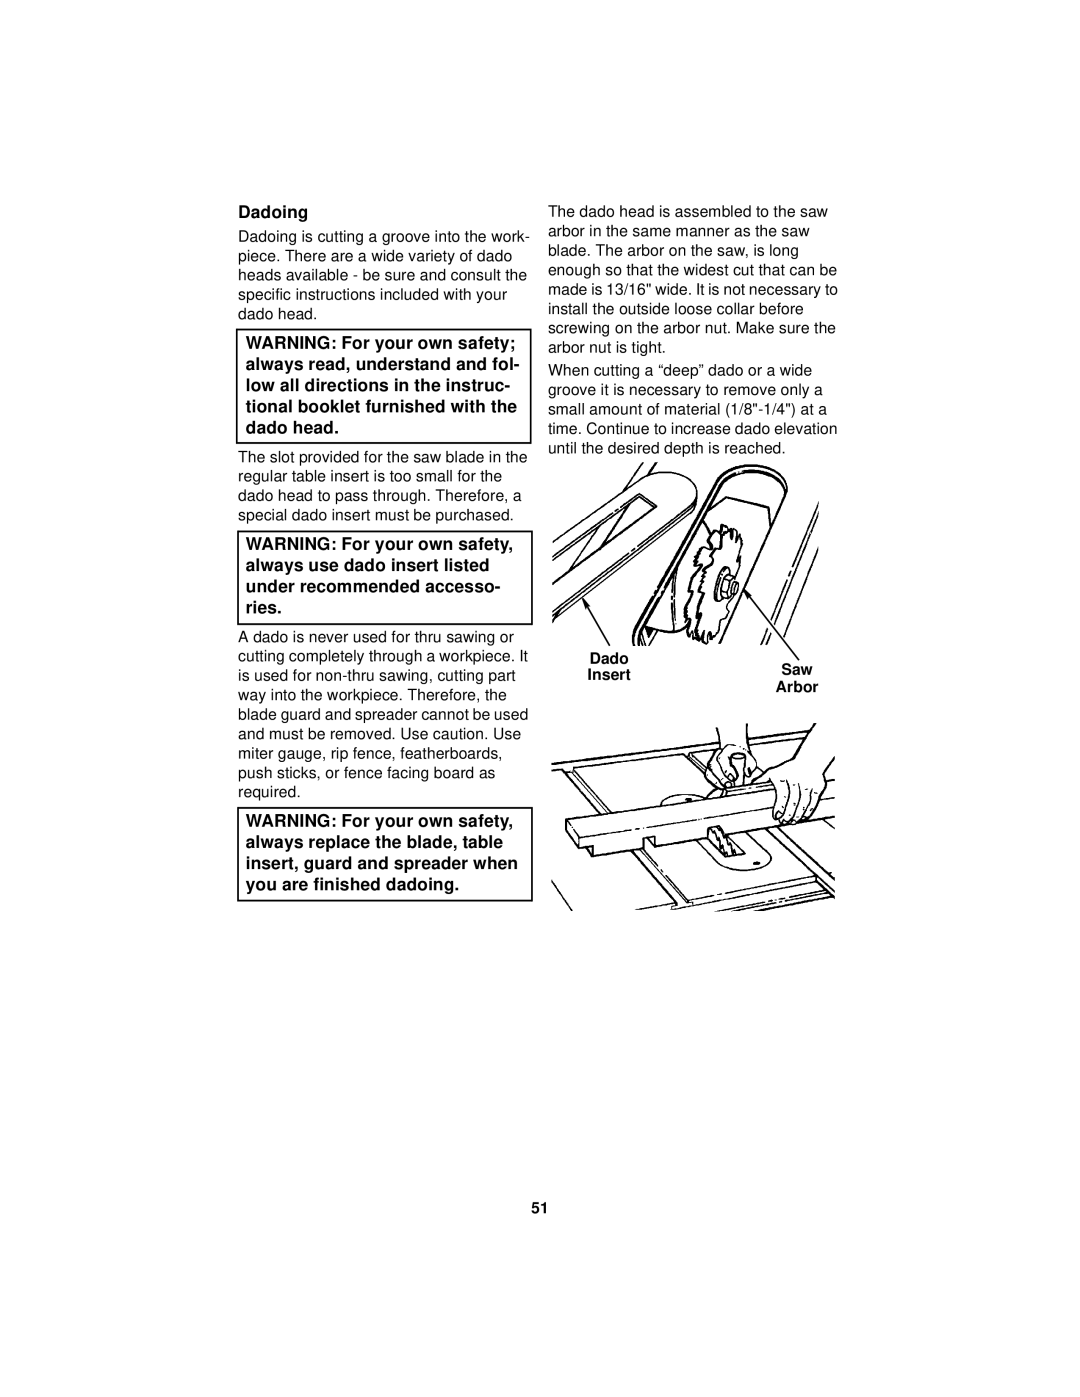
The dado head is assembled to the saw arbor in the same manner as the saw blade. The arbor on the saw, is long enough so that the widest cut that can be made is 13/16" wide. It is not necessary to install the outside loose collar before screwing on the arbor nut. Make sure the arbor nut is tight.
When cutting a “deep” dado or a wide groove it is necessary to remove only a small amount of material
Dado
InsertSaw
Arbor
51