OPERATION
MAKING A |
| ||
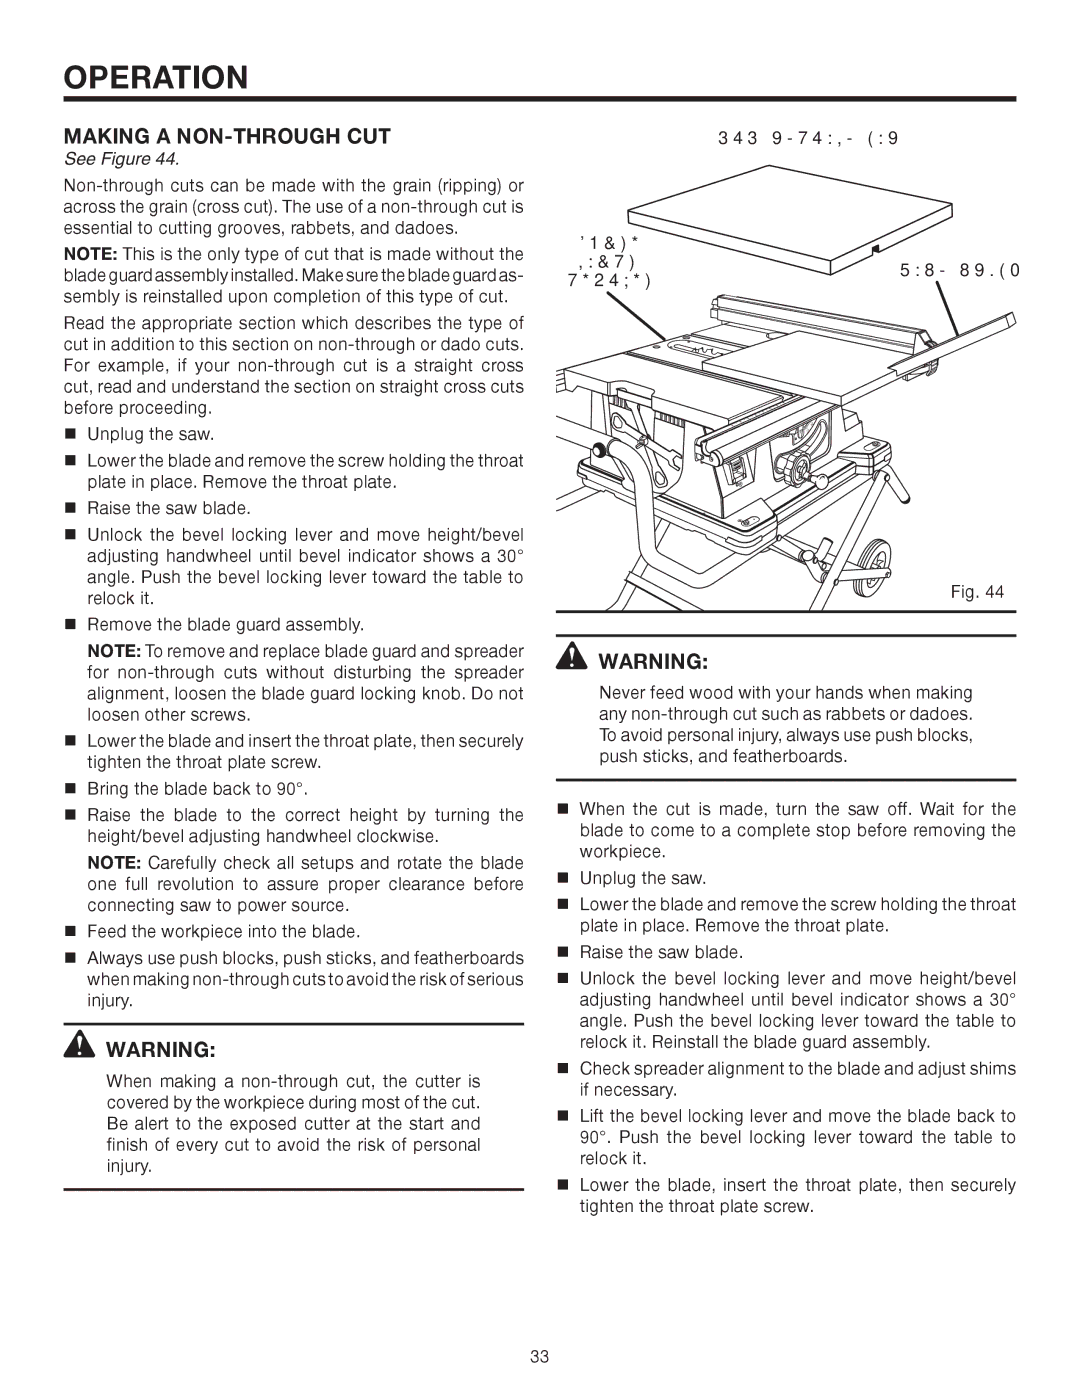
See Figure 44. |
|
| |
|
| ||
across the grain (cross cut). The use of a |
|
| |
essential to cutting grooves, rabbets, and dadoes. | BLADE |
| |
NOTE: This is the only type of cut that is made without the |
| ||
GUARD | PUSH STICK | ||
blade guard assembly installed. Make sure the blade guard as- | |||
REMOVED | |||
| |||
sembly is reinstalled upon completion of this type of cut. |
|
| |
Read the appropriate section which describes the type of |
|
| |
cut in addition to this section on |
|
| |
For example, if your |
|
| |
cut, read and understand the section on straight cross cuts |
|
| |
before proceeding. |
|
| |
Unplug the saw. | 30 |
| |
15 |
| ||
0 |
| ||
Lower the blade and remove the screw holding the throat |
|
| |
plate in place. Remove the throat plate. |
|
| |
Raise the saw blade. |
|
| |
Unlock the bevel locking lever and move height/bevel |
|
| |
adjusting handwheel until bevel indicator shows a 30° |
|
| |
angle. Push the bevel locking lever toward the table to |
| Fig. 44 | |
relock it. |
| ||
|
| ||
Remove the blade guard assembly. |
|
| |
NOTE: To remove and replace blade guard and spreader | WARNING: |
| |
for |
| ||
|
| ||
alignment, loosen the blade guard locking knob. Do not | Never feed wood with your hands when making | ||
loosen other screws. | any | ||
Lower the blade and insert the throat plate, then securely | To avoid personal injury, always use push blocks, | ||
push sticks, and featherboards. |
| ||
tighten the throat plate screw. |
| ||
|
| ||
Bring the blade back to 90°. |
|
| |
Raise the blade to the correct height by turning the | When the cut is made, turn the saw off. Wait for the | ||
blade to come to a complete stop before removing the | |||
height/bevel adjusting handwheel clockwise. | |||
workpiece. |
| ||
NOTE: Carefully check all setups and rotate the blade |
| ||
Unplug the saw. |
| ||
one full revolution to assure proper clearance before |
| ||
|
| ||
connecting saw to power source. | Lower the blade and remove the screw holding the throat | ||
Feed the workpiece into the blade. | plate in place. Remove the throat plate. |
| |
|
| ||
Always use push blocks, push sticks, and featherboards | � Raise the saw blade. |
| |
|
| ||
when making | Unlock the bevel locking lever and move height/bevel | ||
injury. | adjusting handwheel until bevel indicator shows a 30° | ||
| angle. Push the bevel locking lever toward the table to | ||
WARNING: |
| relock it. Reinstall the blade guard assembly. | |
Check spreader alignment to the blade and adjust shims | |||
When making a | |||
| if necessary. | ||
covered by the workpiece during most of the cut. |
| ||
| Lift the bevel locking lever and move the blade back to | ||
Be alert to the exposed cutter at the start and | |||
finish of every cut to avoid the risk of personal | 90°. Push the bevel locking lever toward the table to | |
relock it. | ||
injury. | ||
Lower the blade, insert the throat plate, then securely | ||
| ||
| tighten the throat plate screw. |
33