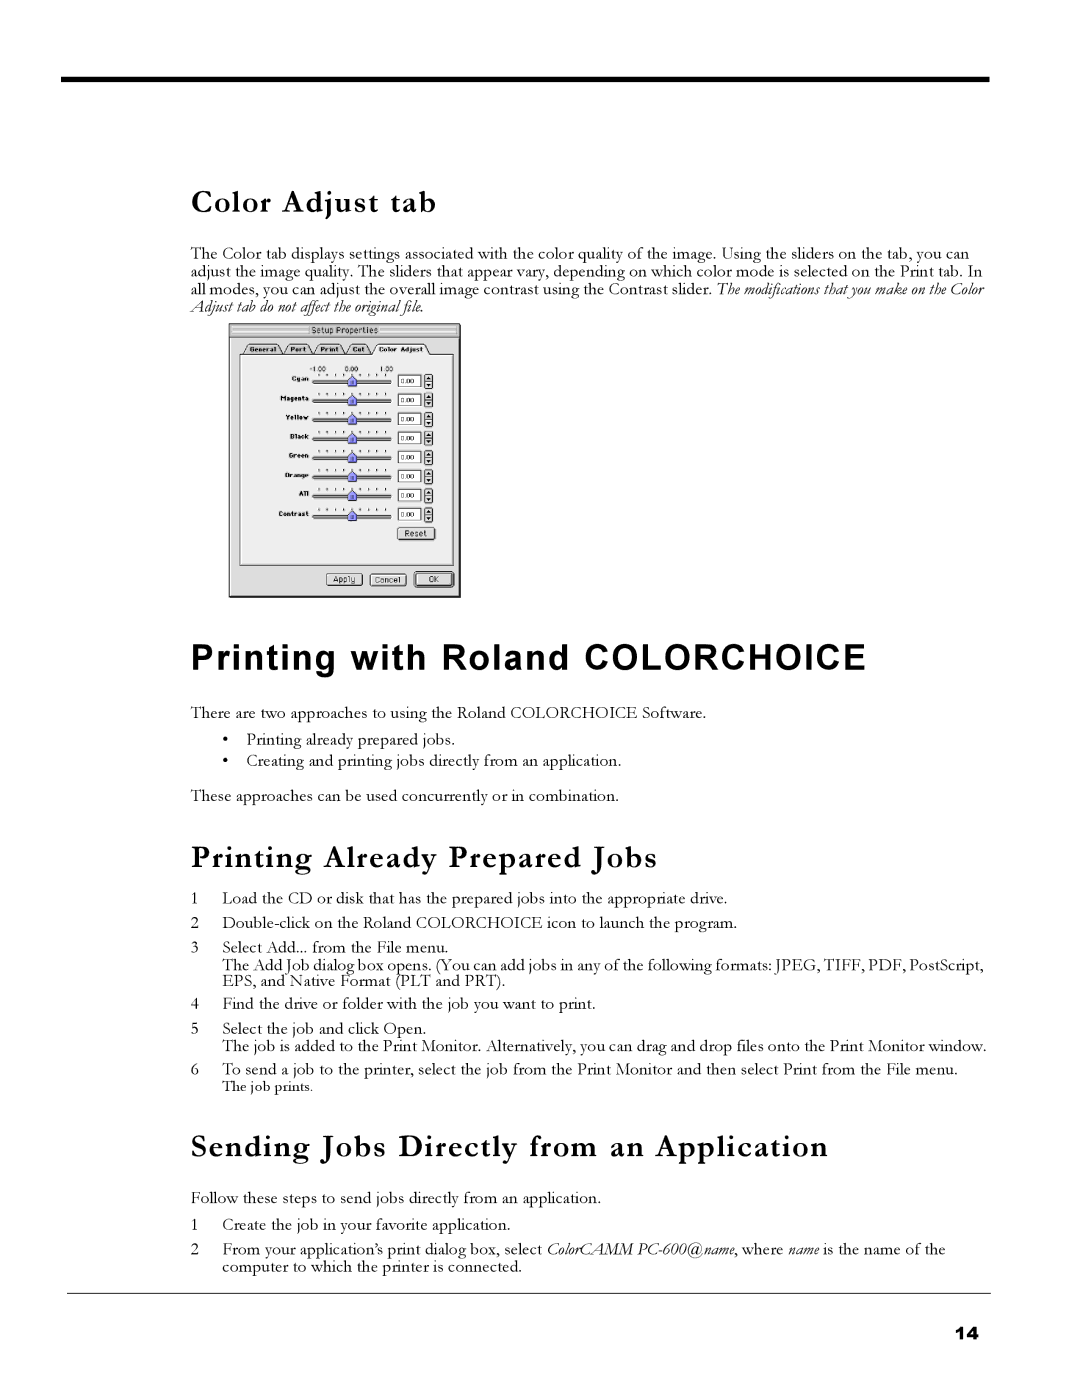
Color Adjust tab
The Color tab displays settings associated with the color quality of the image. Using the sliders on the tab, you can adjust the image quality. The sliders that appear vary, depending on which color mode is selected on the Print tab. In all modes, you can adjust the overall image contrast using the Contrast slider. The modifications that you make on the Color Adjust tab do not affect the original file.
Printing with Roland COLORCHOICE
There are two approaches to using the Roland COLORCHOICE Software.
•Printing already prepared jobs.
•Creating and printing jobs directly from an application.
These approaches can be used concurrently or in combination.
Printing Already Prepared Jobs
1Load the CD or disk that has the prepared jobs into the appropriate drive.
2
3Select Add... from the File menu.
The Add Job dialog box opens. (You can add jobs in any of the following formats: JPEG, TIFF, PDF, PostScript, EPS, and Native Format (PLT and PRT).
4Find the drive or folder with the job you want to print.
5Select the job and click Open.
The job is added to the Print Monitor. Alternatively, you can drag and drop files onto the Print Monitor window.
6To send a job to the printer, select the job from the Print Monitor and then select Print from the File menu.
The job prints.
Sending Jobs Directly from an Application
Follow these steps to send jobs directly from an application.
1Create the job in your favorite application.
2From your application’s print dialog box, select ColorCAMM
14
