3To send a job to the printer, select the job from the print queue and then select Print from the File menu.
The job prints.
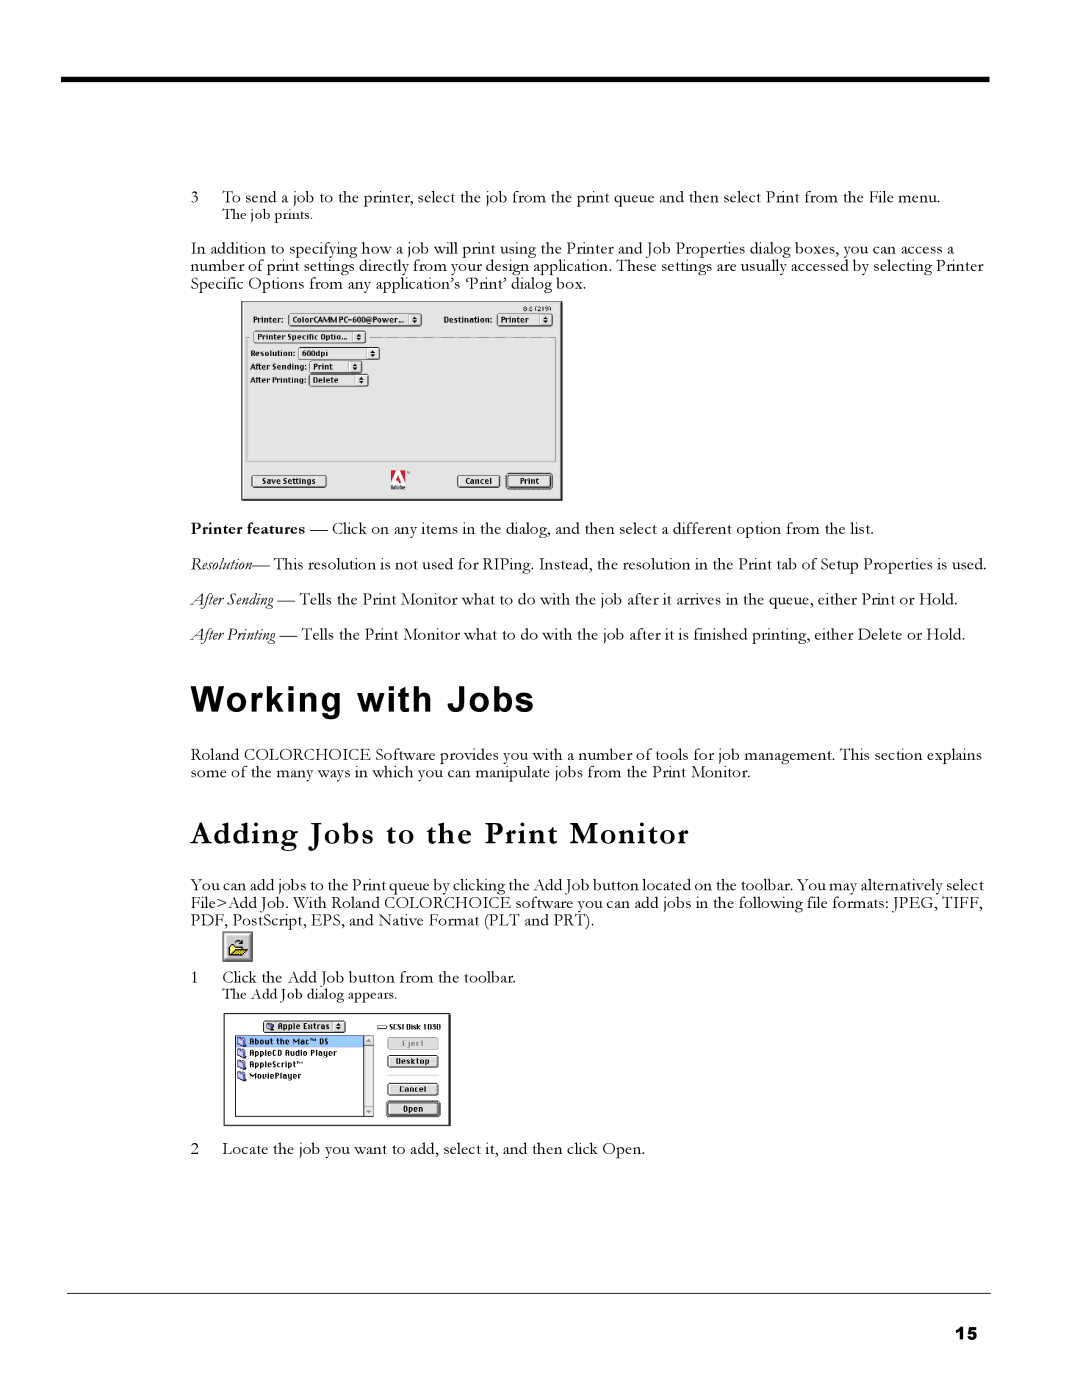
In addition to specifying how a job will print using the Printer and Job Properties dialog boxes, you can access a number of print settings directly from your design application. These settings are usually accessed by selecting Printer Specific Options from any application’s ‘Print’ dialog box.
Printer features — Click on any items in the dialog, and then select a different option from the list.
Resolution— This resolution is not used for RIPing. Instead, the resolution in the Print tab of Setup Properties is used.
After Sending — Tells the Print Monitor what to do with the job after it arrives in the queue, either Print or Hold.
After Printing — Tells the Print Monitor what to do with the job after it is finished printing, either Delete or Hold.
Working with Jobs
Roland COLORCHOICE Software provides you with a number of tools for job management. This section explains some of the many ways in which you can manipulate jobs from the Print Monitor.
Adding Jobs to the Print Monitor
You can add jobs to the Print queue by clicking the Add Job button located on the toolbar. You may alternatively select File>Add Job. With Roland COLORCHOICE software you can add jobs in the following file formats: JPEG, TIFF, PDF, PostScript, EPS, and Native Format (PLT and PRT).
1Click the Add Job button from the toolbar.
The Add Job dialog appears.
2Locate the job you want to add, select it, and then click Open.
15