After the installation finishes you are asked whether or not you want to restart your computer.
19Click Restart.
The software installation is now complete. Before printing, however; you will need to add a setup and then go to the chooser and select the appropriate printer description.
20
21Select your printer in the list and then click Next. You are prompted for the port to which the selected printer is connected.
22Choose the appropriate port and click OK.
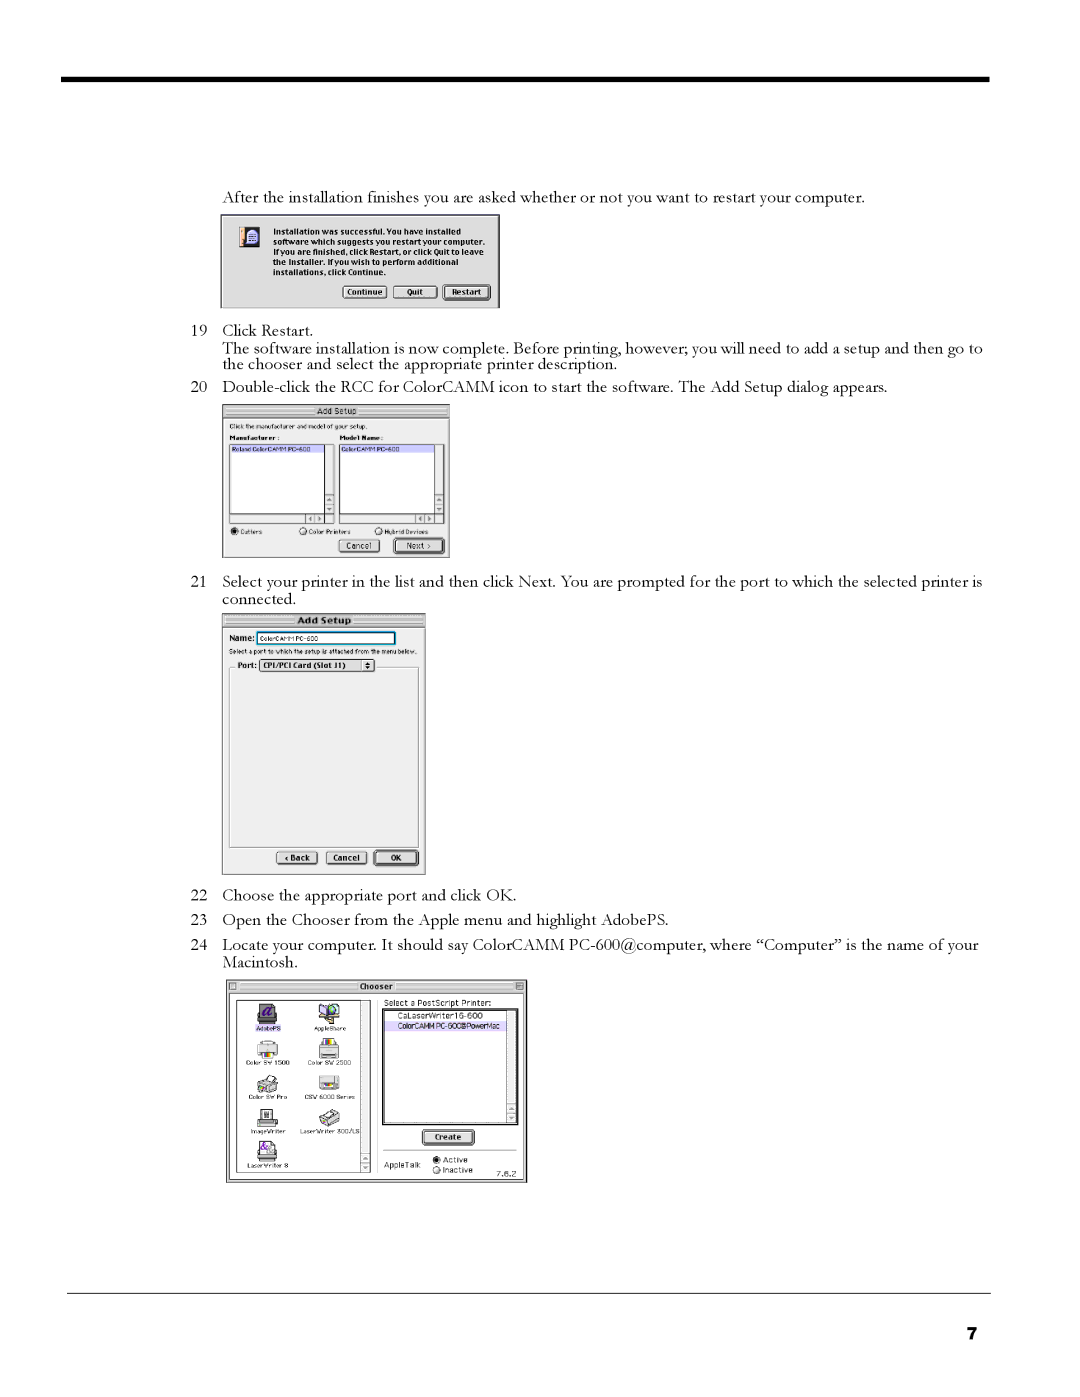
23Open the Chooser from the Apple menu and highlight AdobePS.
24Locate your computer. It should say ColorCAMM
7