|
| Installation | |
|
|
|
|
|
|
|
|
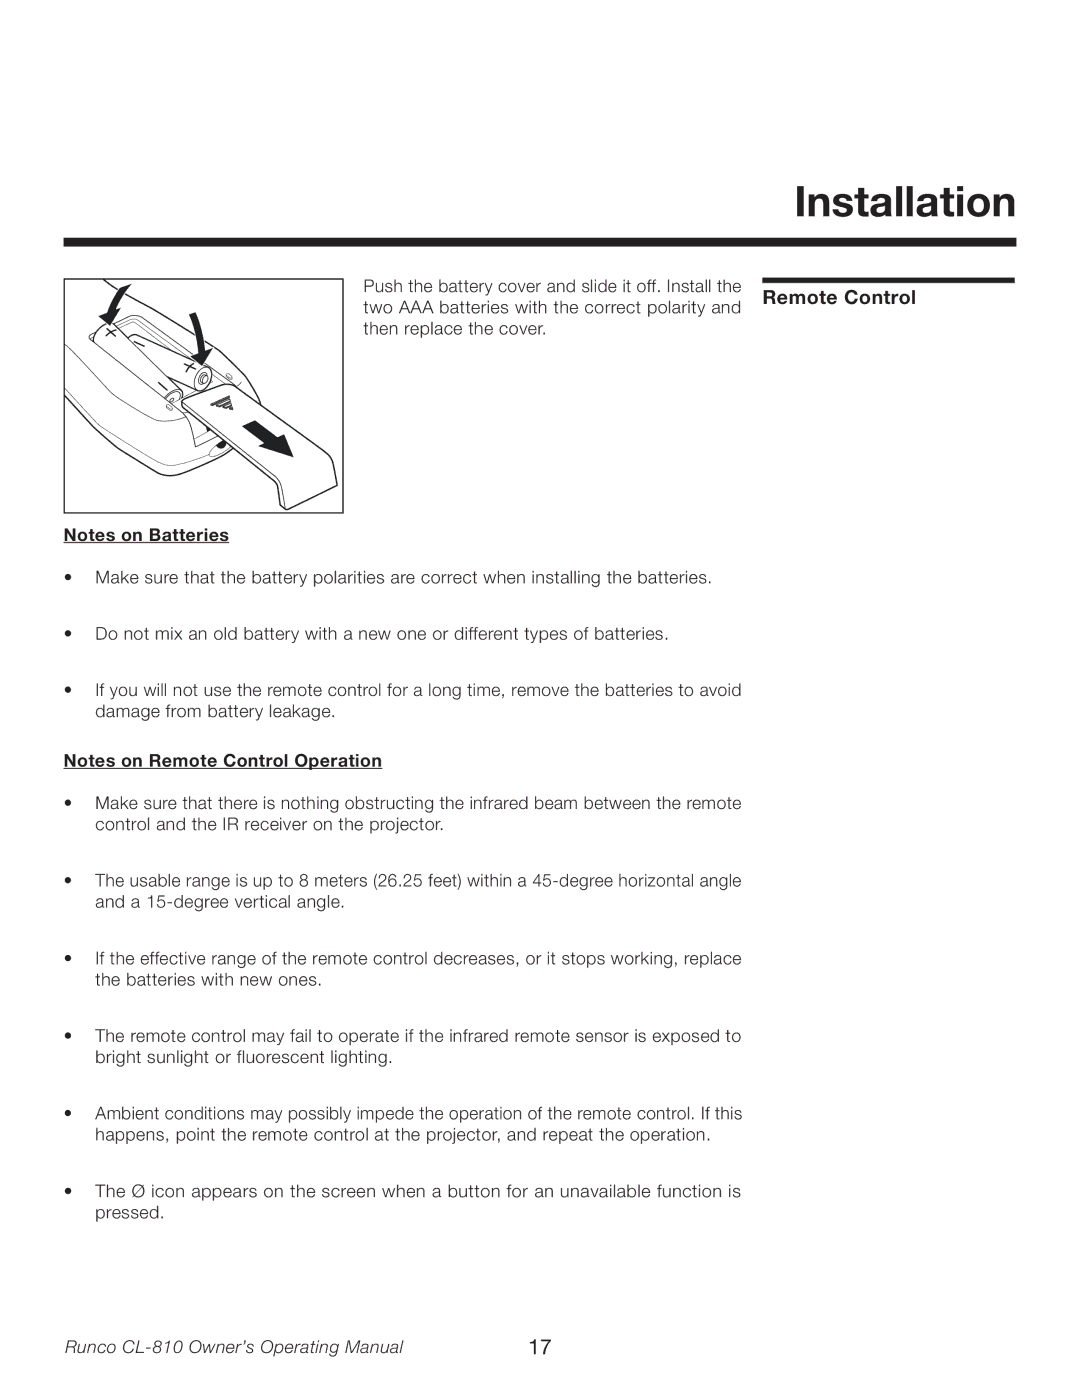
| Push the battery cover and slide it off. Install the |
|
|
| Remote Control | ||
| two AAA batteries with the correct polarity and | ||
| then replace the cover. |
|
|
|
|
|
|
Notes on Batteries
•Make sure that the battery polarities are correct when installing the batteries.
•Do not mix an old battery with a new one or different types of batteries.
•If you will not use the remote control for a long time, remove the batteries to avoid damage from battery leakage.
Notes on Remote Control Operation
•Make sure that there is nothing obstructing the infrared beam between the remote control and the IR receiver on the projector.
•The usable range is up to 8 meters (26.25 feet) within a
•If the effective range of the remote control decreases, or it stops working, replace the batteries with new ones.
•The remote control may fail to operate if the infrared remote sensor is exposed to bright sunlight or fluorescent lighting.
•Ambient conditions may possibly impede the operation of the remote control. If this happens, point the remote control at the projector, and repeat the operation.
•The Ø icon appears on the screen when a button for an unavailable function is pressed.
Runco | 17 |