Installation
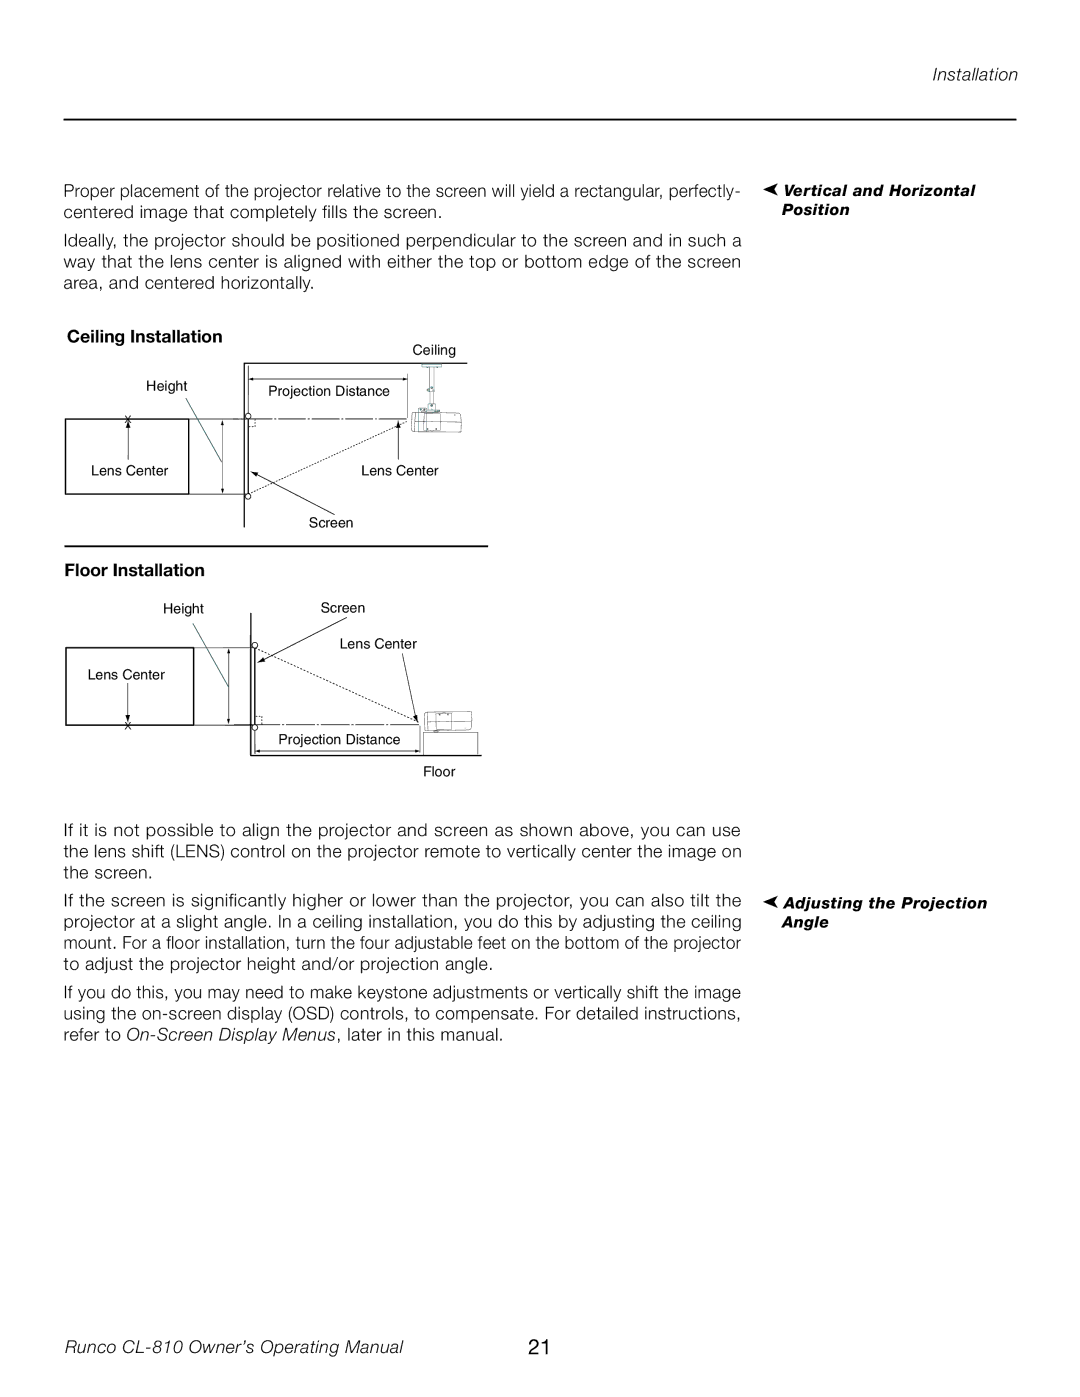
Proper placement of the projector relative to the screen will yield a rectangular, perfectly- centered image that completely fills the screen.
Ideally, the projector should be positioned perpendicular to the screen and in such a way that the lens center is aligned with either the top or bottom edge of the screen area, and centered horizontally.
➤
Vertical and Horizontal Position
Ceiling Installation
Height
x
Lens Center
Ceiling
Projection Distance
Lens Center
Screen
Floor Installation
Height
Lens Center |
x |
Screen
Lens Center
Projection Distance
Floor
If it is not possible to align the projector and screen as shown above, you can use the lens shift (LENS) control on the projector remote to vertically center the image on the screen.
If the screen is significantly higher or lower than the projector, you can also tilt the projector at a slight angle. In a ceiling installation, you do this by adjusting the ceiling mount. For a floor installation, turn the four adjustable feet on the bottom of the projector to adjust the projector height and/or projection angle.
If you do this, you may need to make keystone adjustments or vertically shift the image using the
➤
Adjusting the Projection Angle
Runco | 21 |