Basic Operation
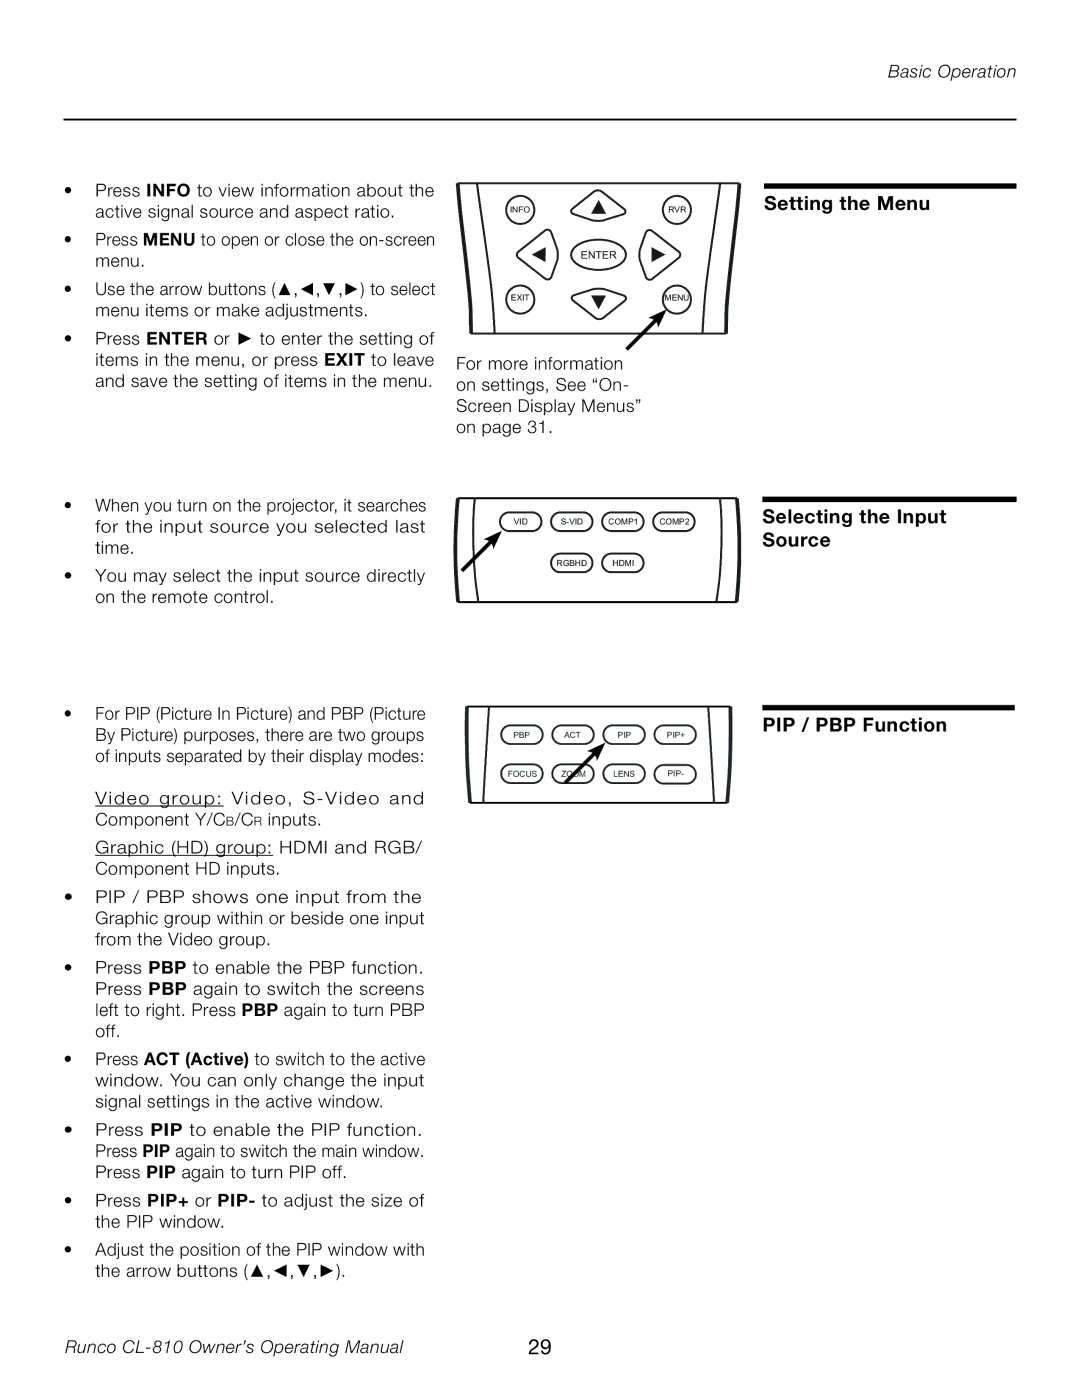
•Press INFO to view information about the active signal source and aspect ratio.
•Press MENU to open or close the
•Use the arrow buttons (▲,◄,▼,►) to select menu items or make adjustments.
•Press ENTER or ► to enter the setting of items in the menu, or press EXIT to leave and save the setting of items in the menu.
INFORVR
| ENTER |
EXIT | MENU |
For more information on settings, See “On- Screen Display Menus” on page 31.
Setting the Menu
•When you turn on the projector, it searches
for the input source you selected last | VID | COMP1 COMP2 | |
| |||
time. |
|
|
|
• You may select the input source directly |
| RGBHD | HDMI |
|
|
| |
on the remote control. |
|
|
|
Selecting the Input Source
•For PIP (Picture In Picture) and PBP (Picture By Picture) purposes, there are two groups of inputs separated by their display modes:
Video group: Video,
Graphic (HD) group: HDMI and RGB/ Component HD inputs.
•PIP / PBP shows one input from the Graphic group within or beside one input from the Video group.
•Press PBP to enable the PBP function. Press PBP again to switch the screens left to right. Press PBP again to turn PBP off.
•Press ACT (Active) to switch to the active window. You can only change the input signal settings in the active window.
•Press PIP to enable the PIP function. Press PIP again to switch the main window. Press PIP again to turn PIP off.
•Press PIP+ or PIP- to adjust the size of the PIP window.
•Adjust the position of the PIP window with the arrow buttons (▲,◄,▼,►).
PBP ACT PIP PIP+
FOCUS ZOOM LENS PIP-
PIP / PBP Function
Runco | 29 |
